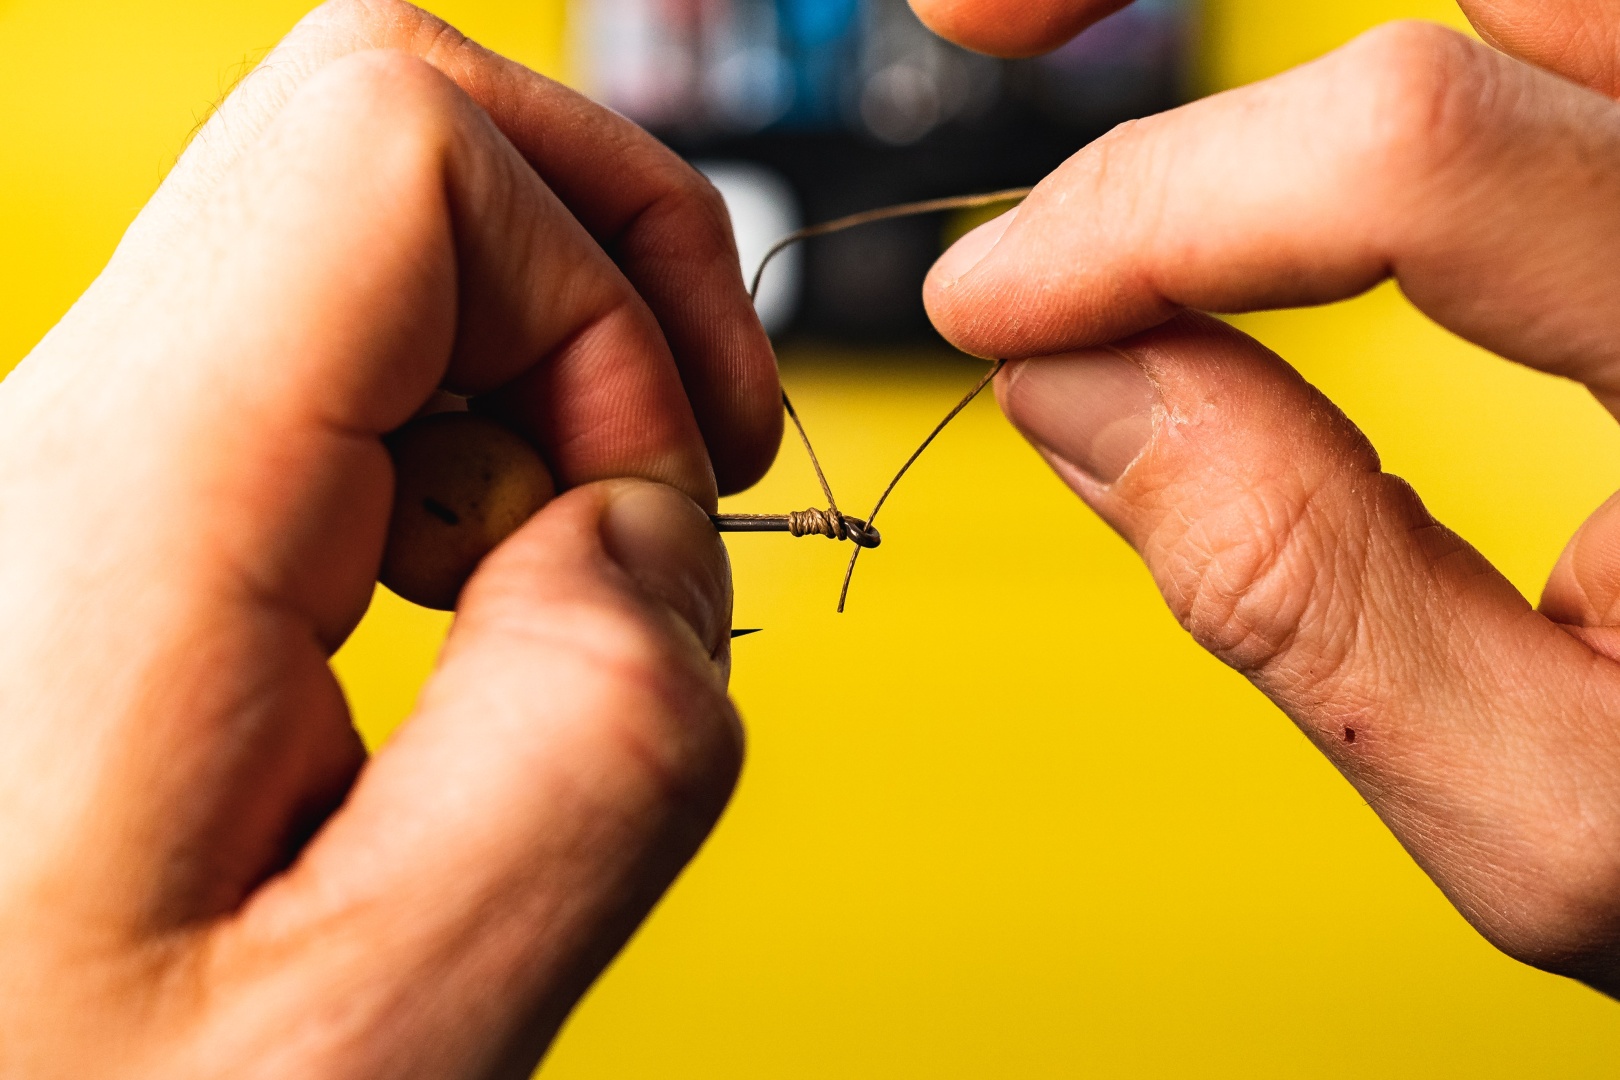
Knotless Knot - A Classic Rig Used in Carp Fishing
The "Knotless Knot" is a fundamental yet simplest rig in carp fishing. It gained popularity in the early nineties and has forever changed carp fishing around the world.
It could even be said that this rig provided the foundation for one of the most popular methods in fishing today, which is carp angling. Thanks to its simplicity and the complete elimination of the weakest link, the knot, the material upon which it is tied retains practically 100% of its strength.
Add Rockworld-carpshop.com to your preferred sources in Google!
When is the best time to use this rig?
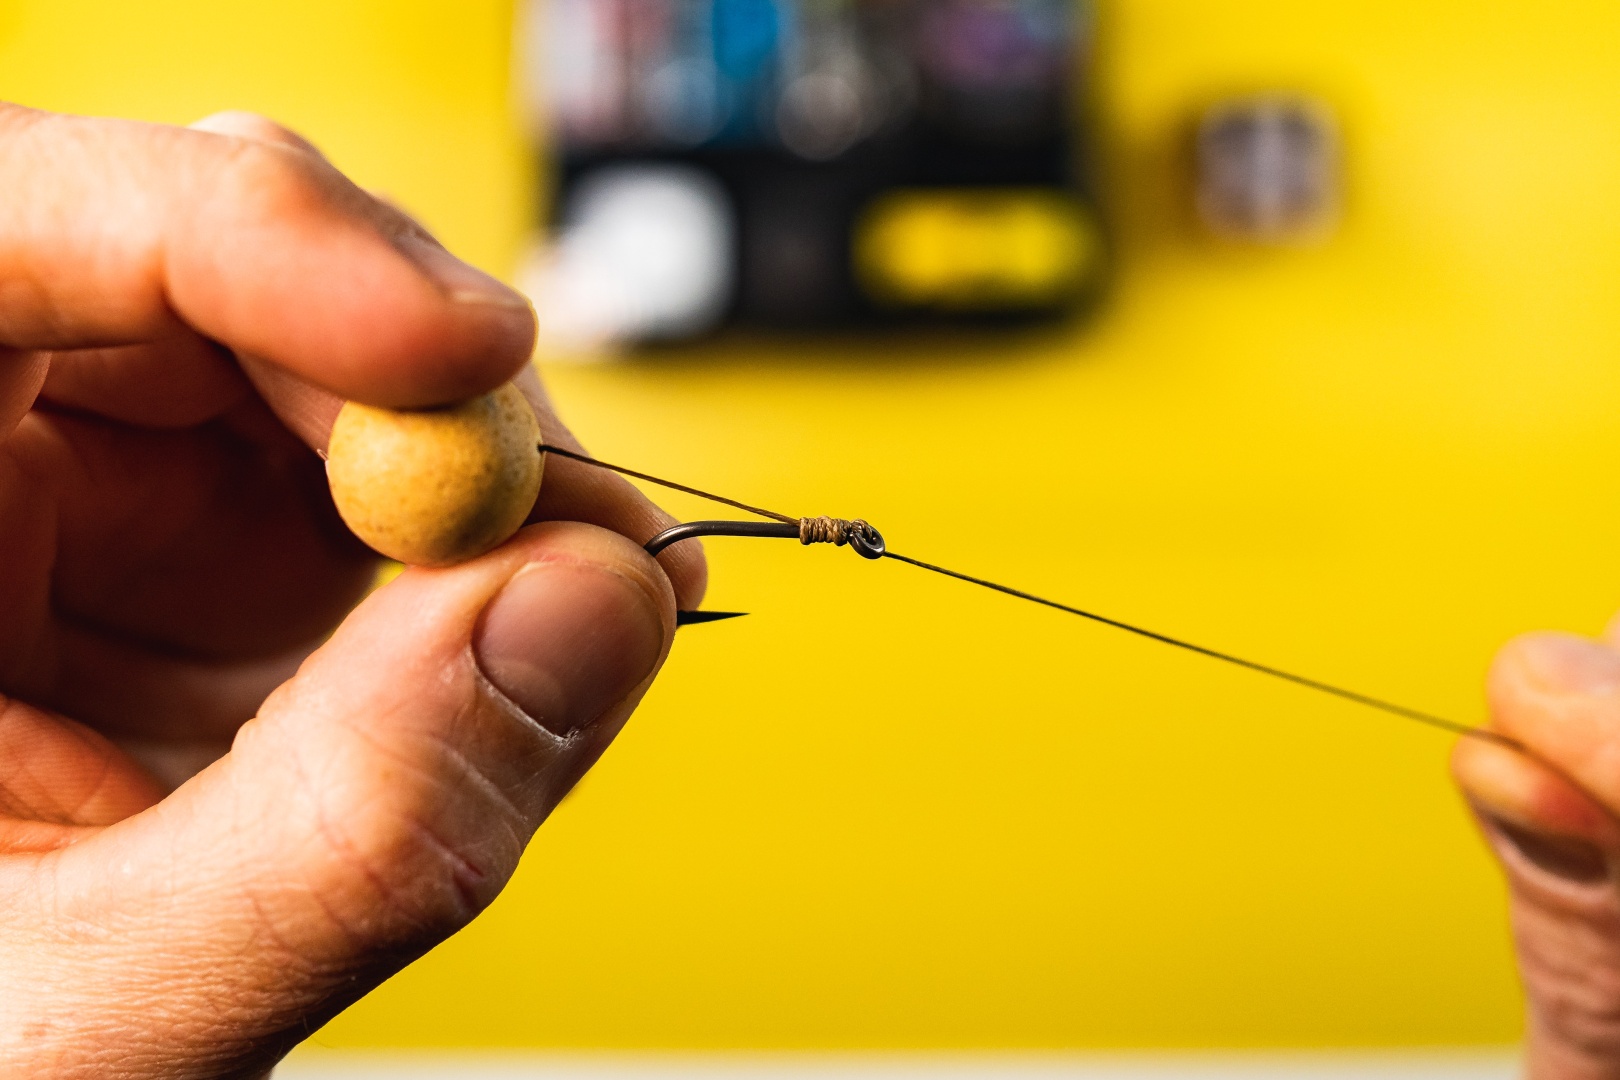
This type of rig excels especially with sinking baits, starting with boilies, through pellets to all kinds of particles. It is also highly effective when used with balanced baits such as wafters or combinations of sinking and floating baits, known as 'snowman' setups.
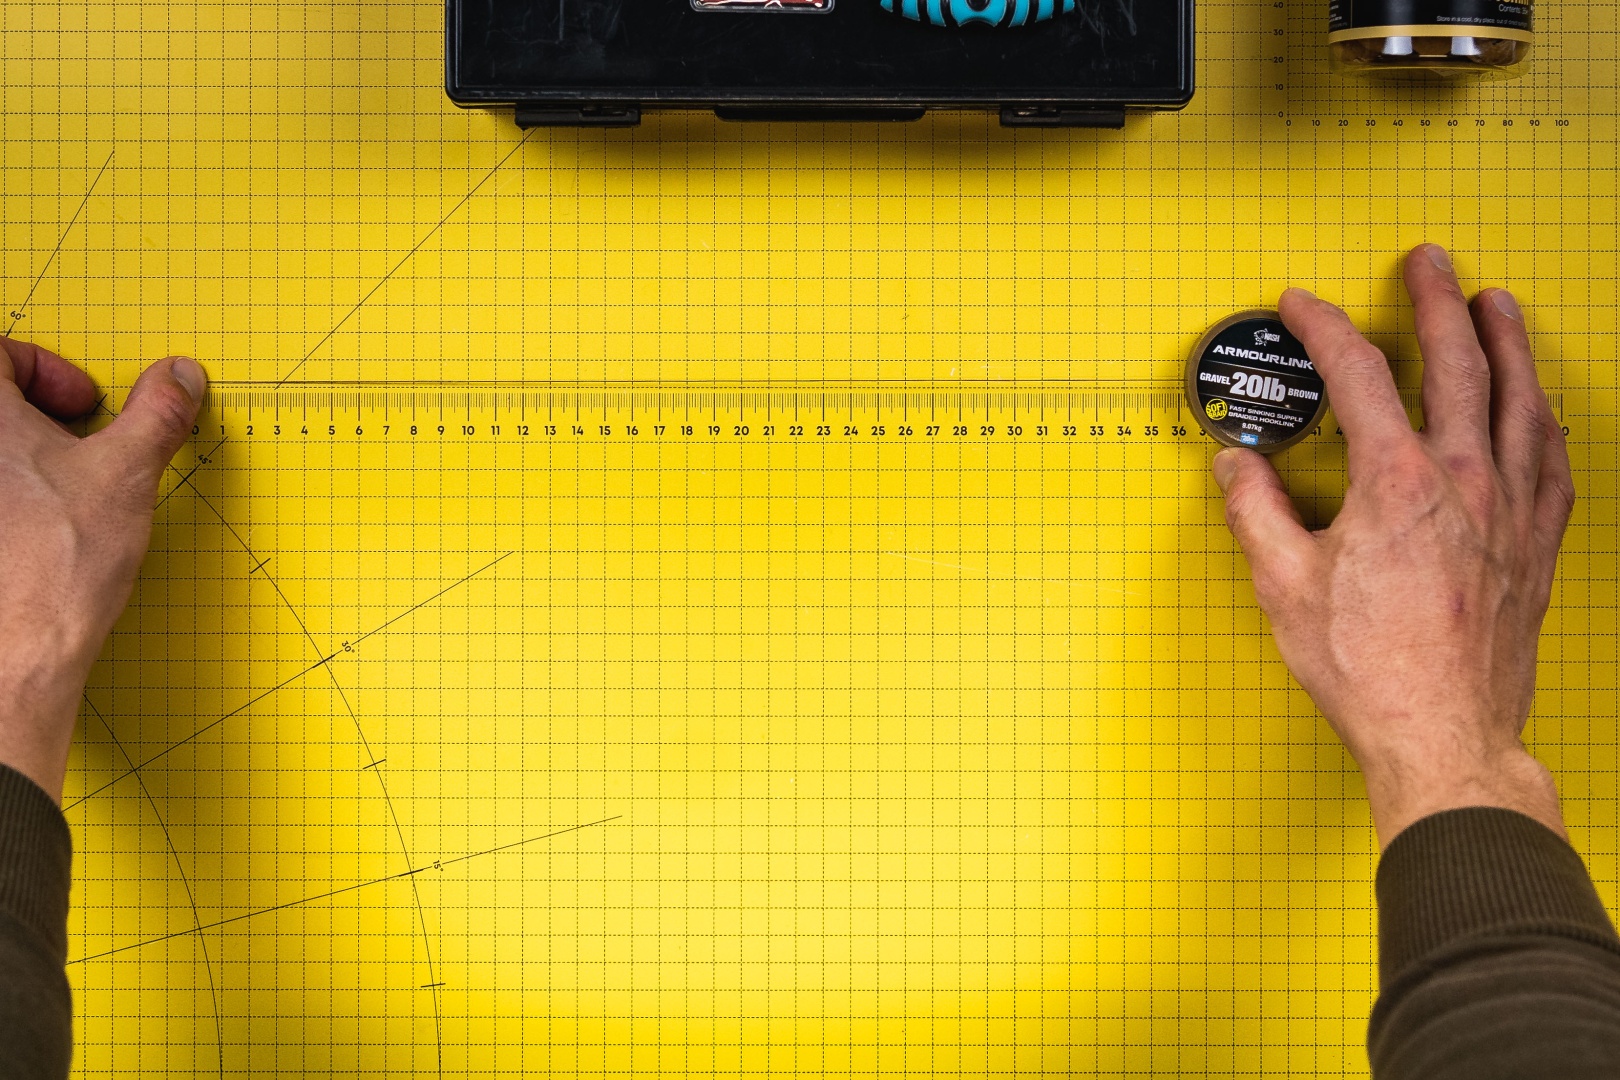
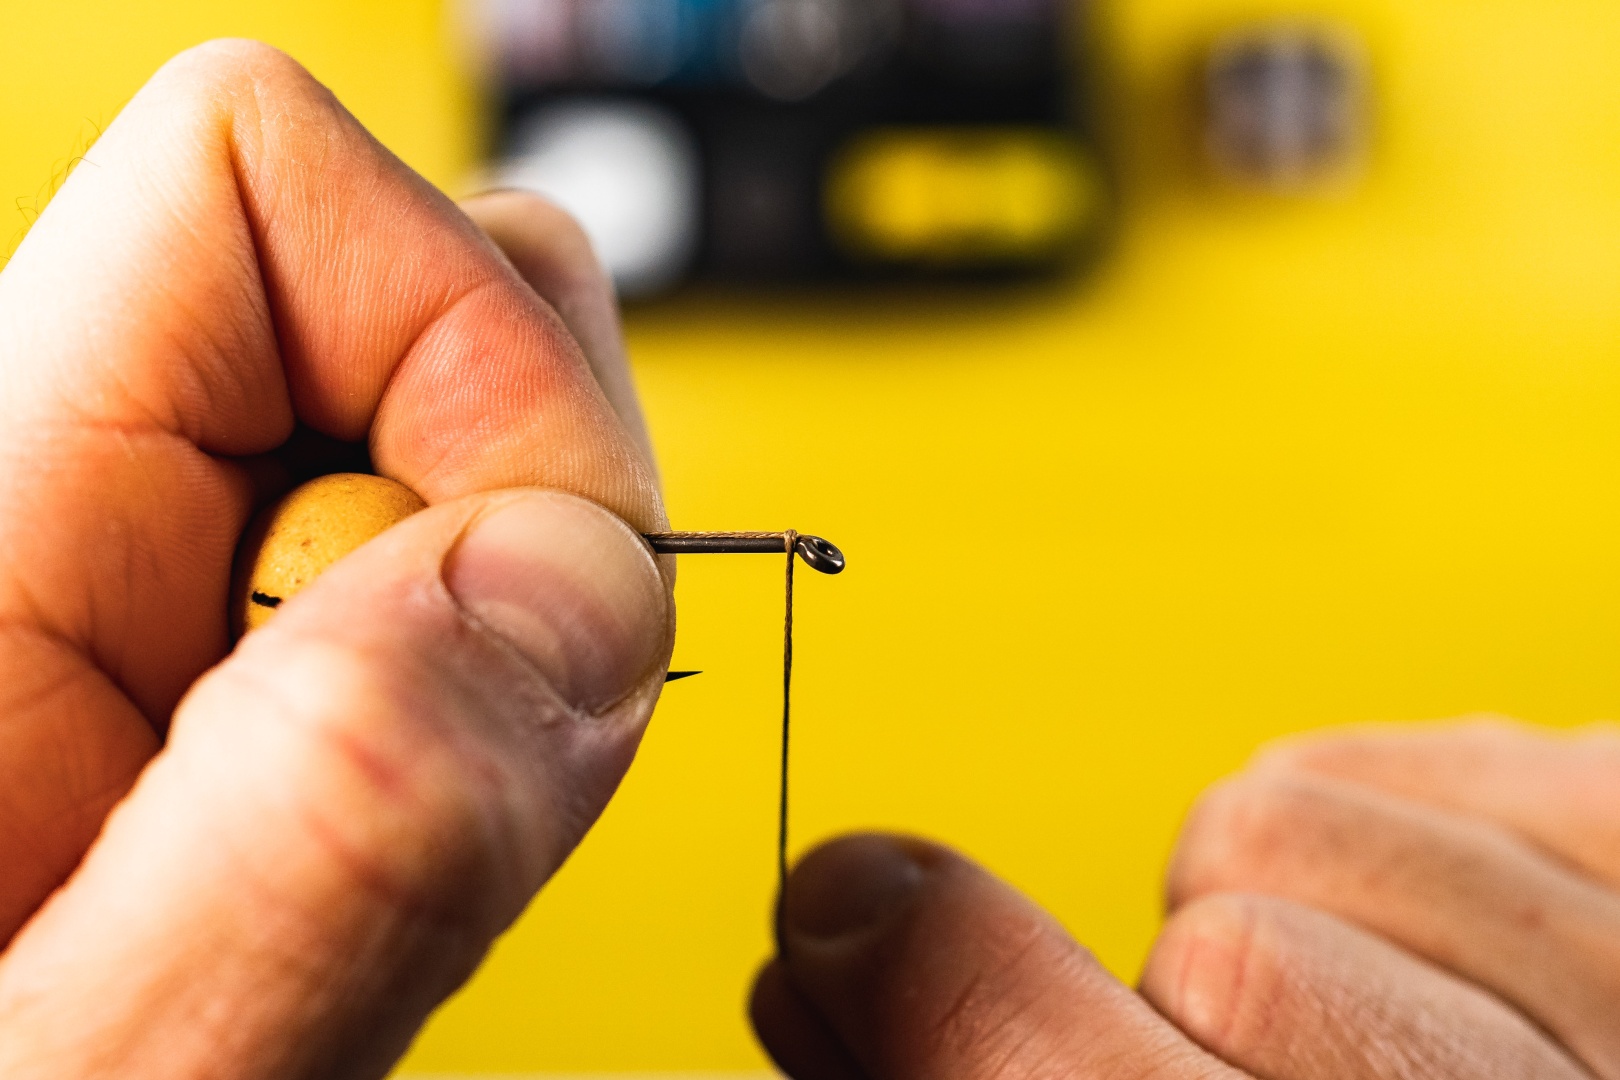
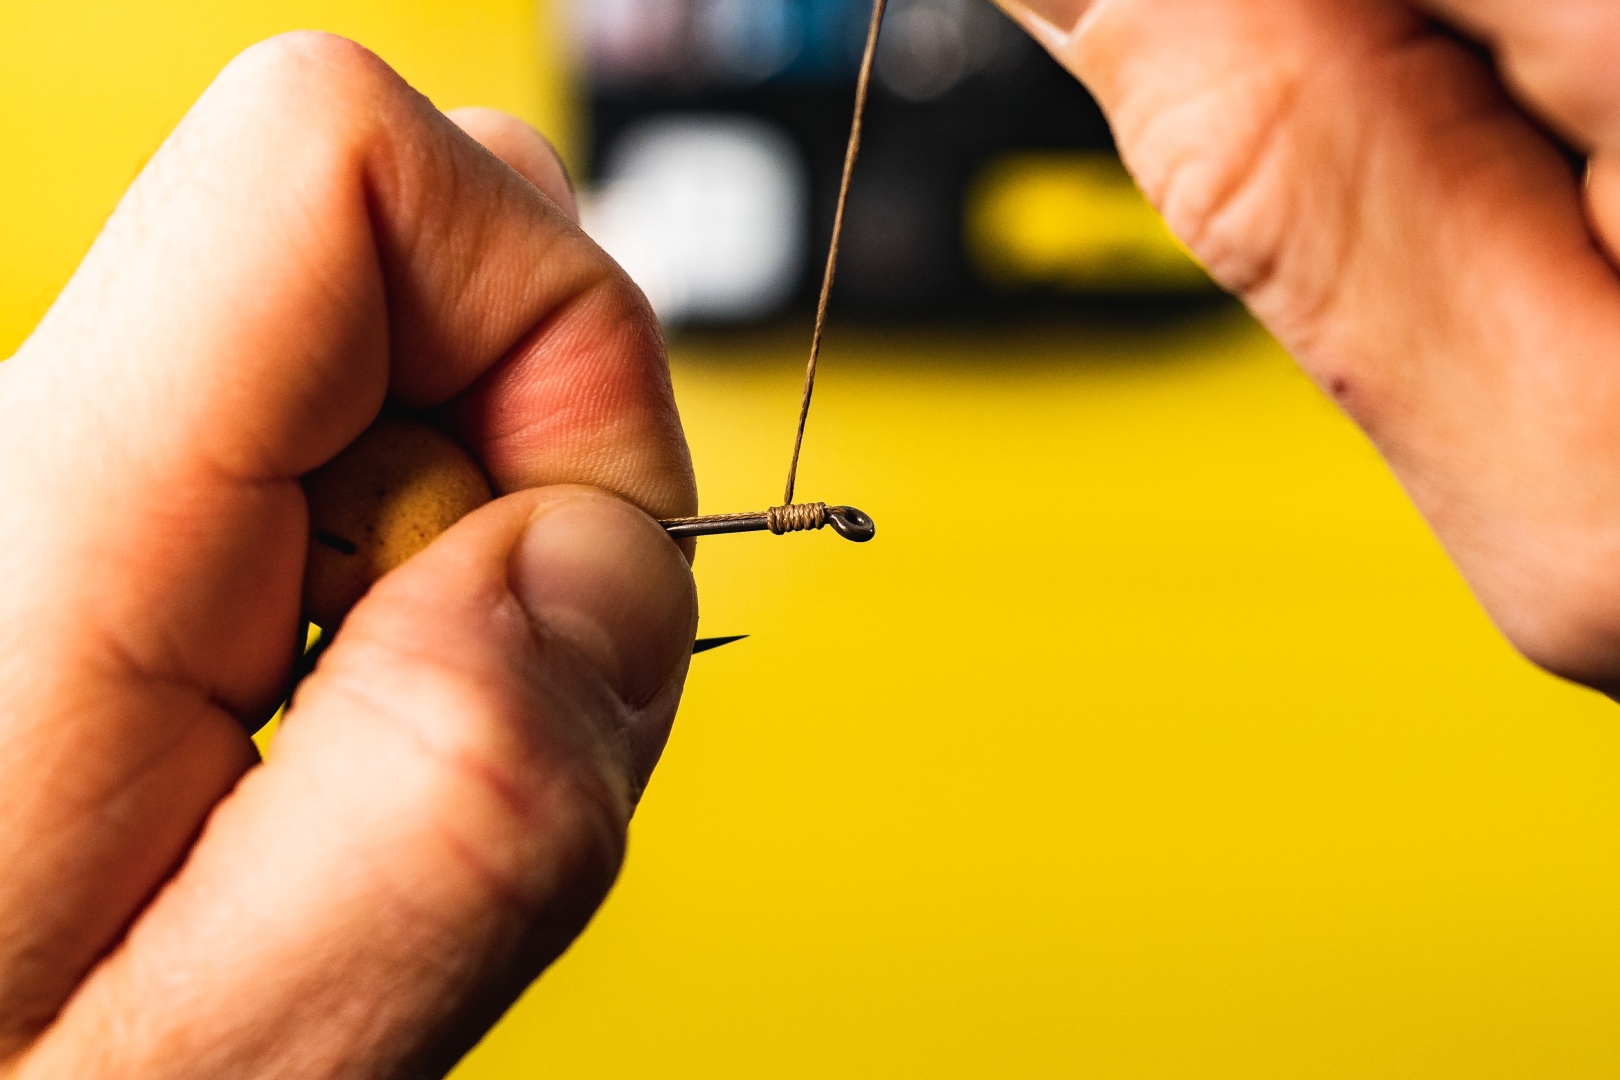
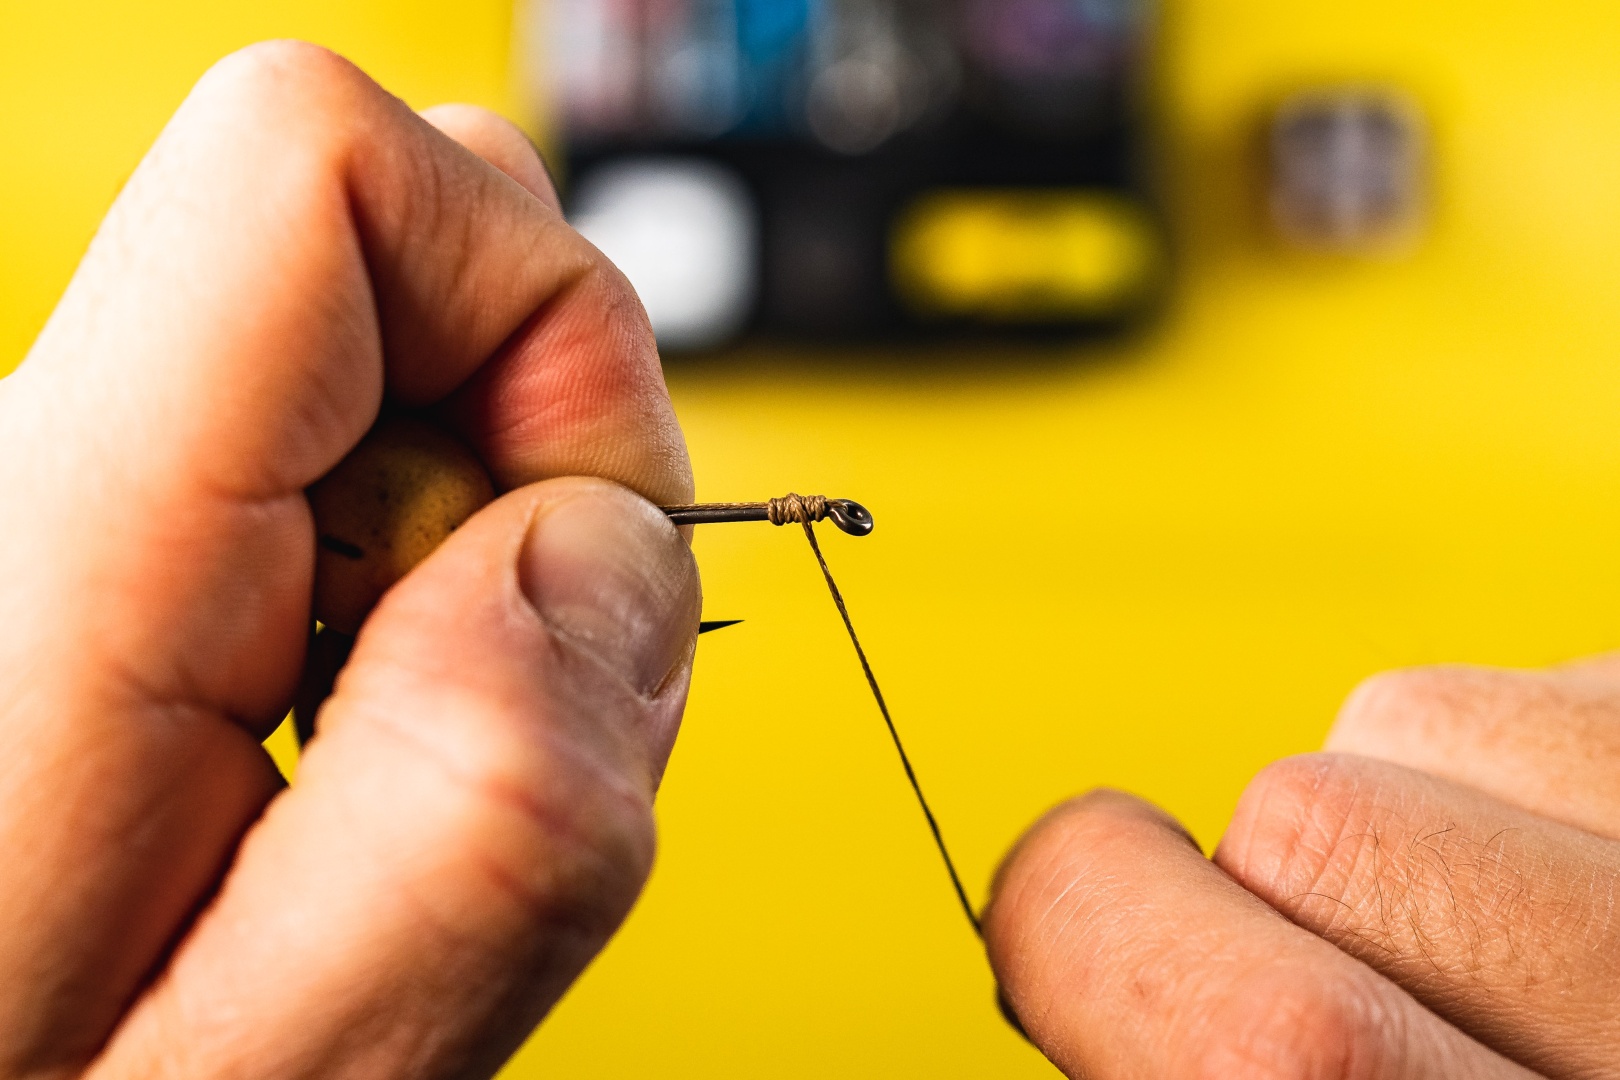
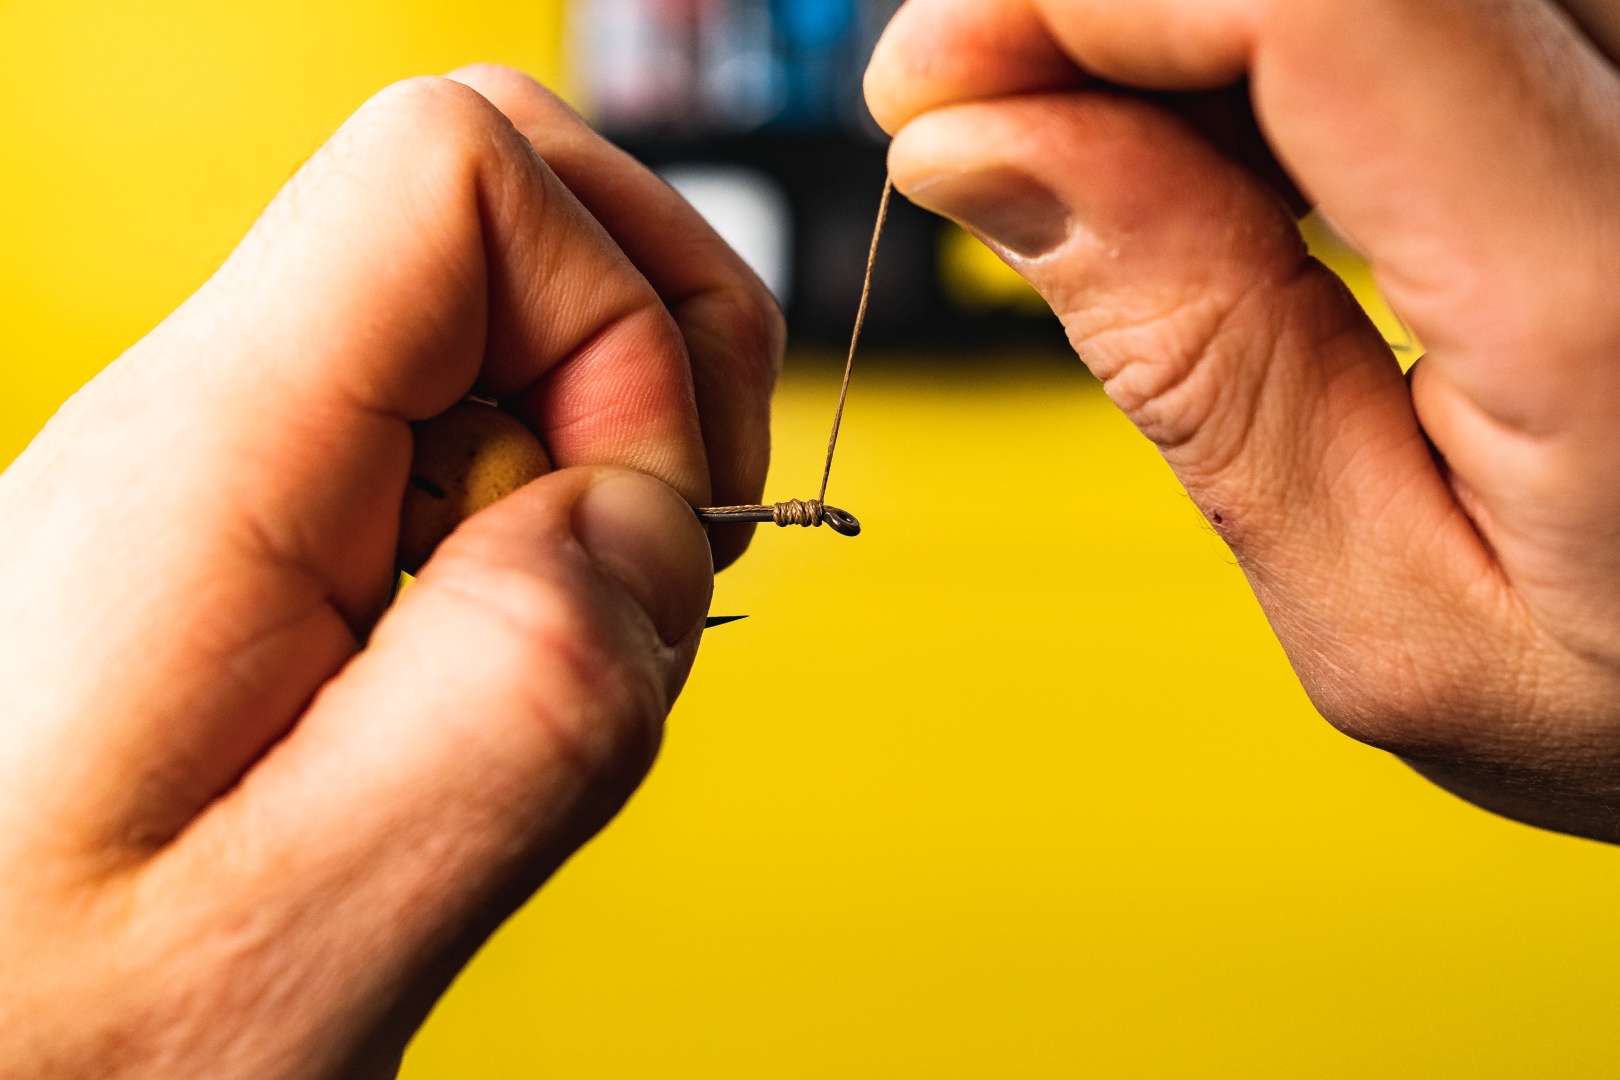
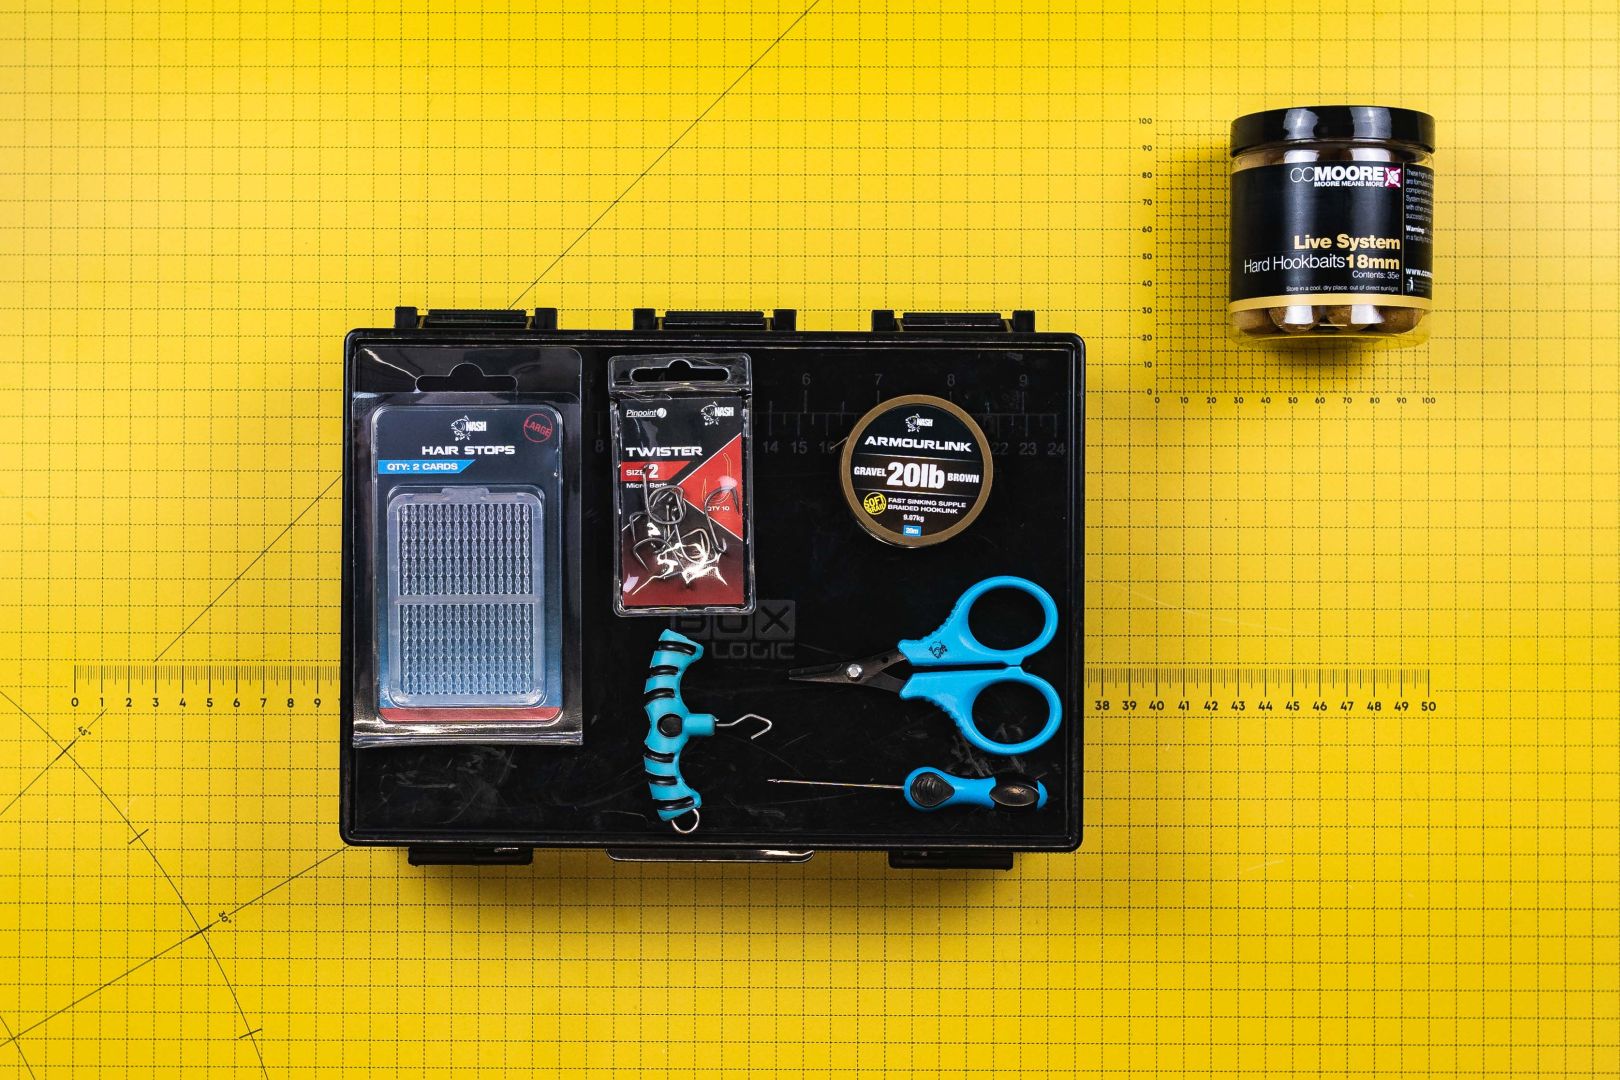
The following materials are required to make this rig:
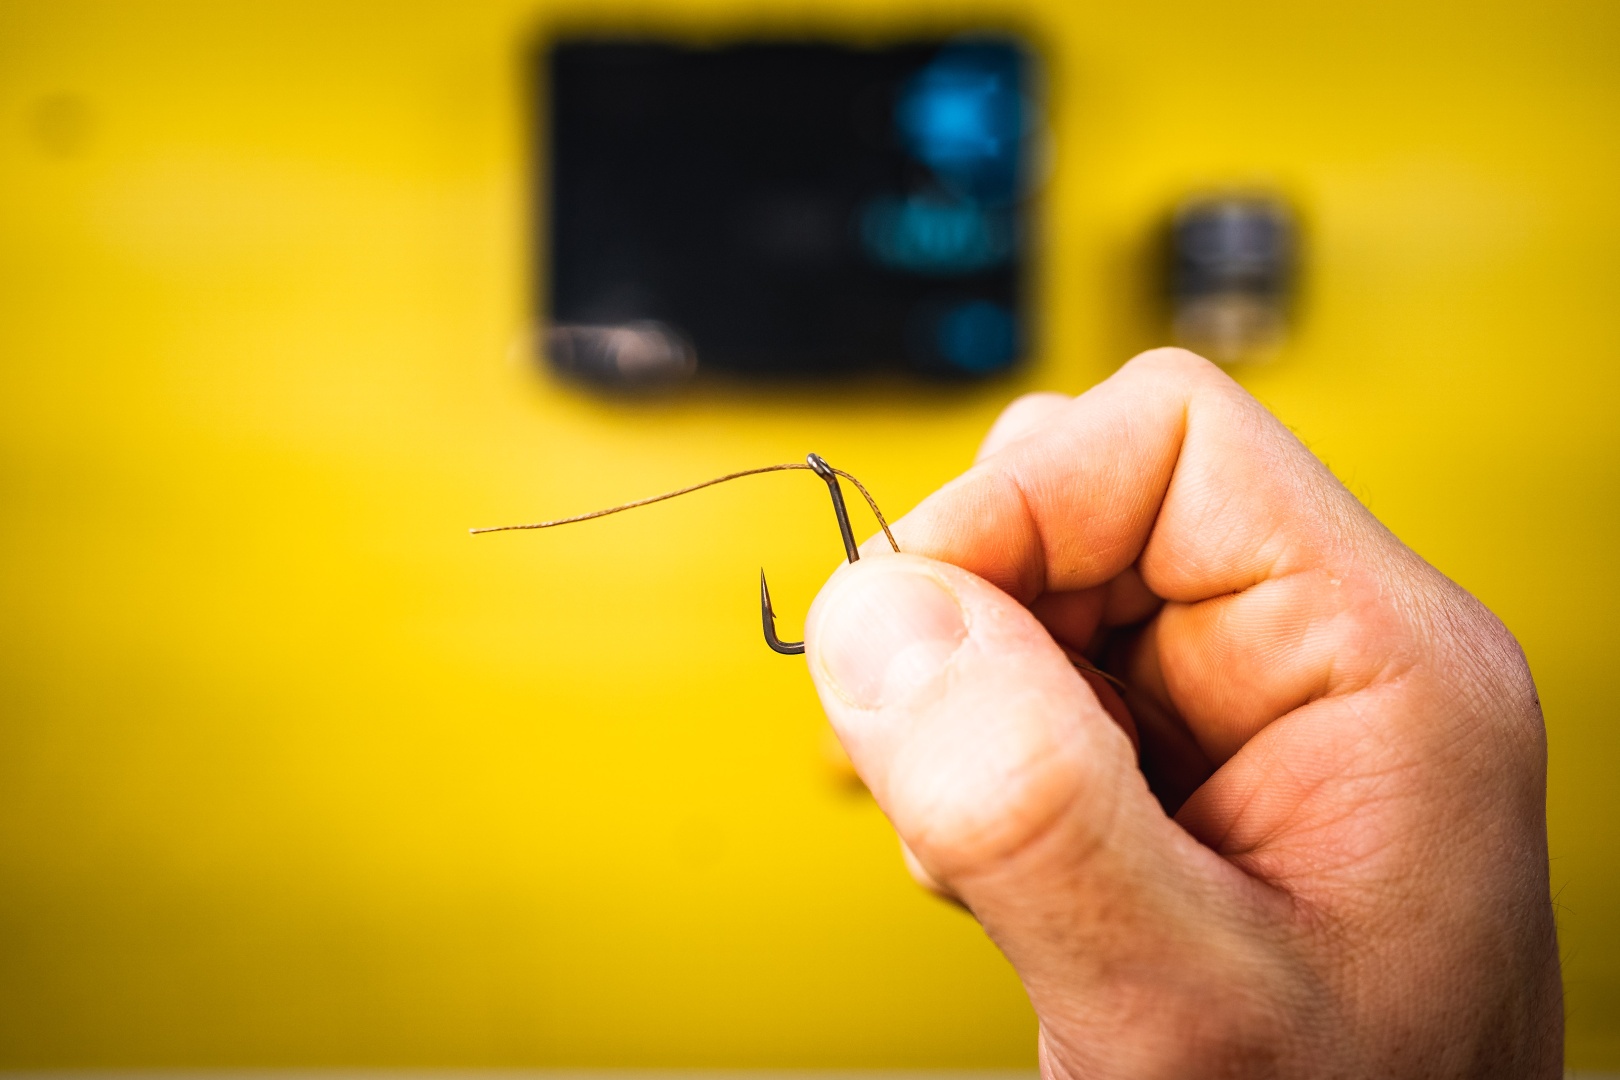
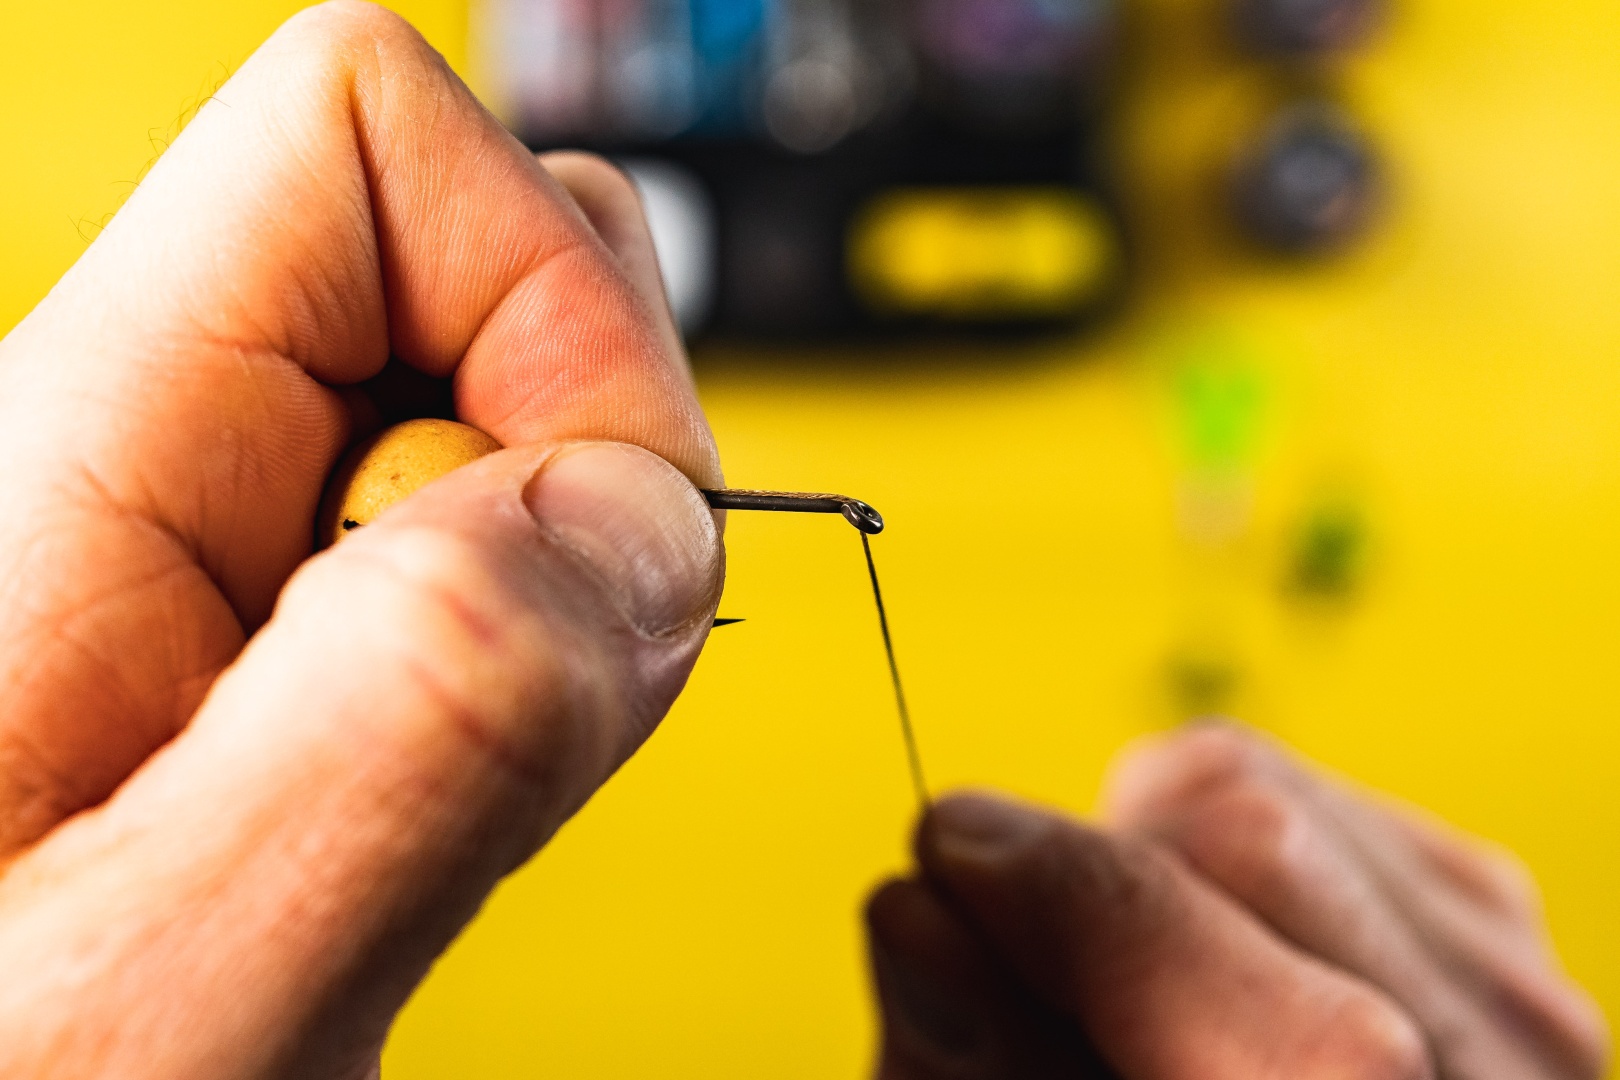
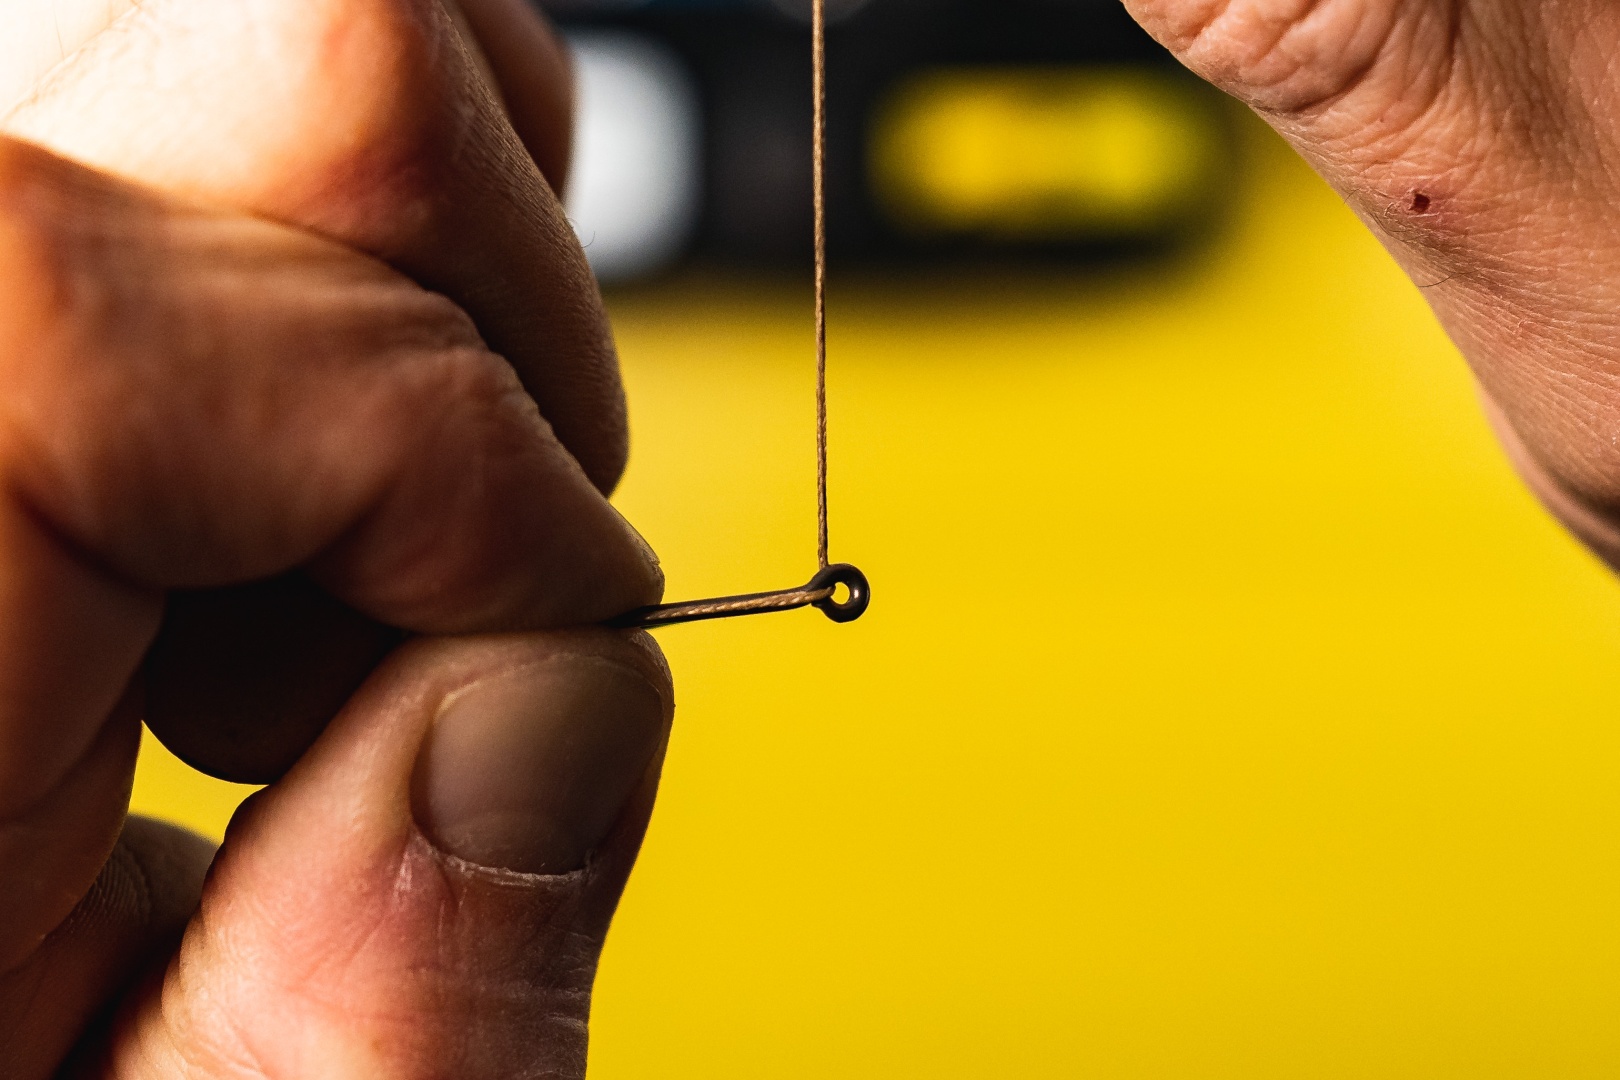
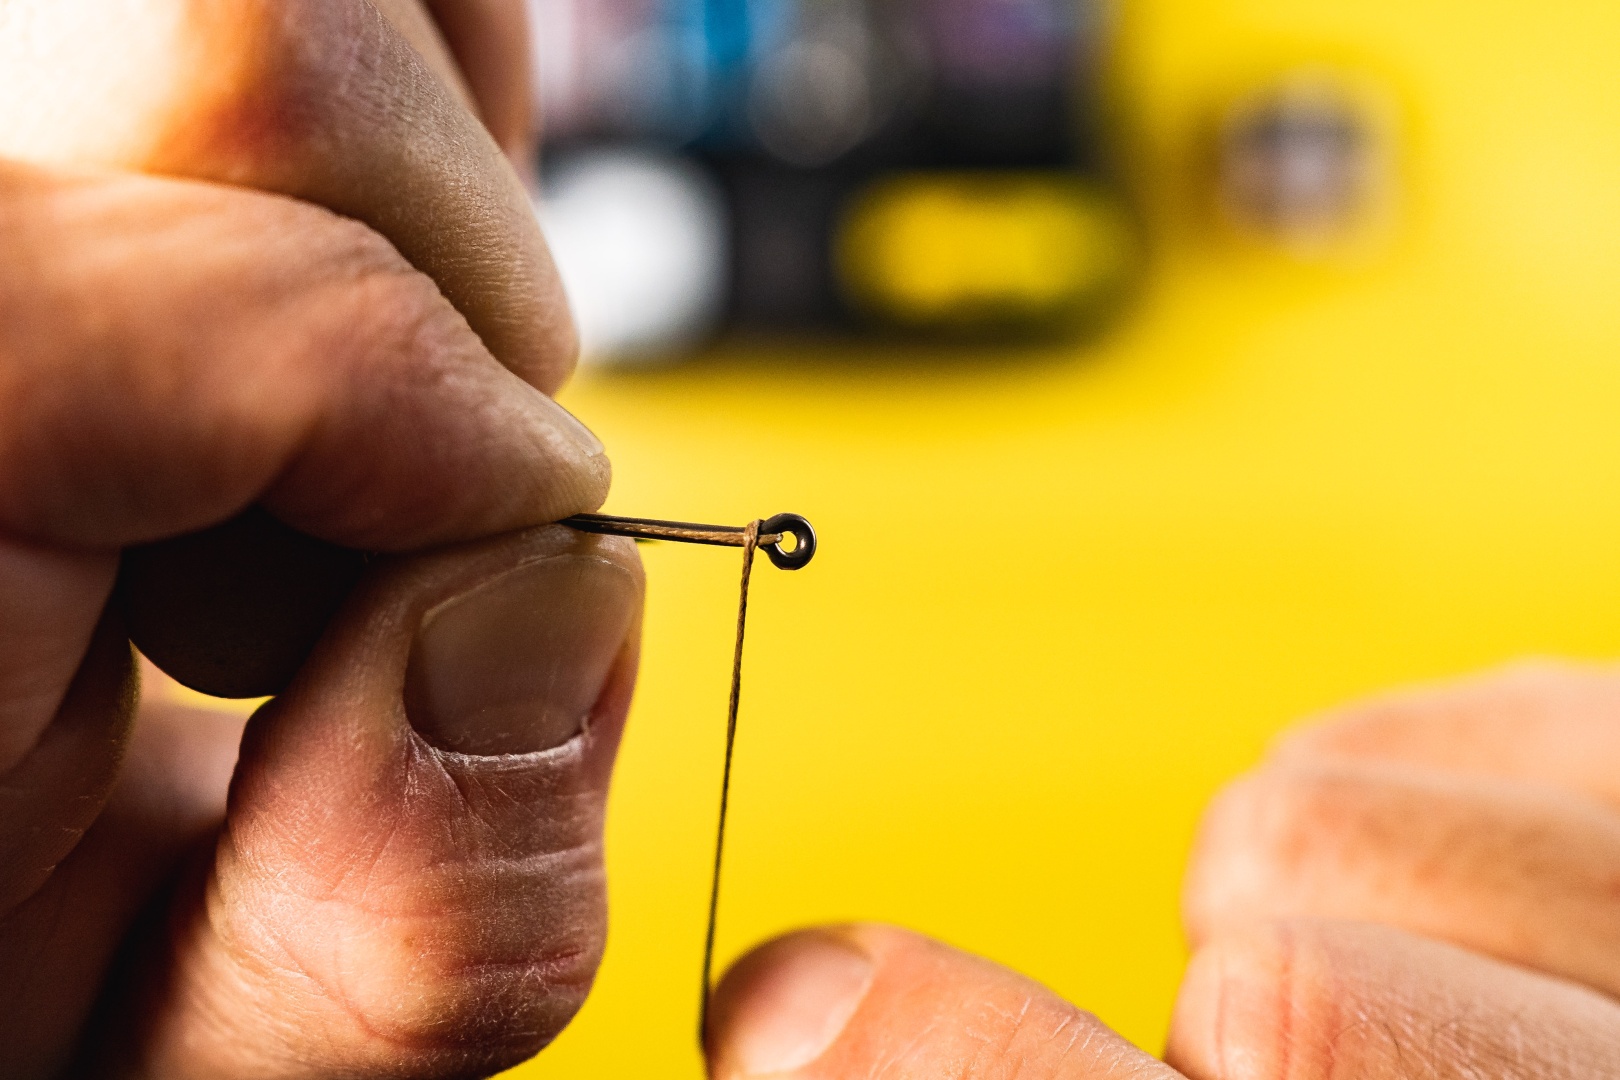
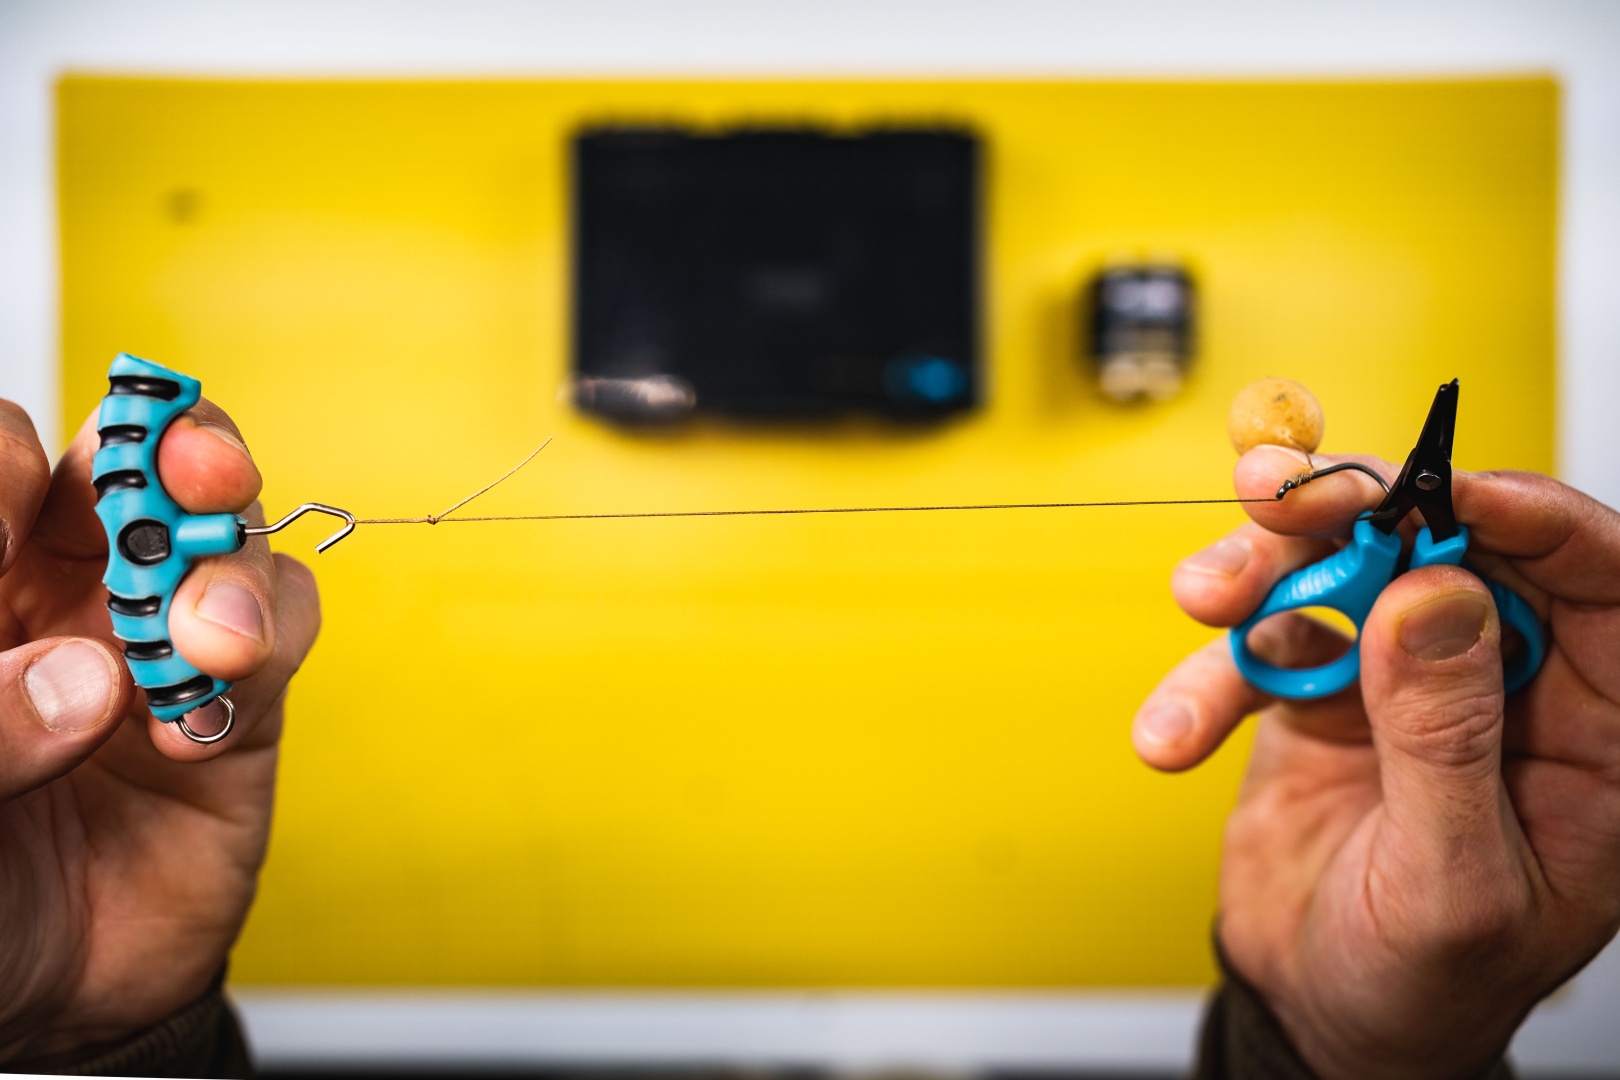
- Soft braided hooklink material
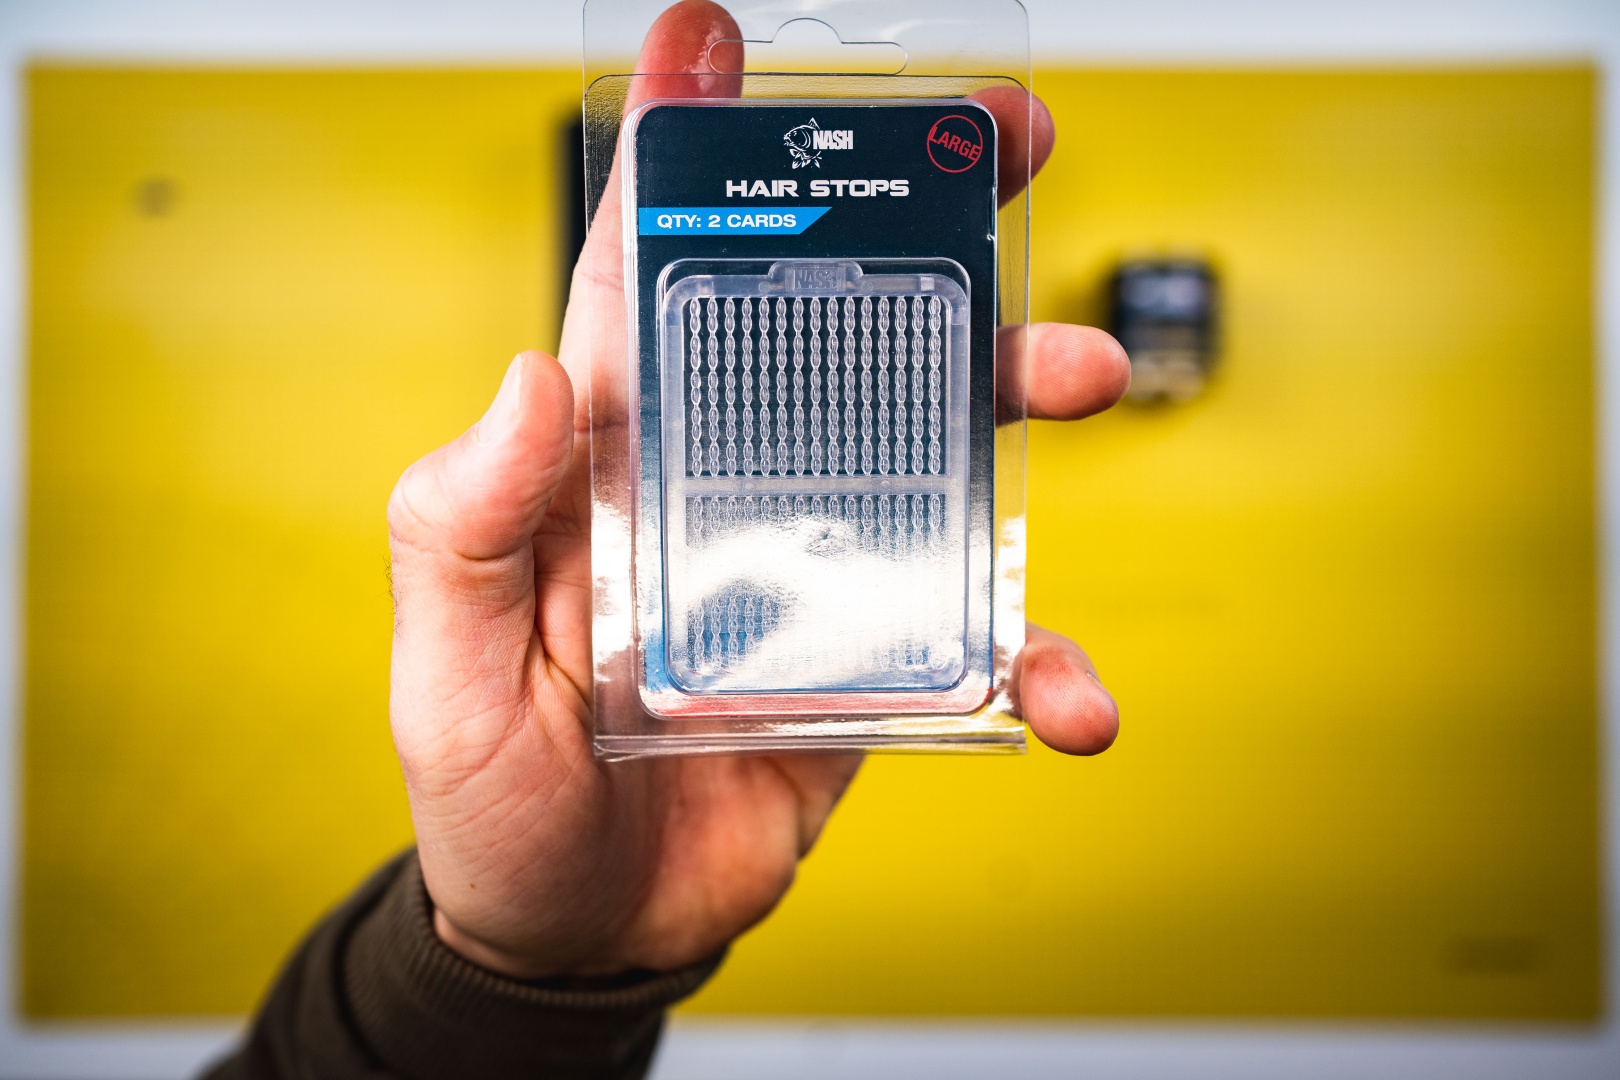
- Bait stop for securing the bait on the hair
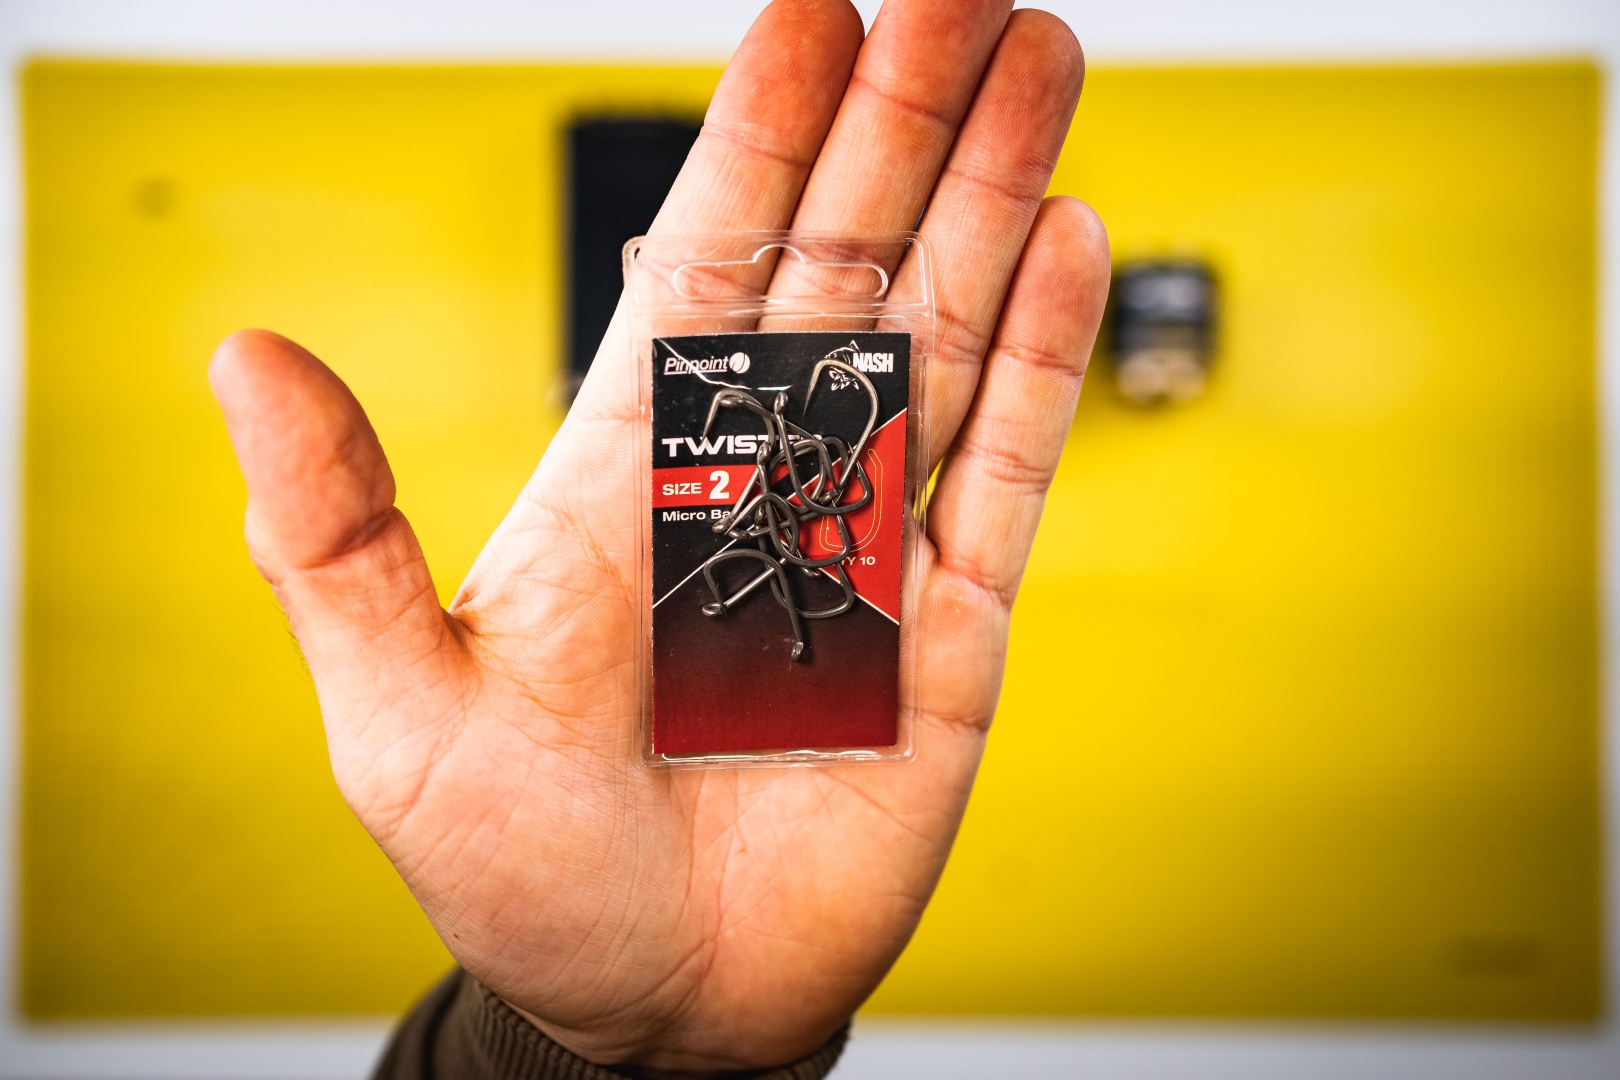
- Carp hook
- Scissors for cutting the braided line
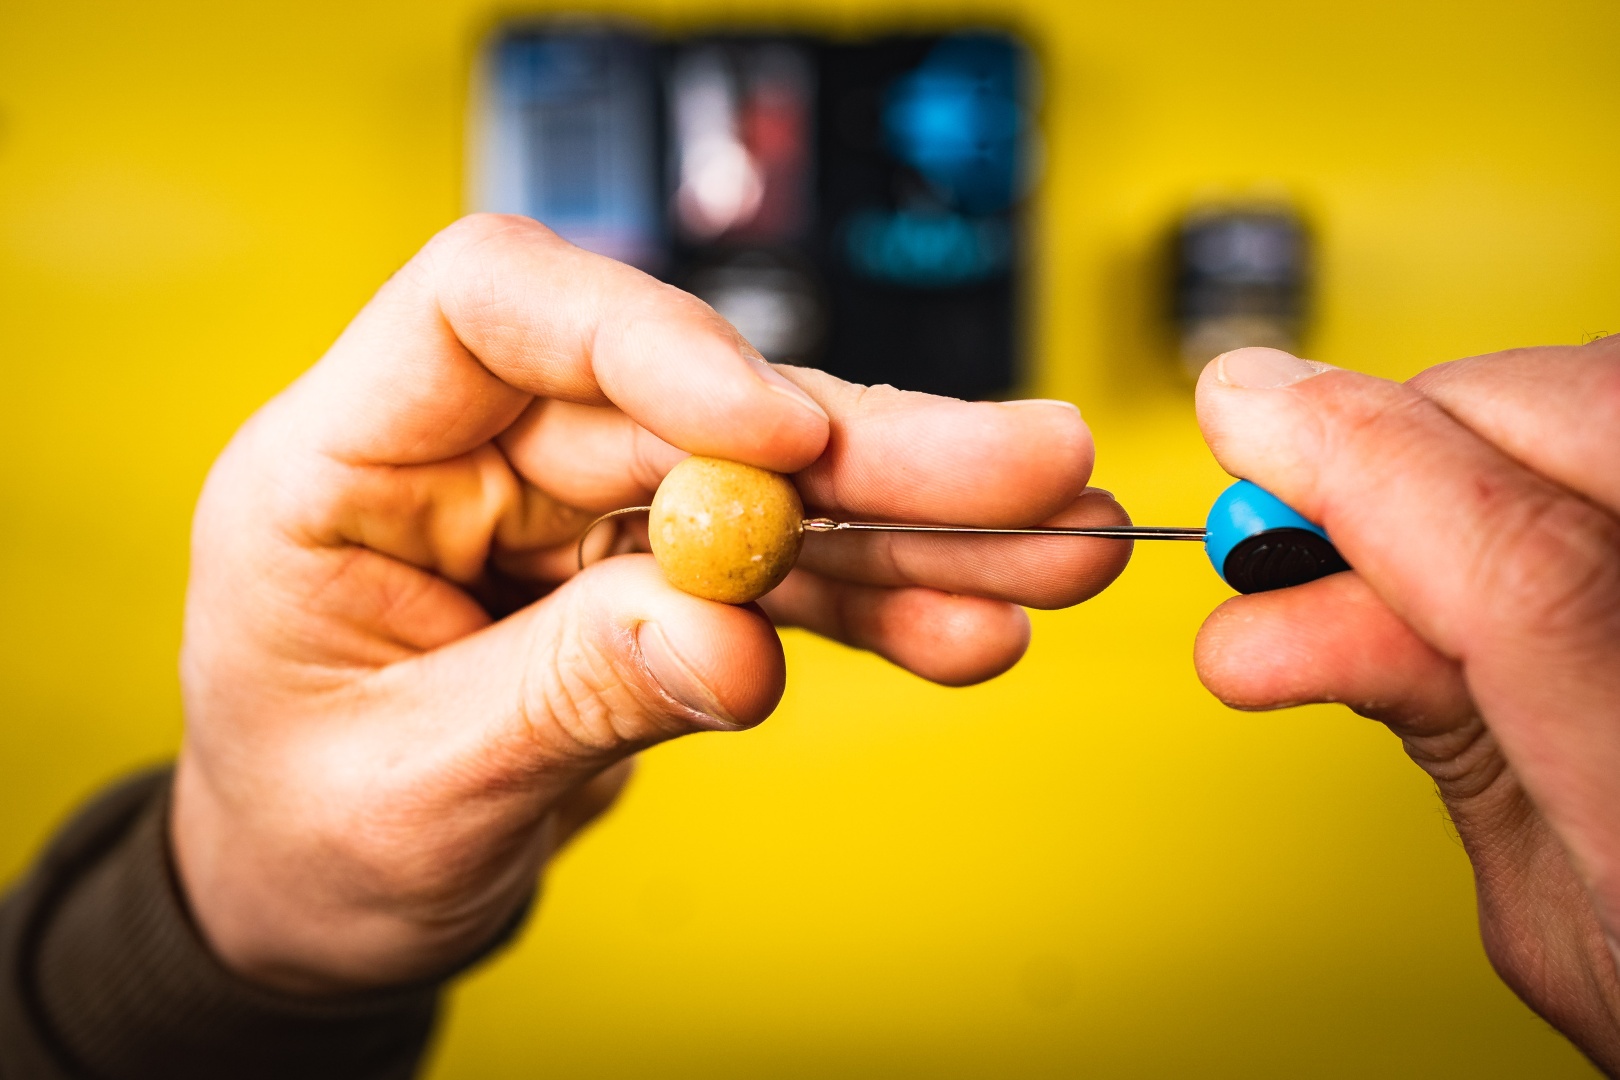
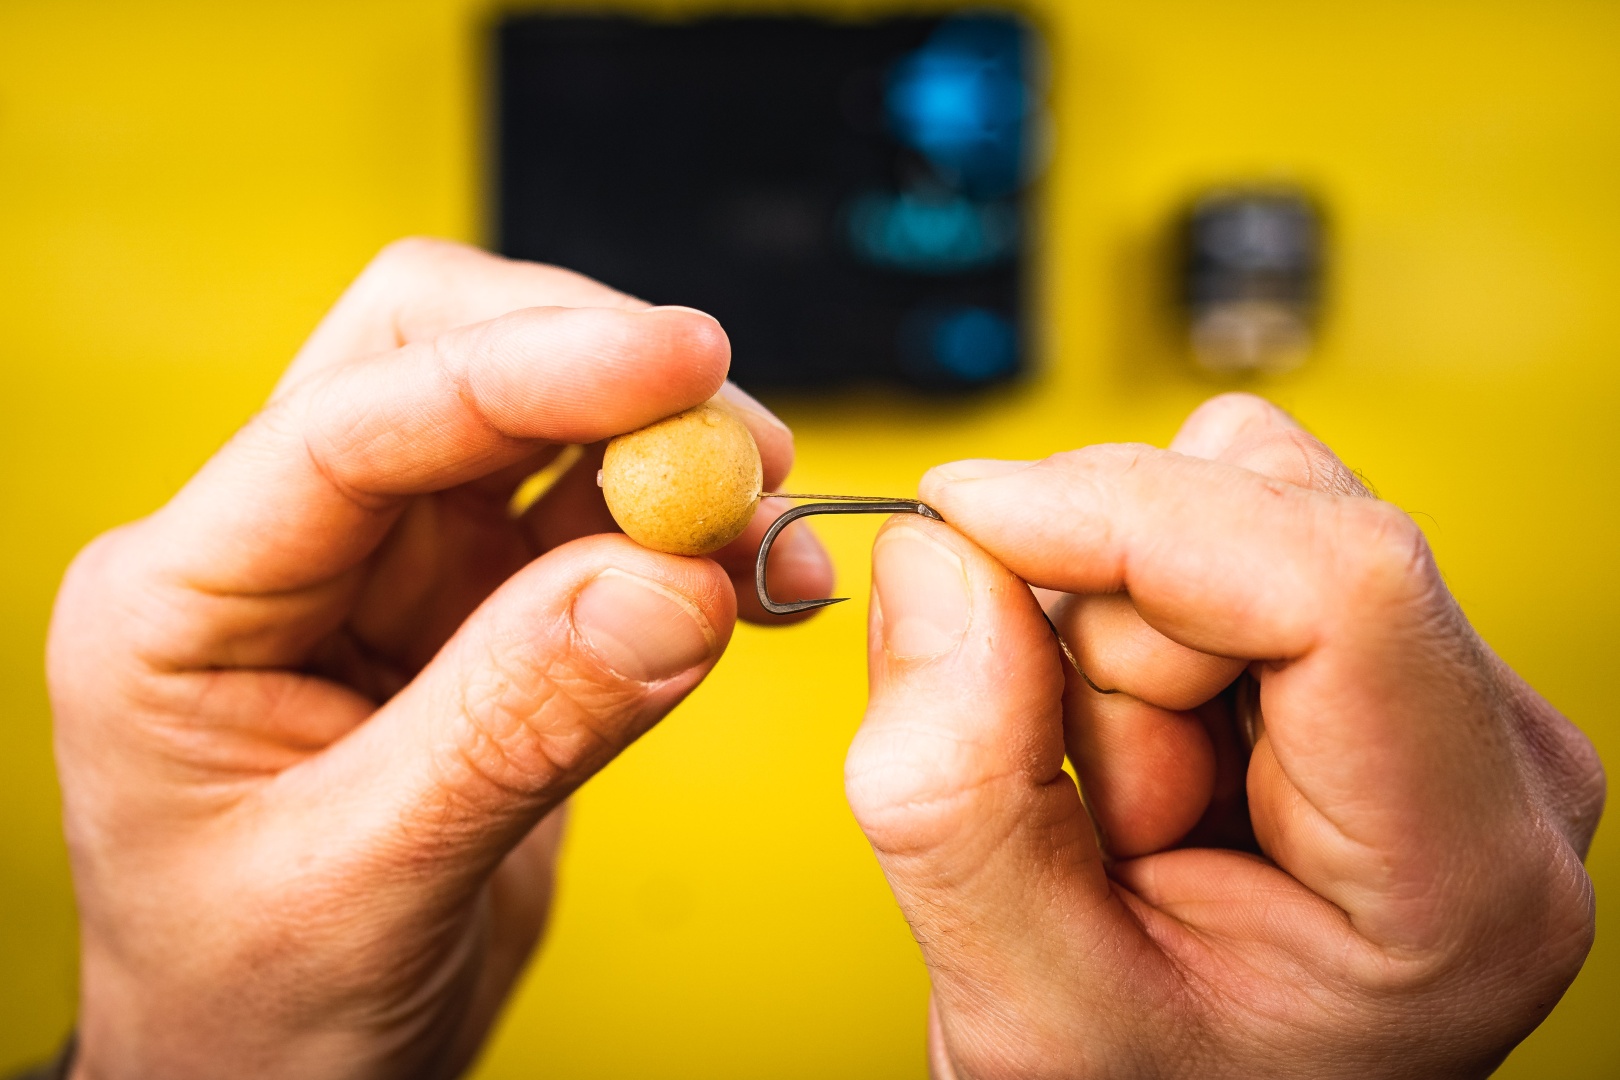
- Baiting needle for threading bait onto the hair
- Knot puller for tightening knots
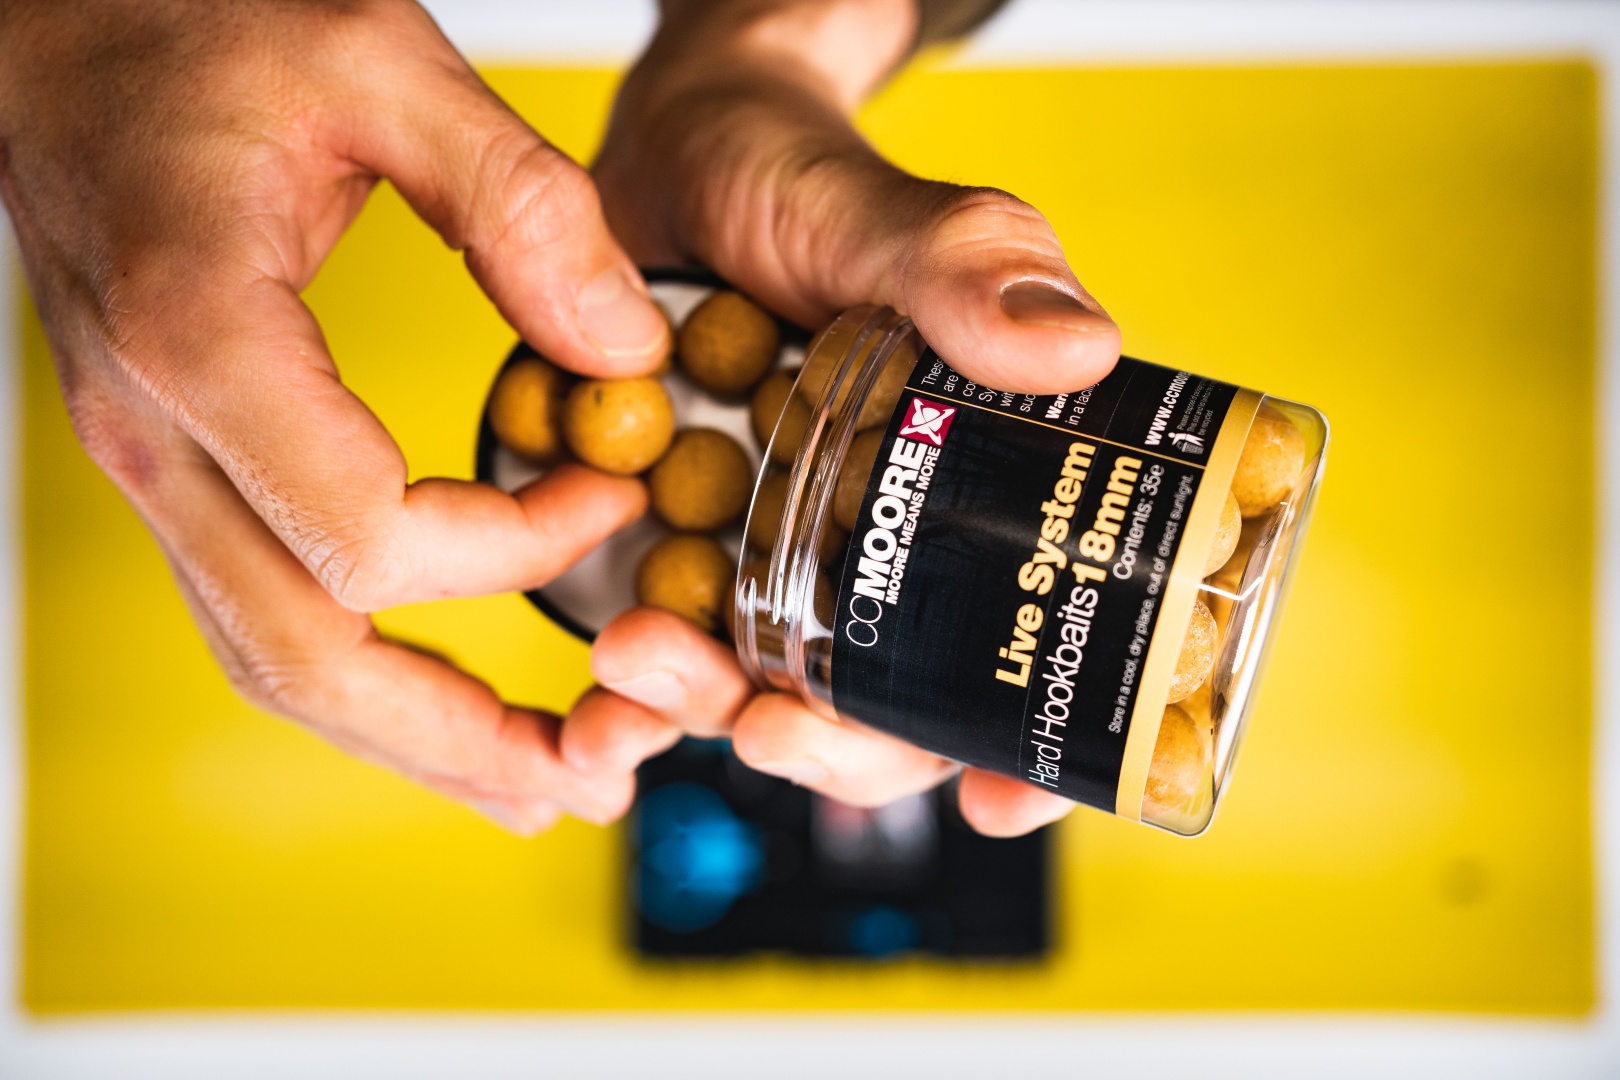
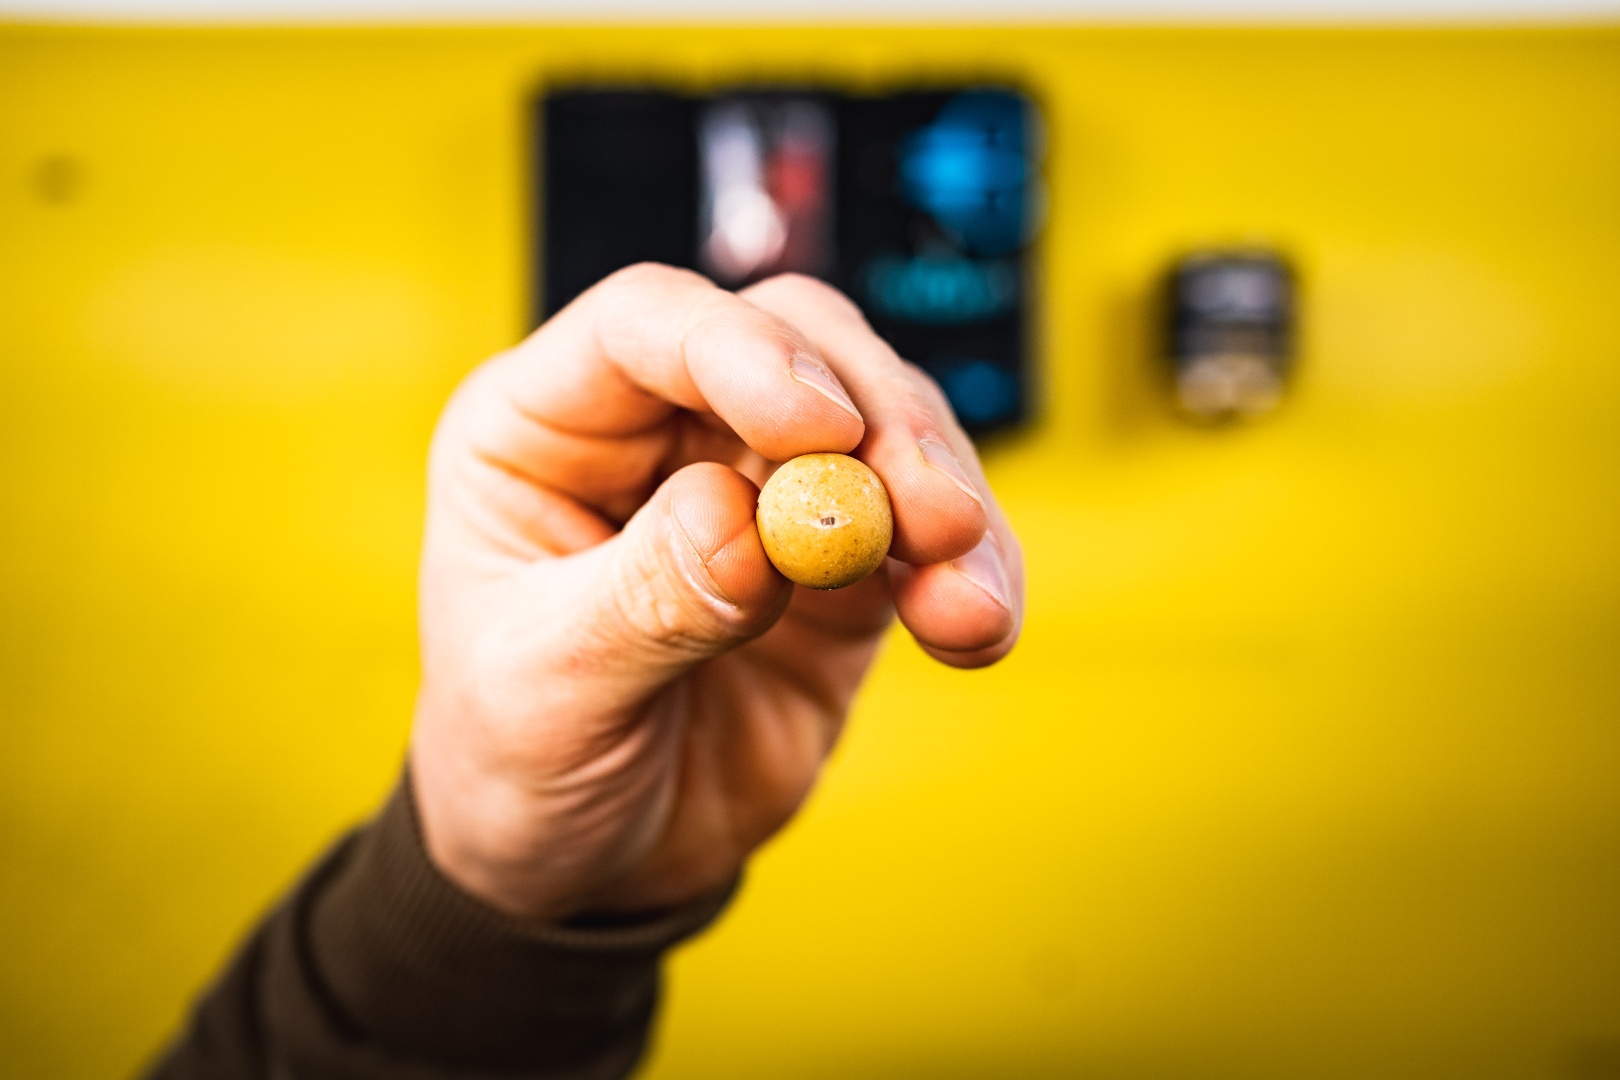
- Bait, in this case a boilie
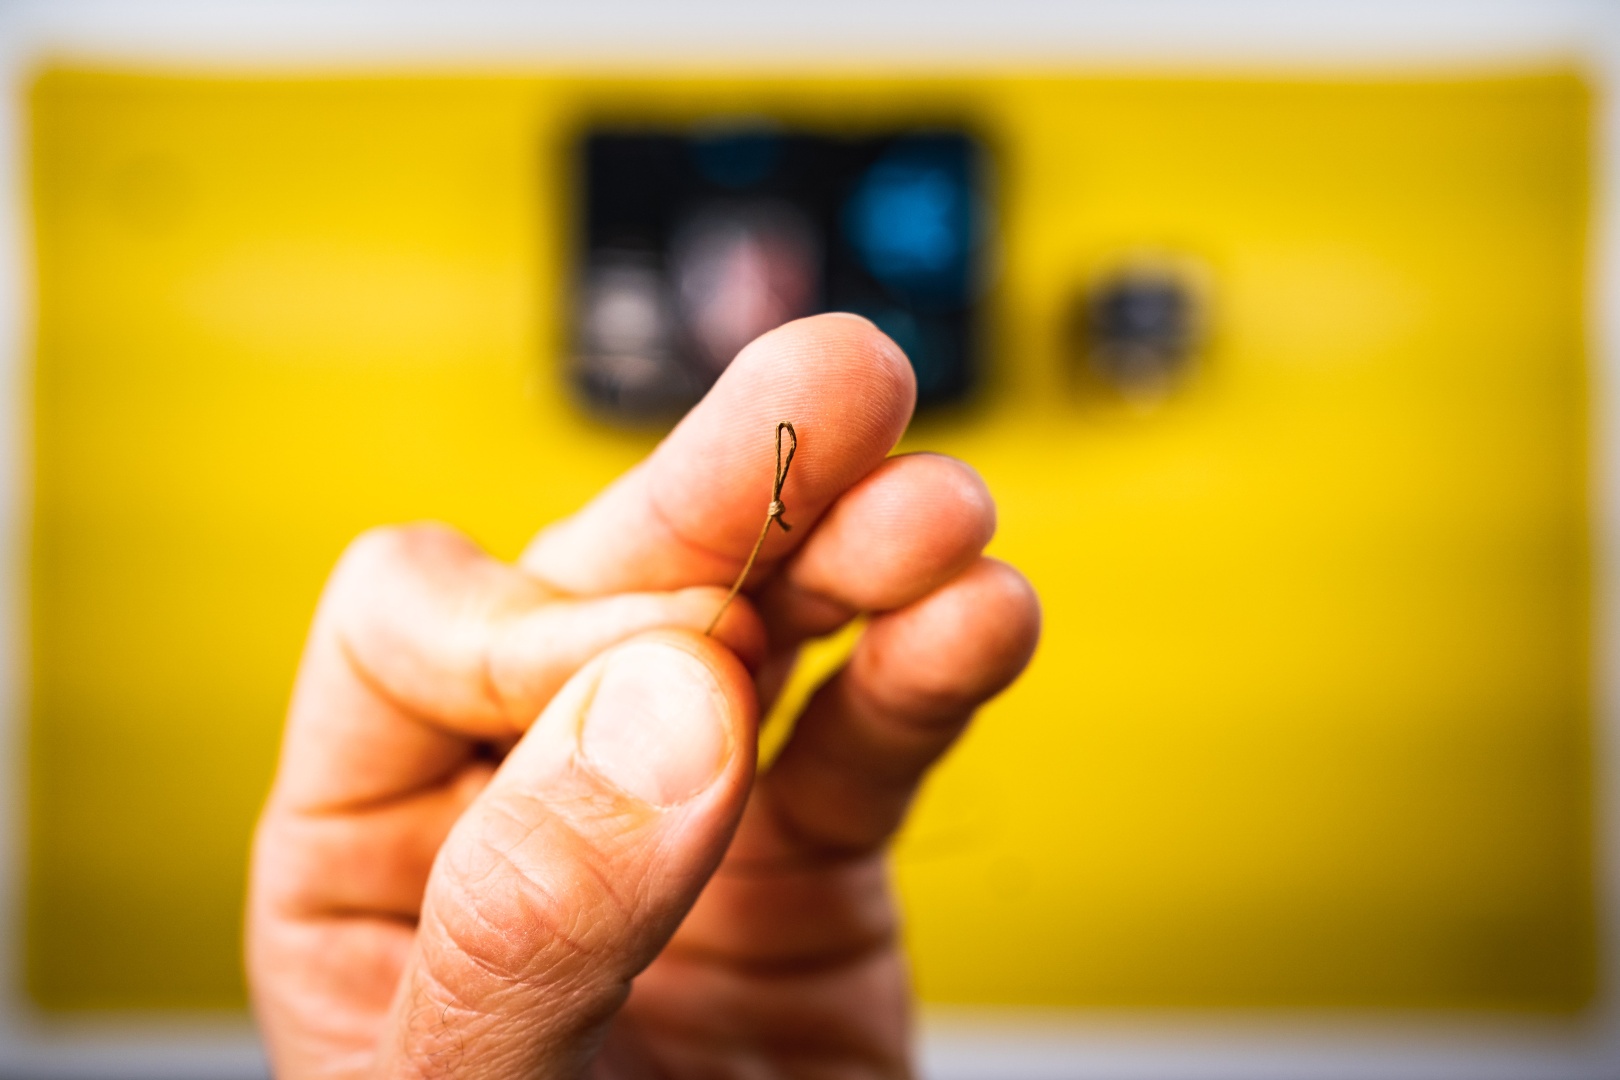
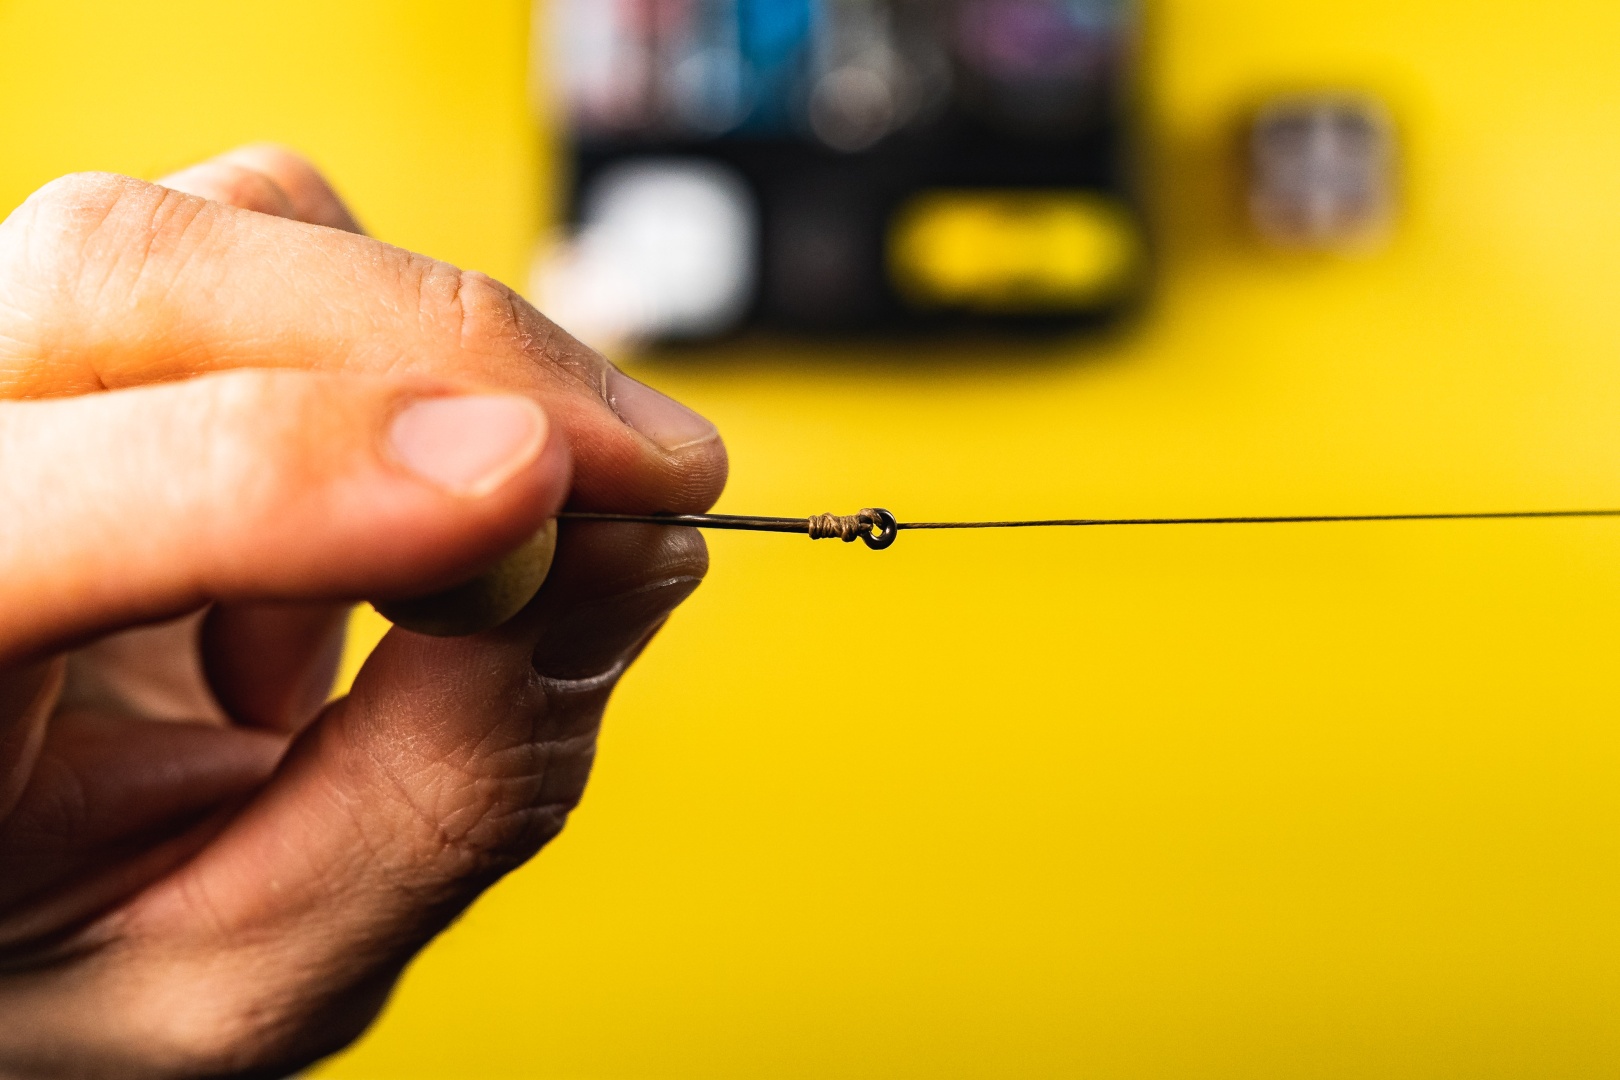
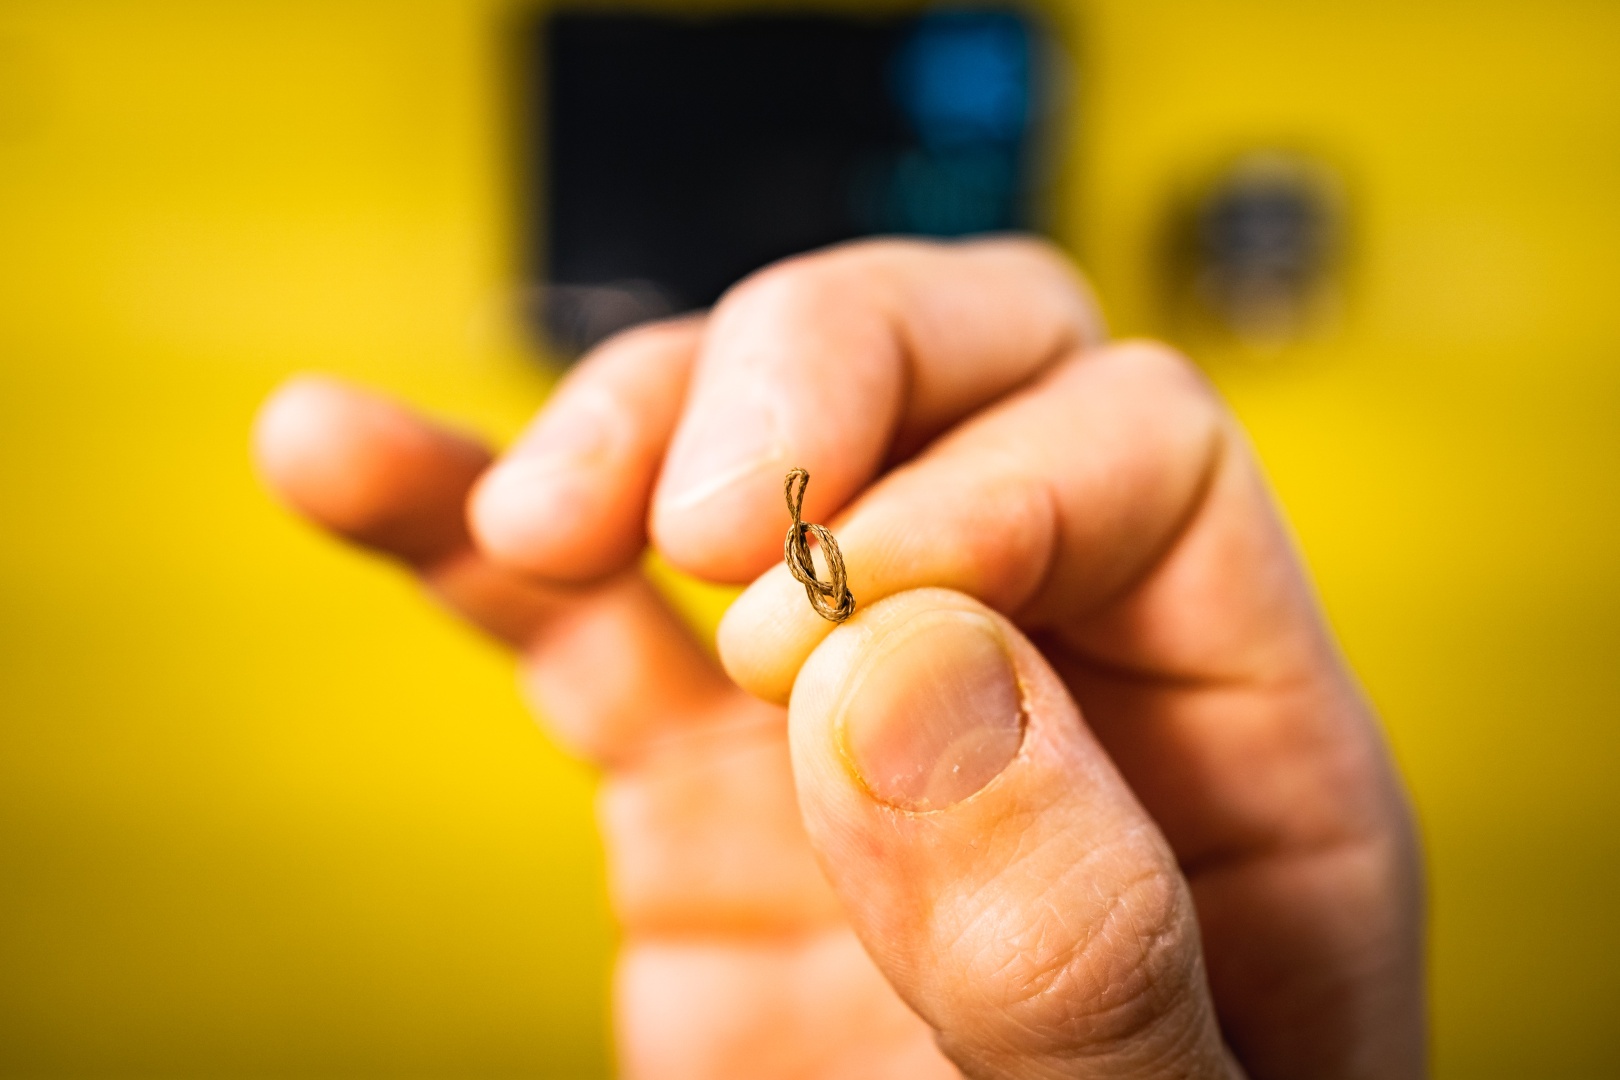
Steps to follow: