Ronnie Rig - The Most Effective Leader for Floating Baits
The Ronnie Rig has taken the carp fishing world by storm over the past few years and has become one of the best rigs for catching big carp on floating baits.
In my opinion, its key feature is its ability to "reset itself." Once cast into the water, this rig will always present itself perfectly. When dealing with a lot of small fish in the venue, some of our rigs can be lifted, moved around, and can end up presenting poorly, which affects hookset efficiency negatively. With the Ronnie Rig, this issue will never occur.
Add Rockworld-carpshop.com to your preferred sources in Google!
```html
When can you use this rig?
This is a rig that is perfectly suited for fishing with floating baits and can be used in most situations, at any fishery. Regardless of whether you are placing the rig on a hard, gravel bottom, in silt, or on vegetation-covered lakebeds.
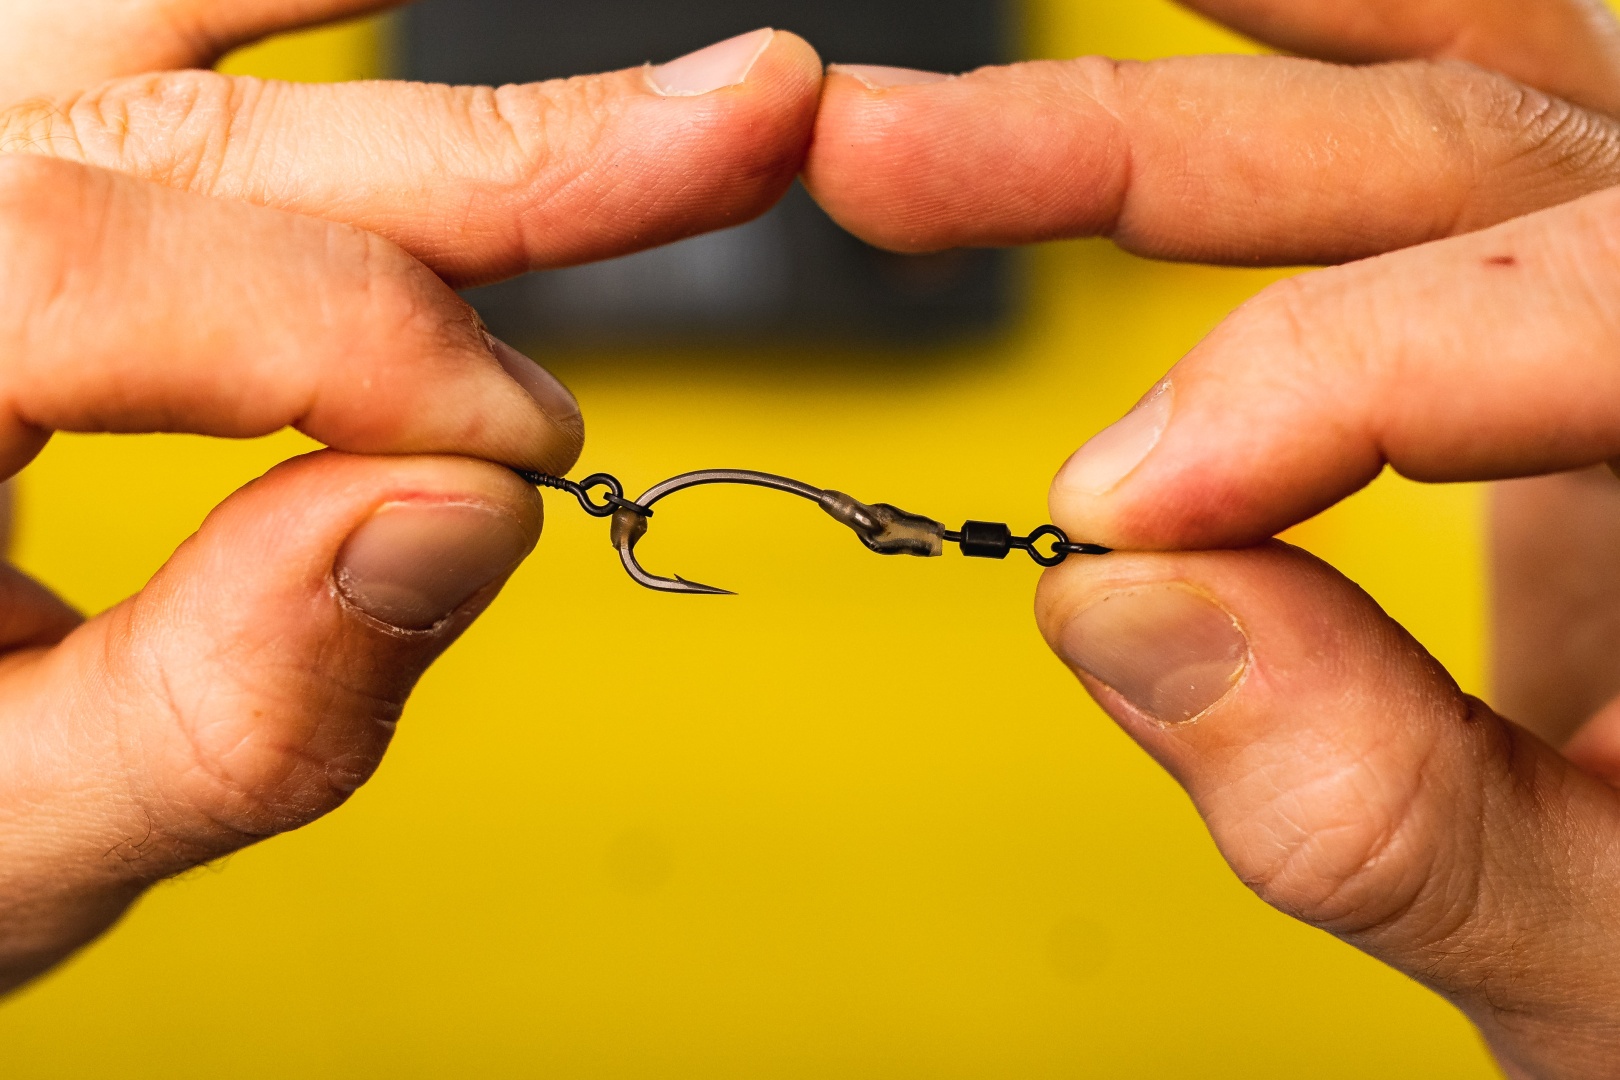
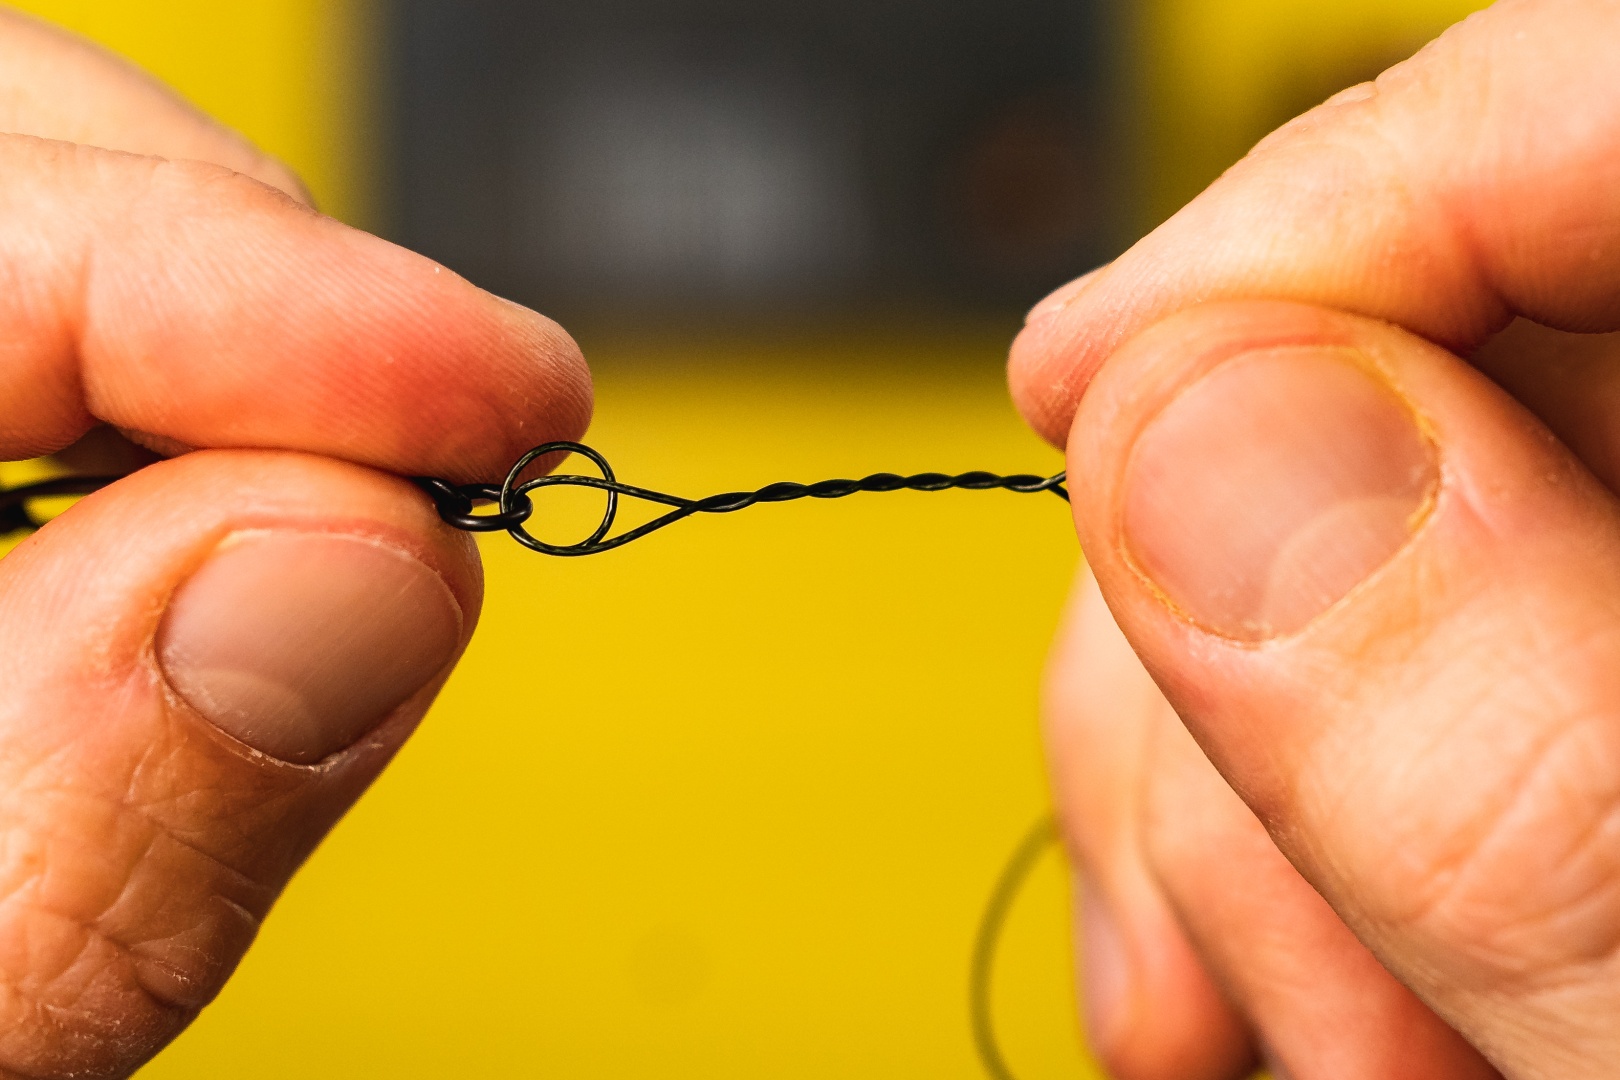
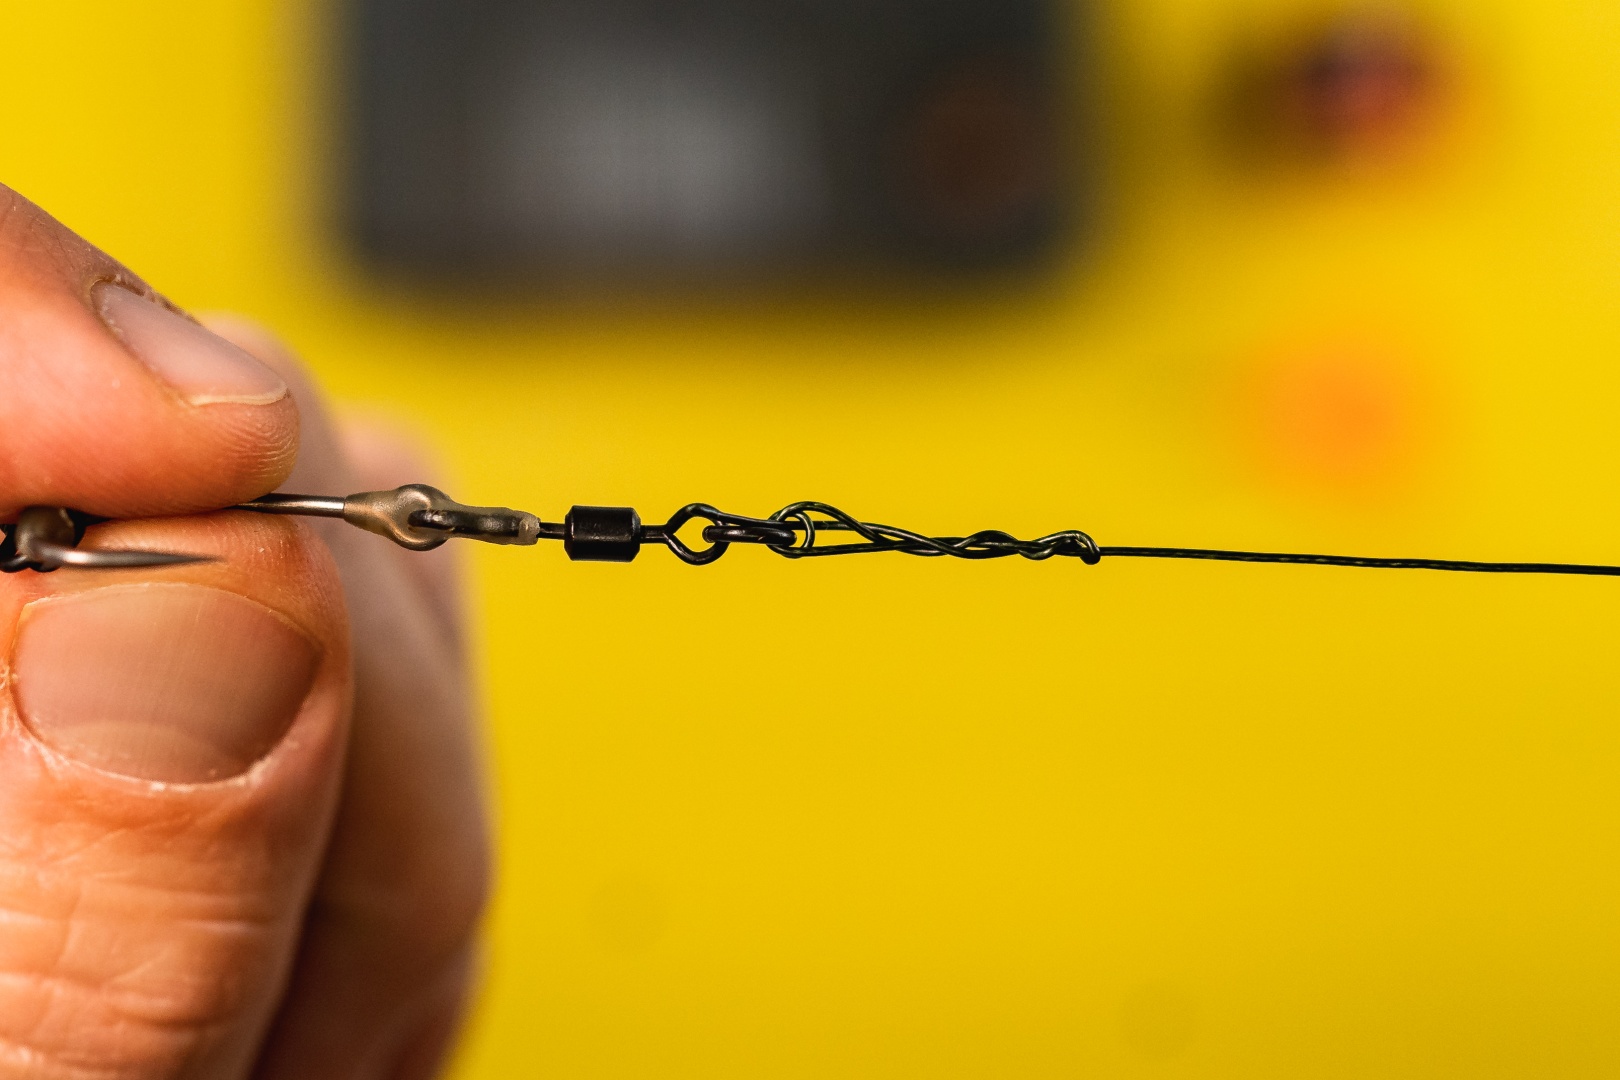
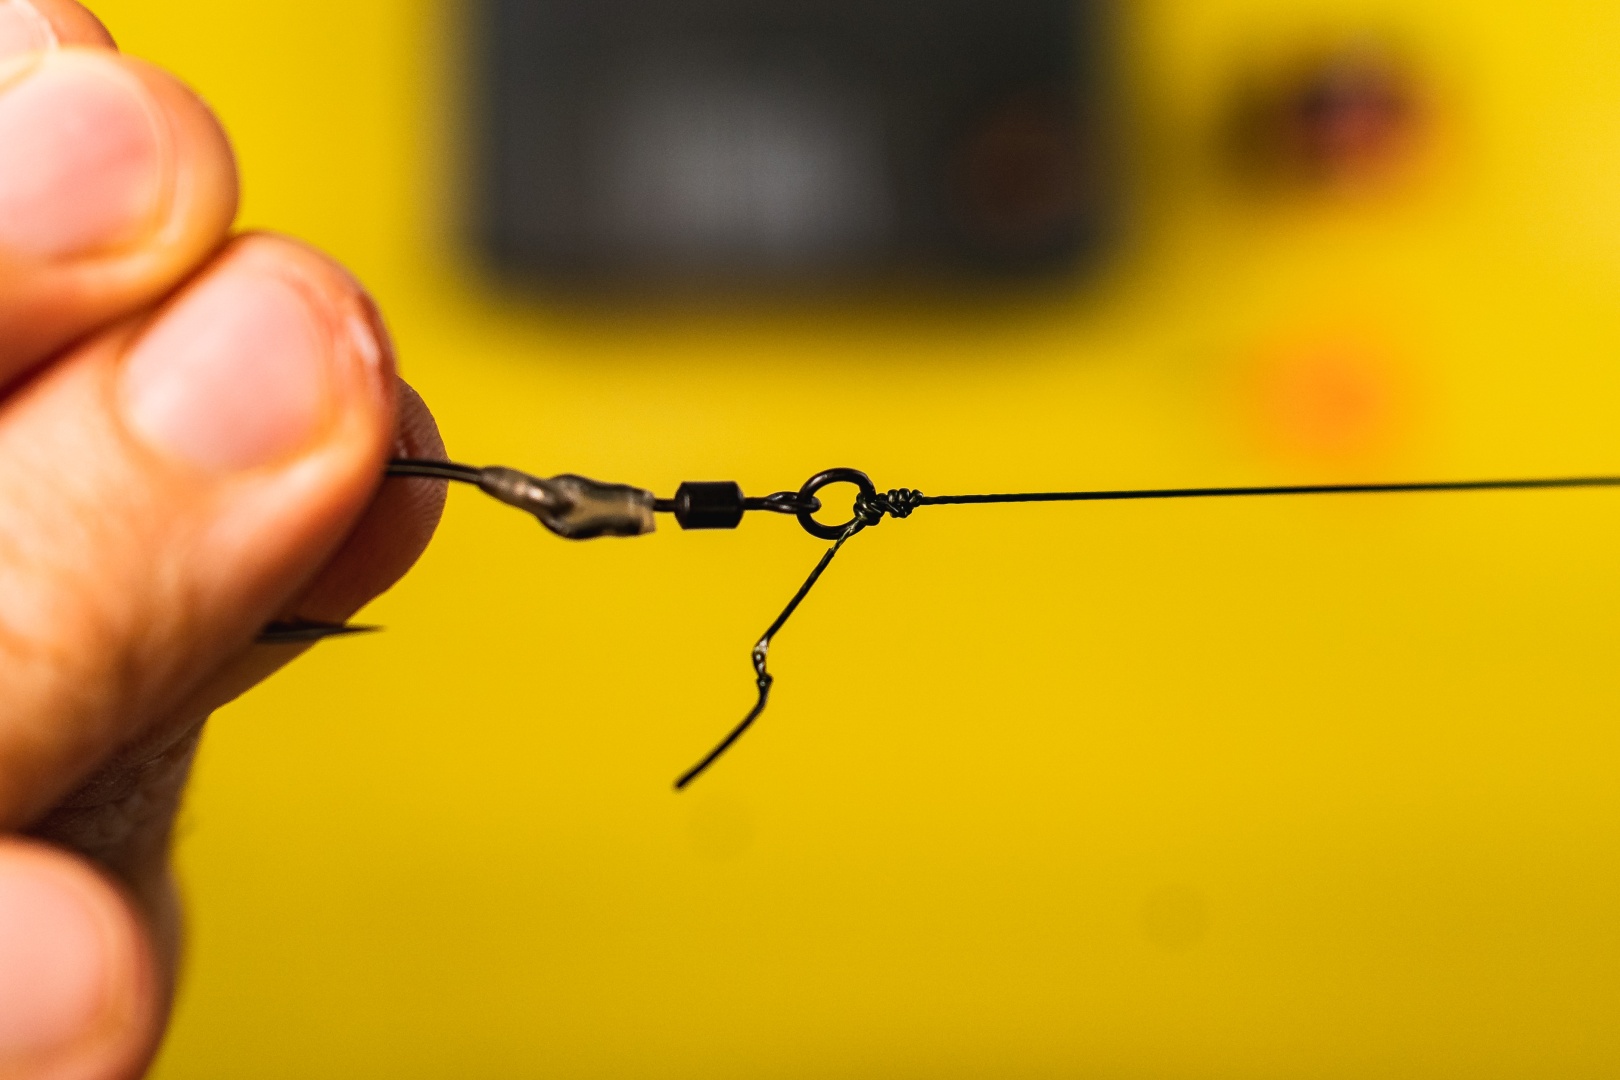
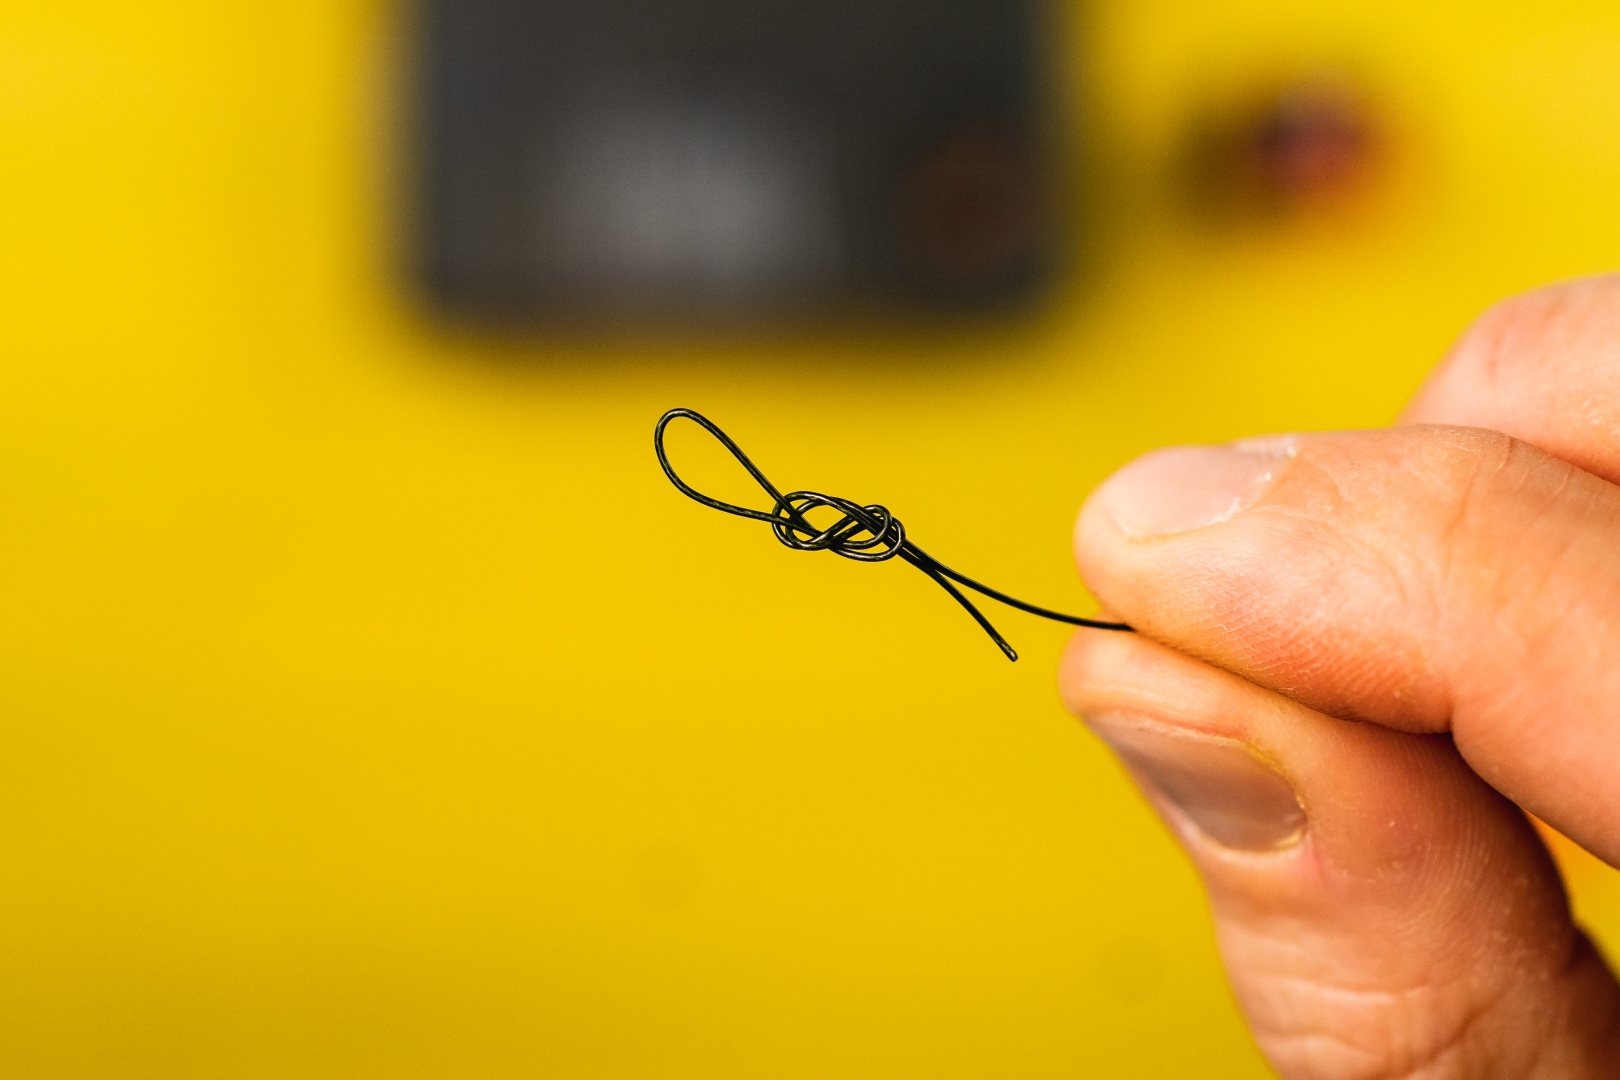
Below, we will show you how to prepare such a rig "step by step" and I am confident that a well-prepared rig will bring you more than one catch.
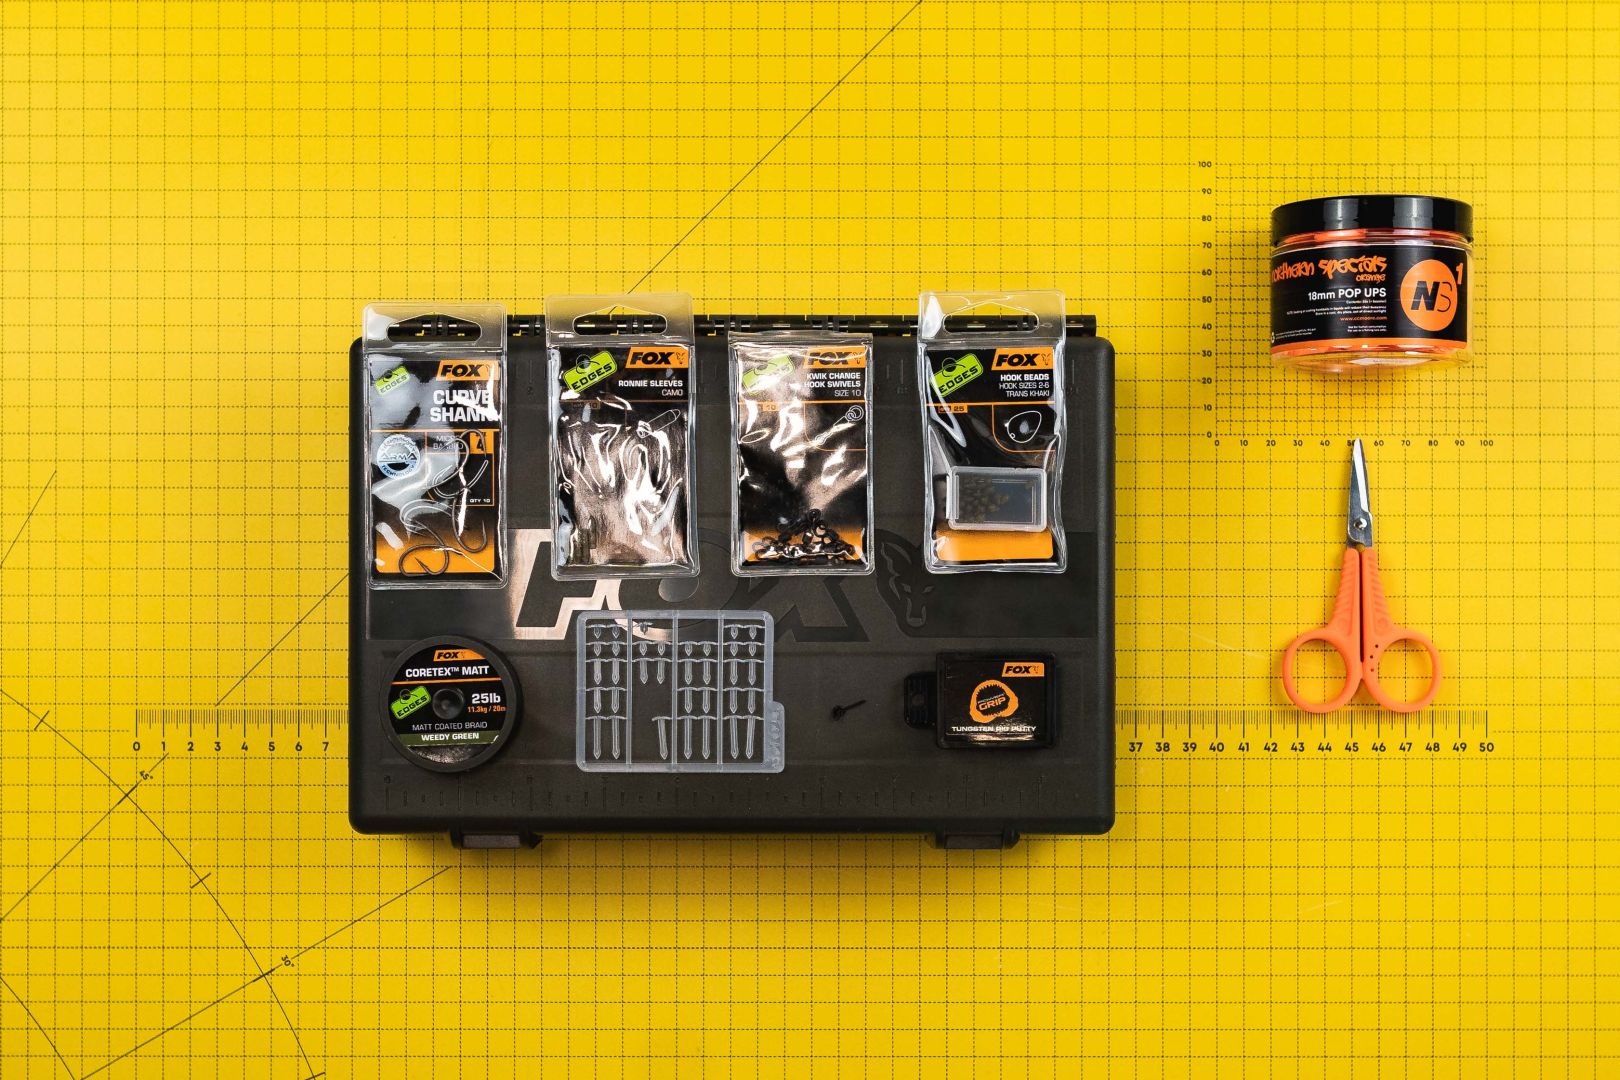
What accessories do you need to tie such a rig?
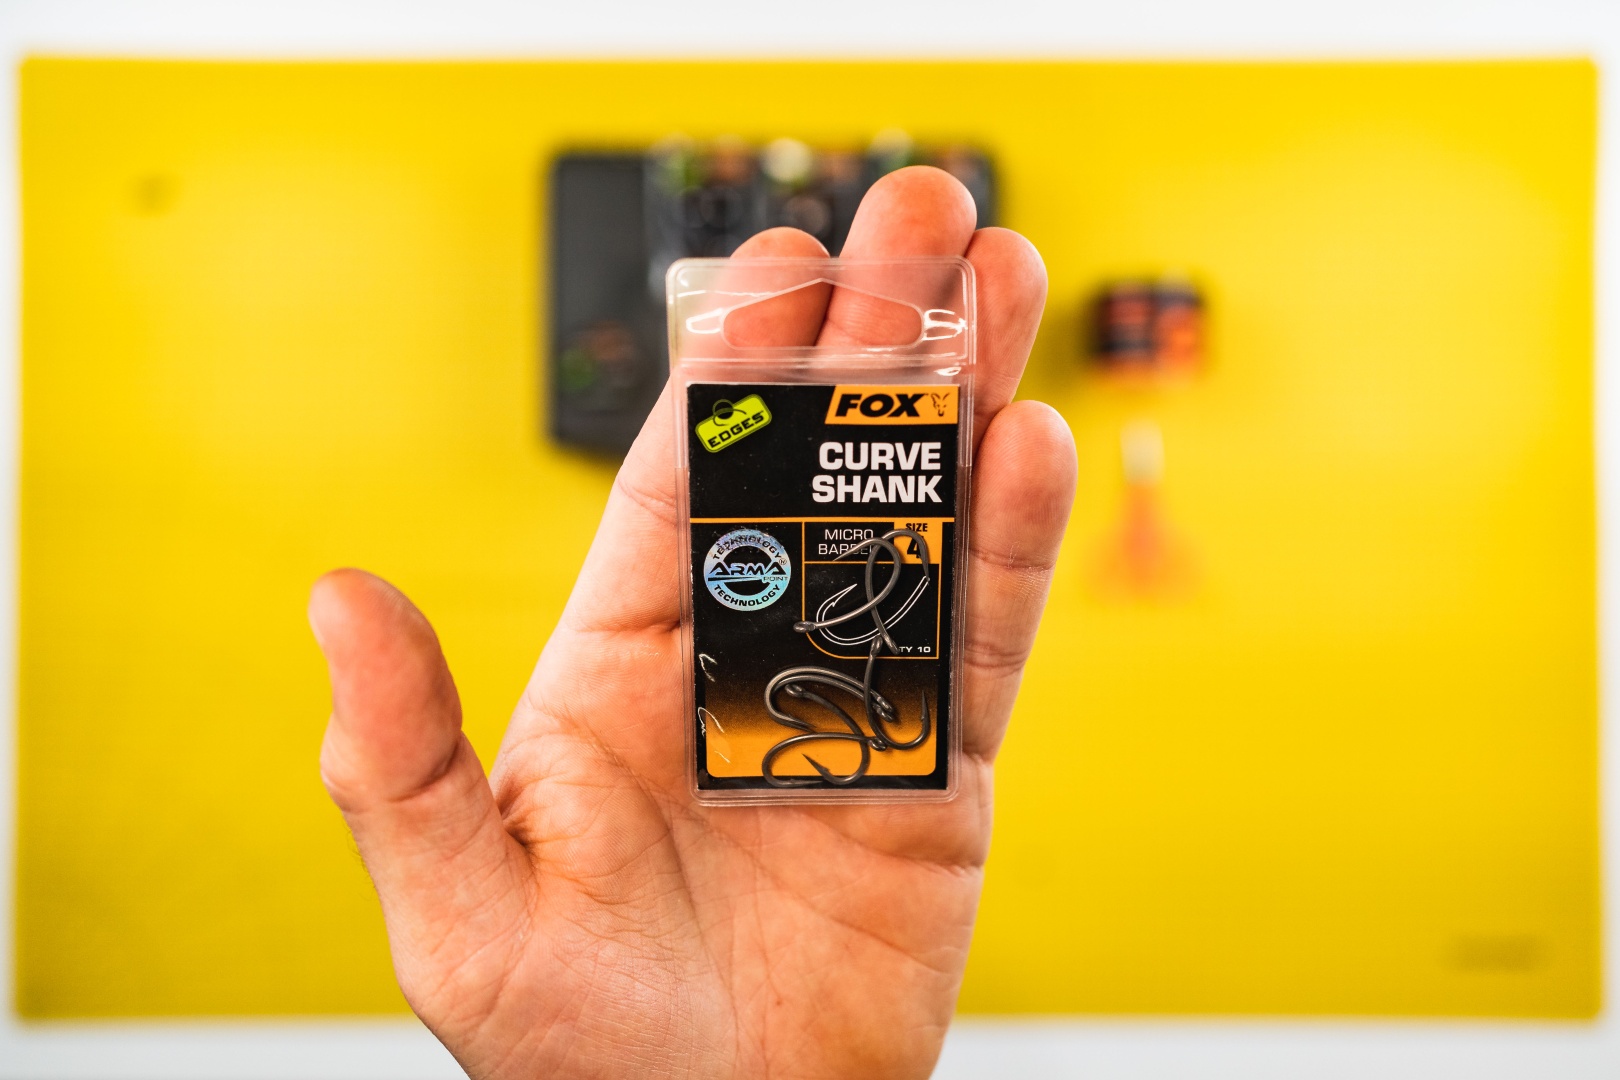
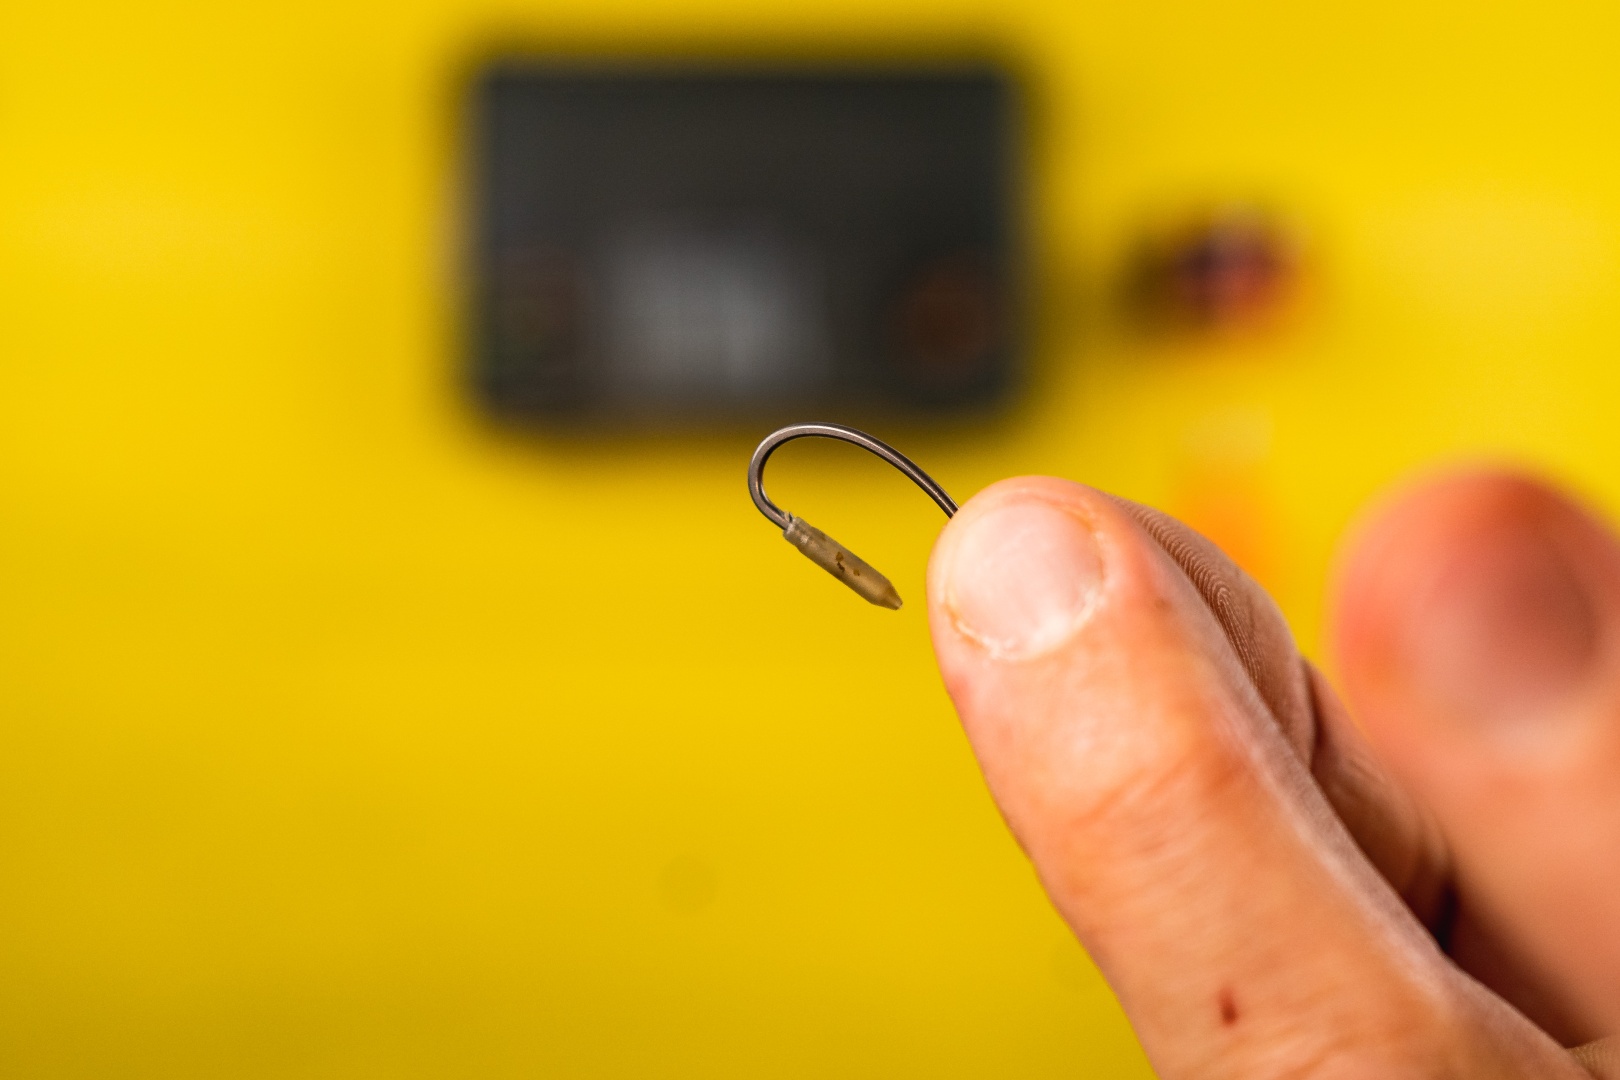
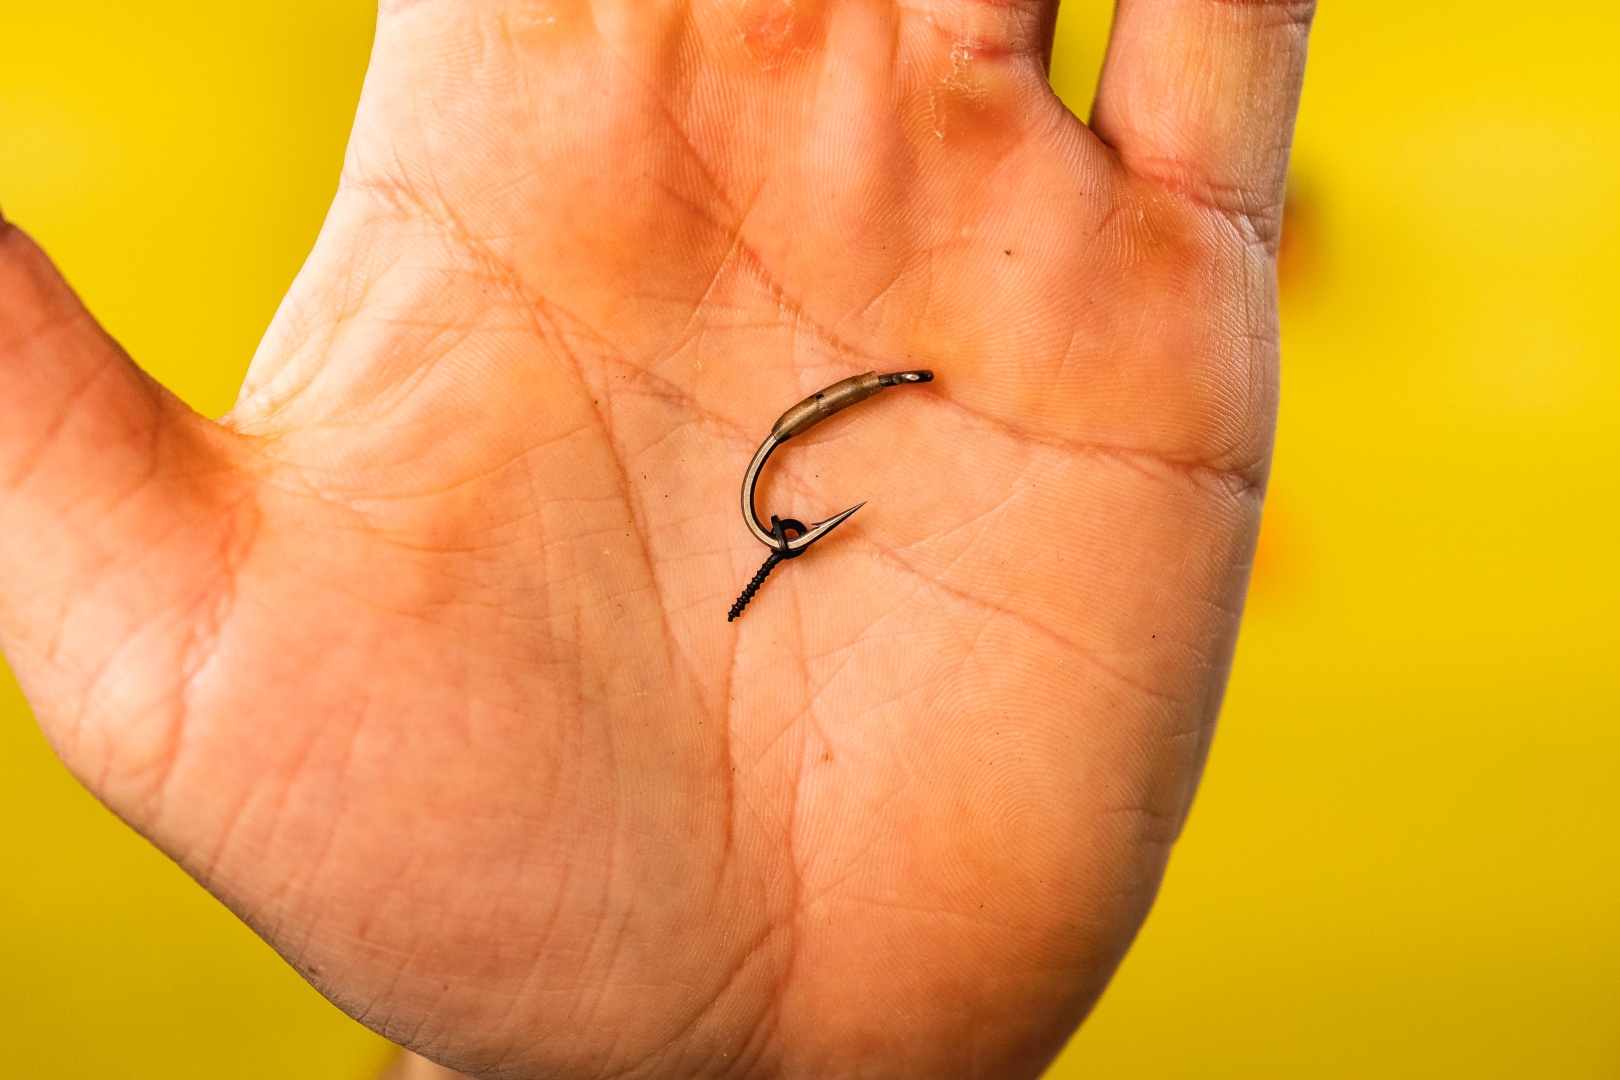
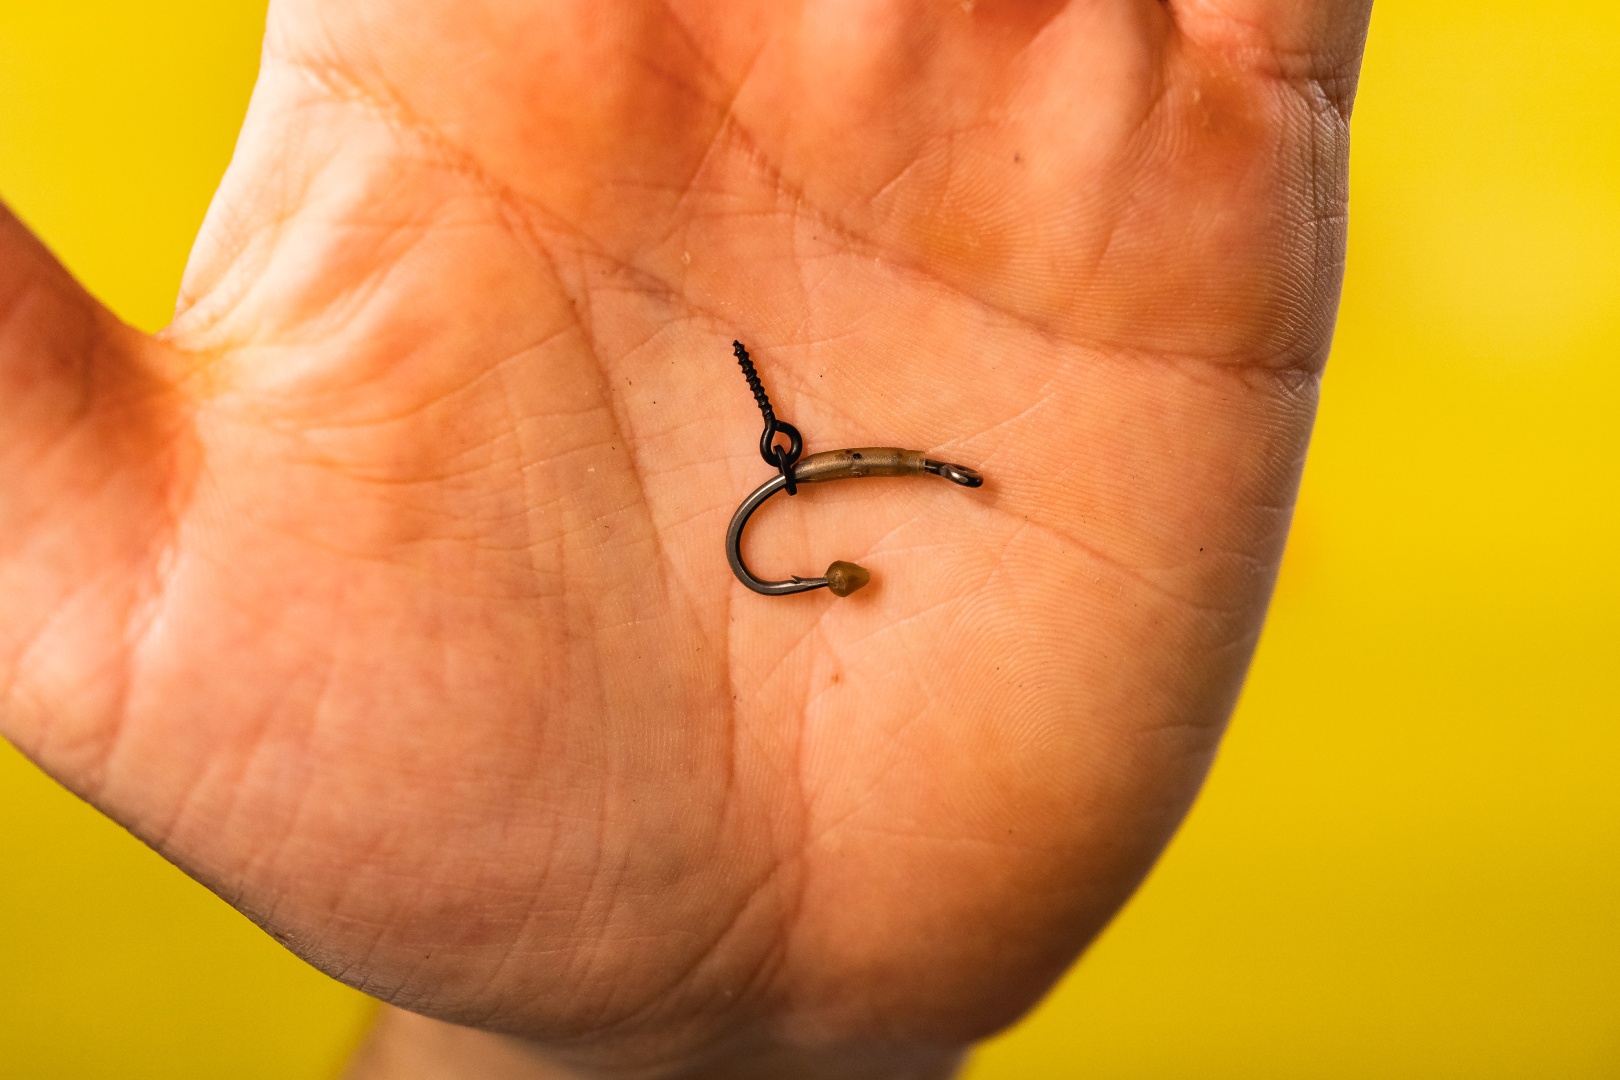
- Hook type "Curved shank"
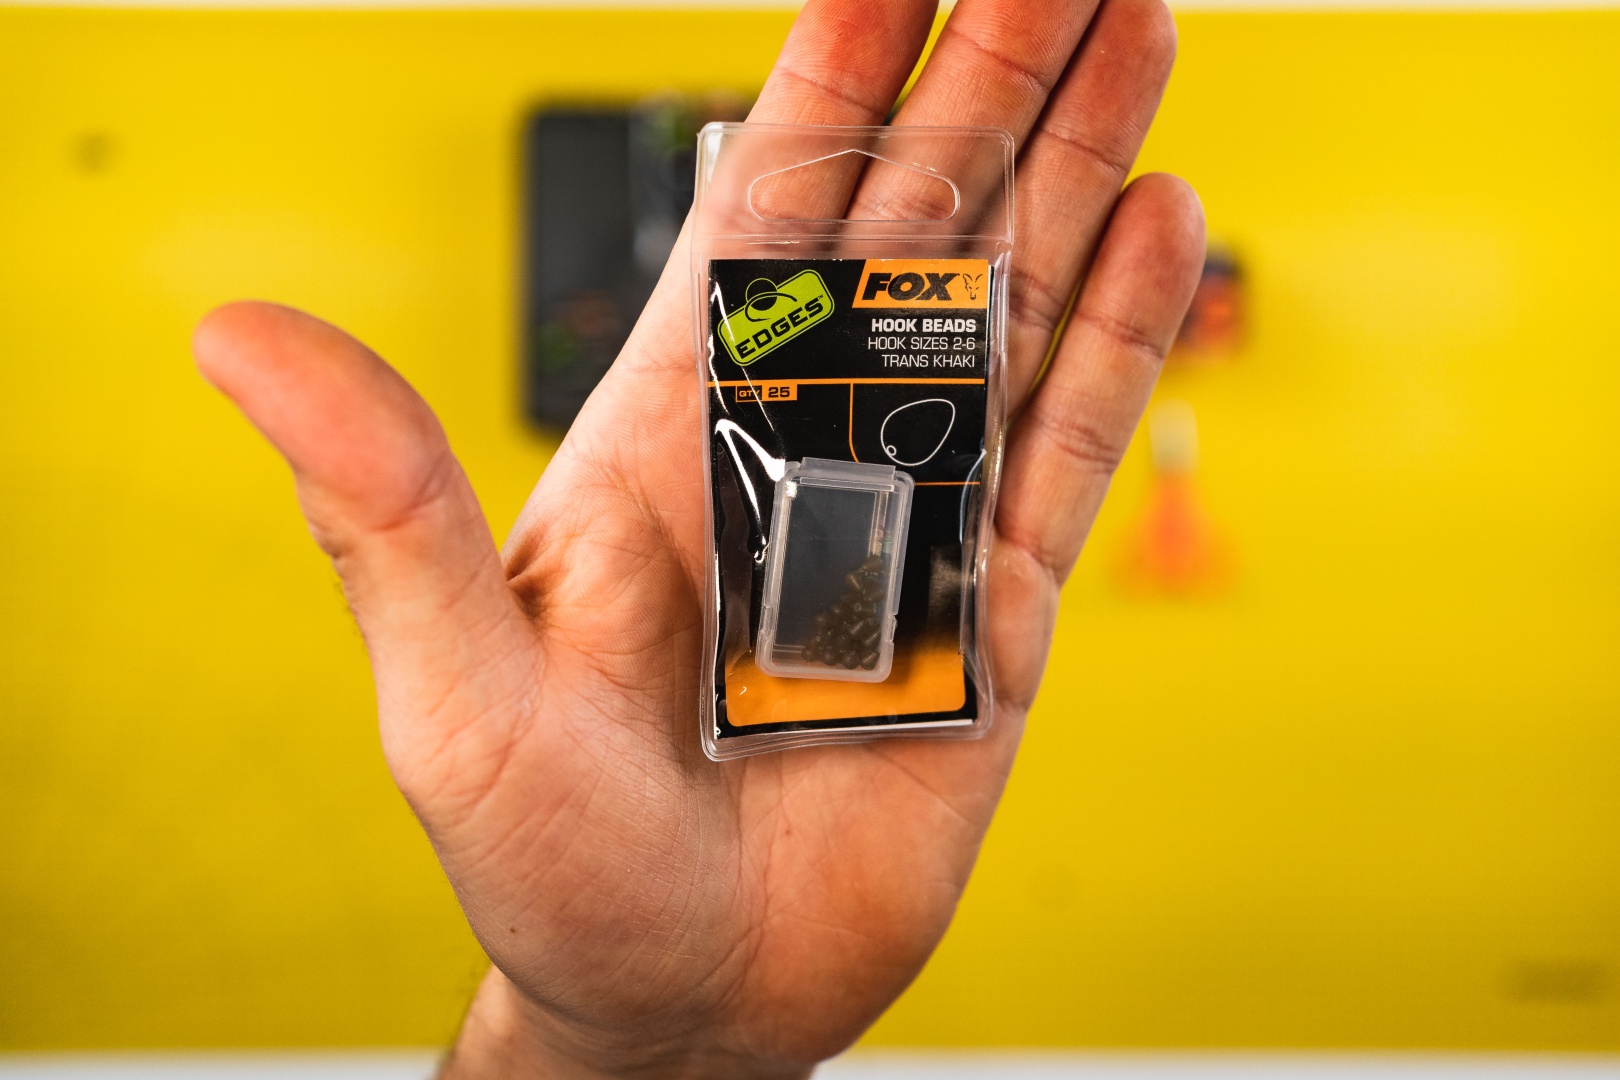
- Hook stoppers (hook bead)
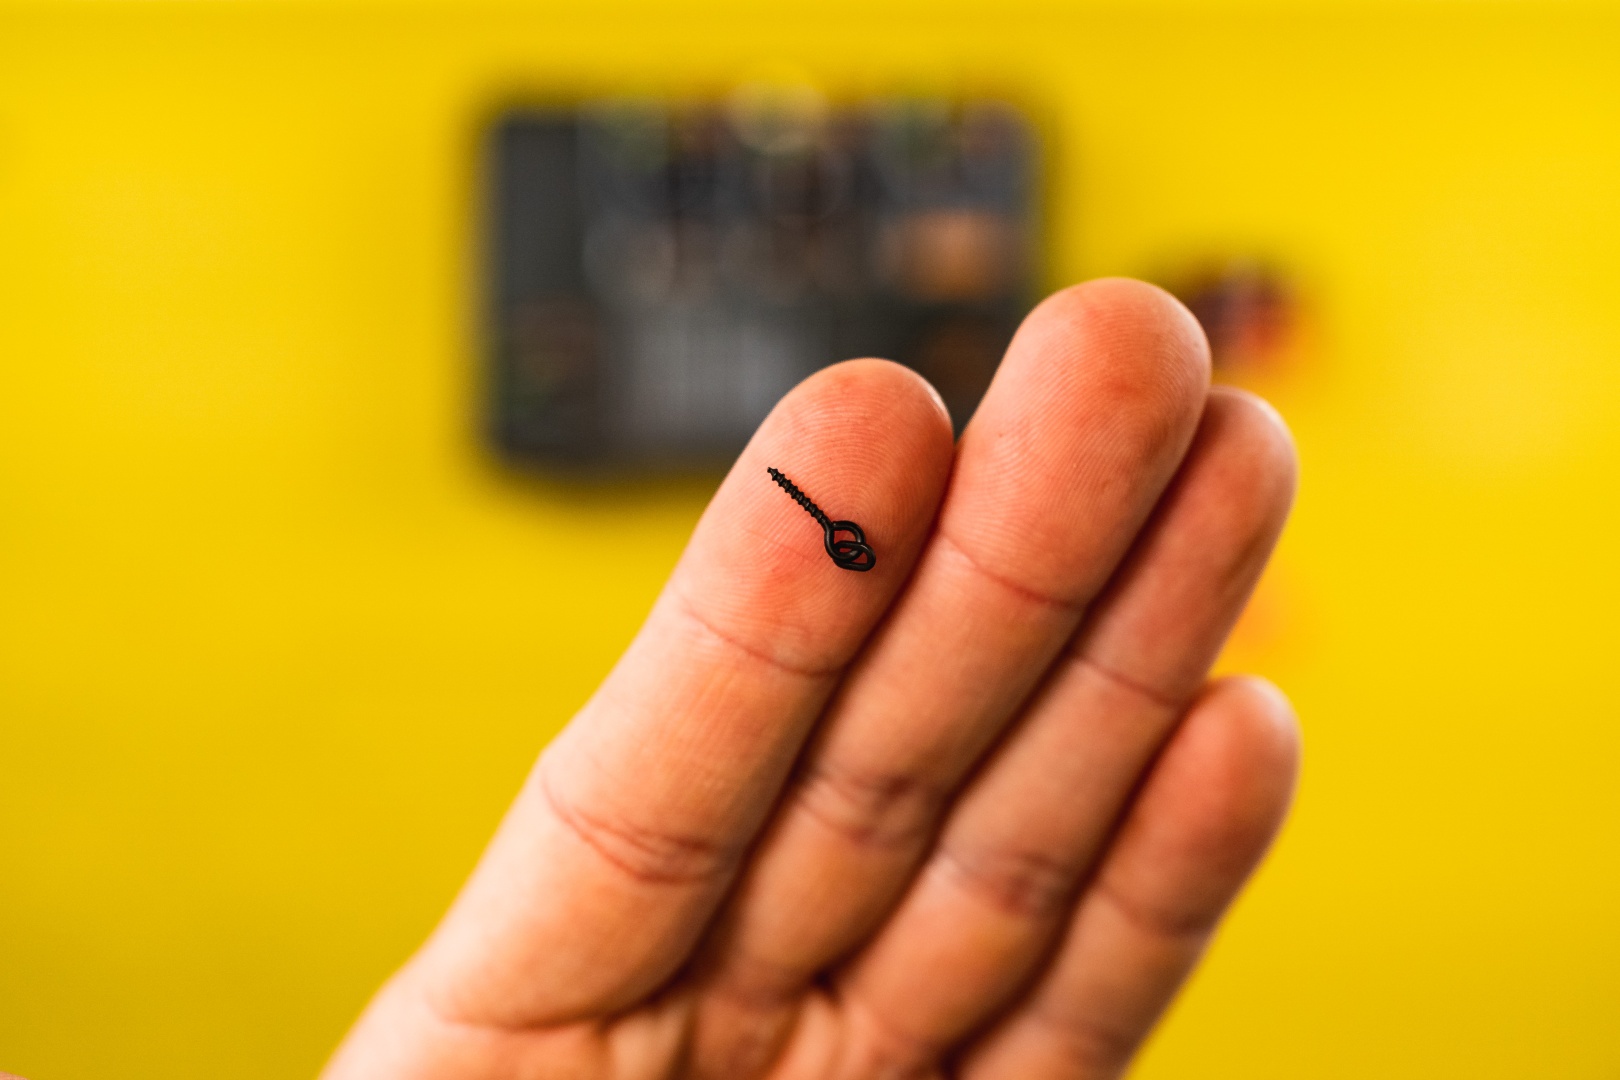
- Bait screw (optionally bait stoppers + baitfloss thread + micro swivel with ring)
- Putty weight
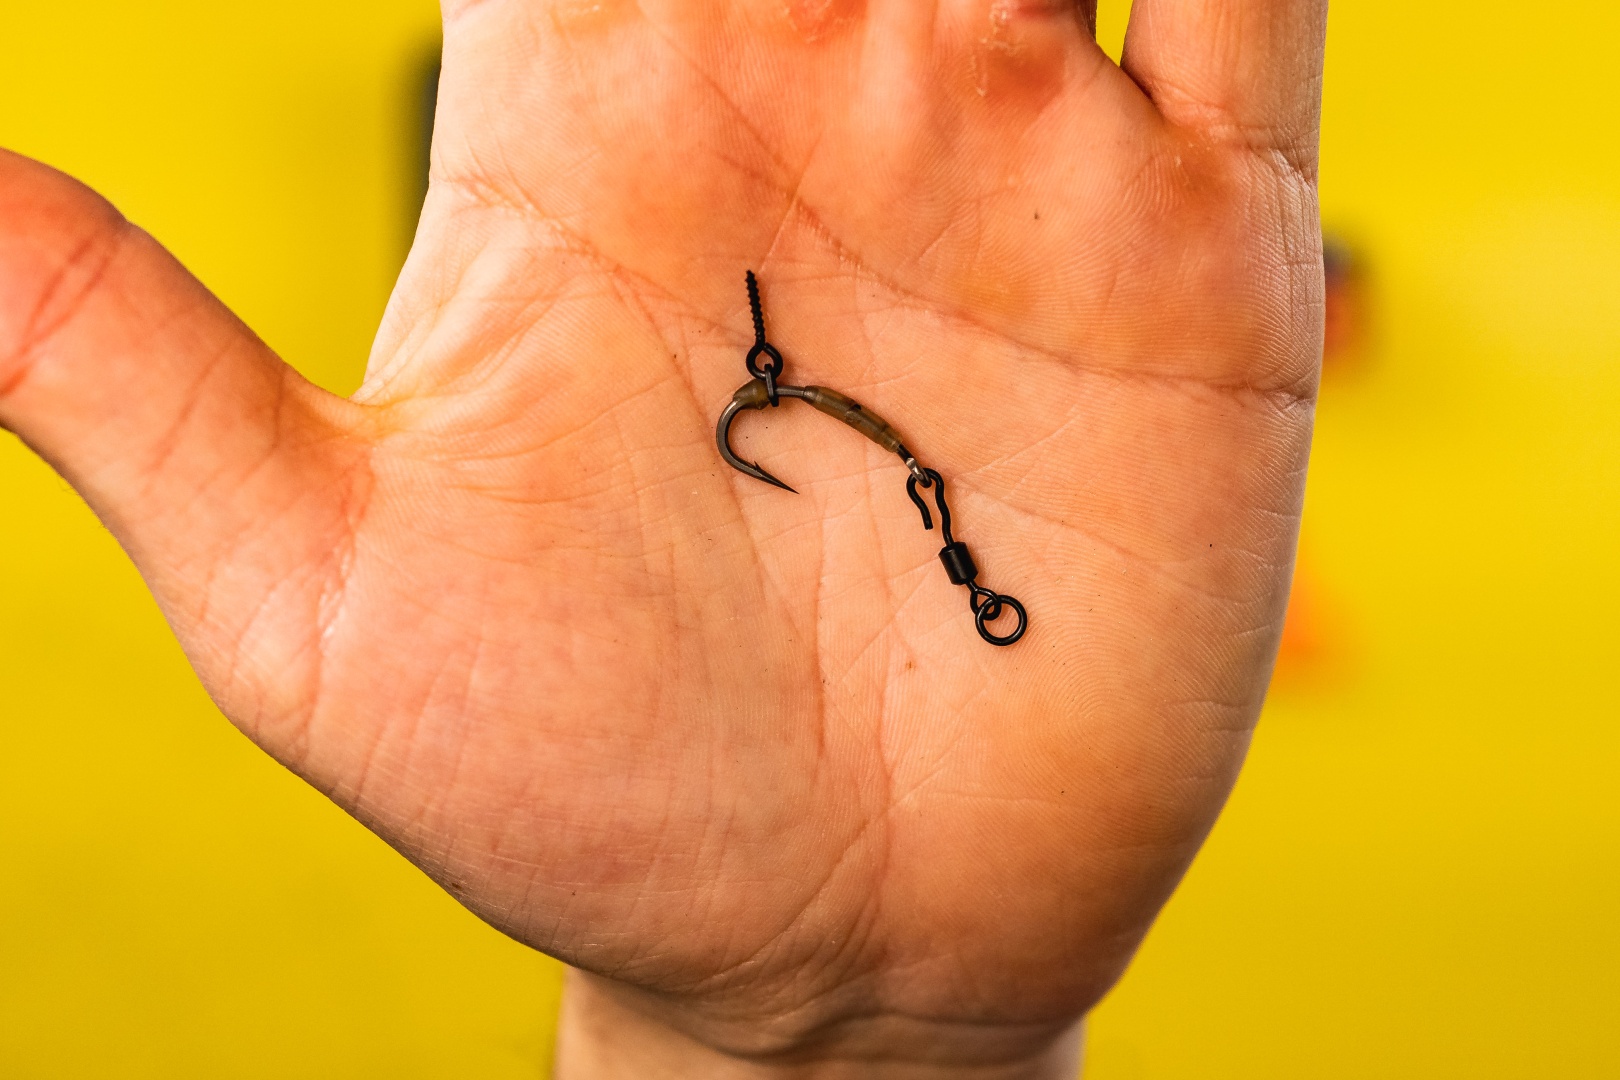
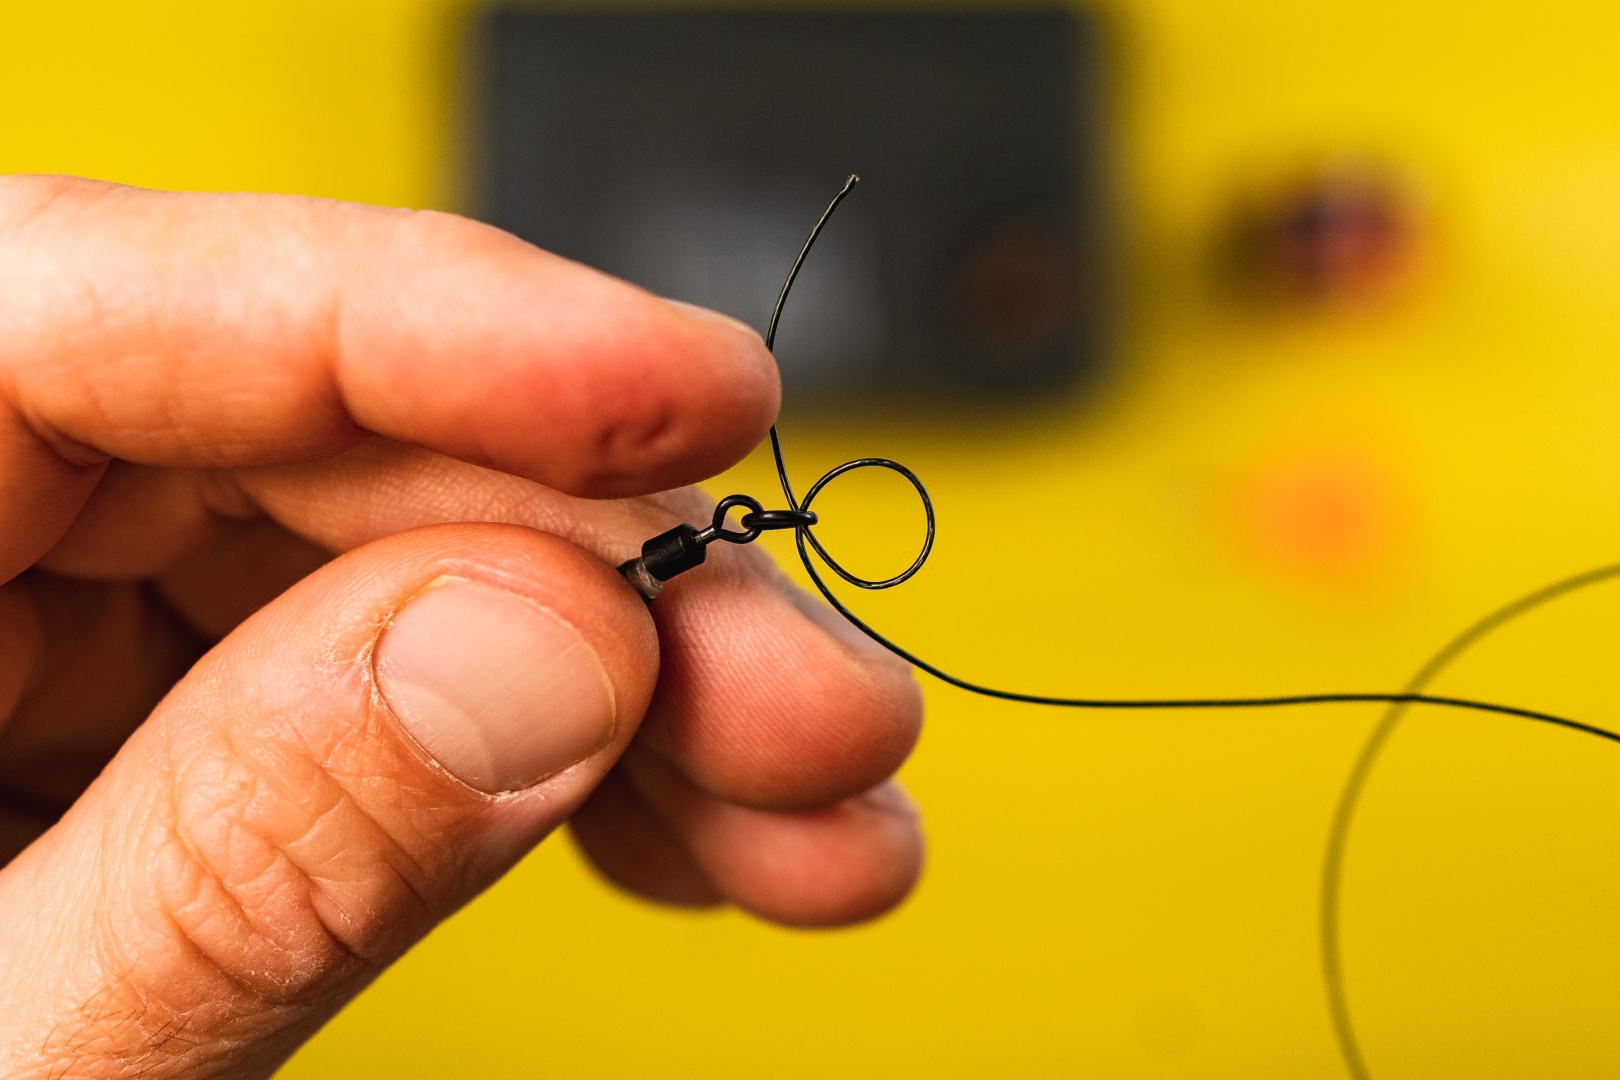
- Ronnie Rig swivel or a "quick change ring swivel"
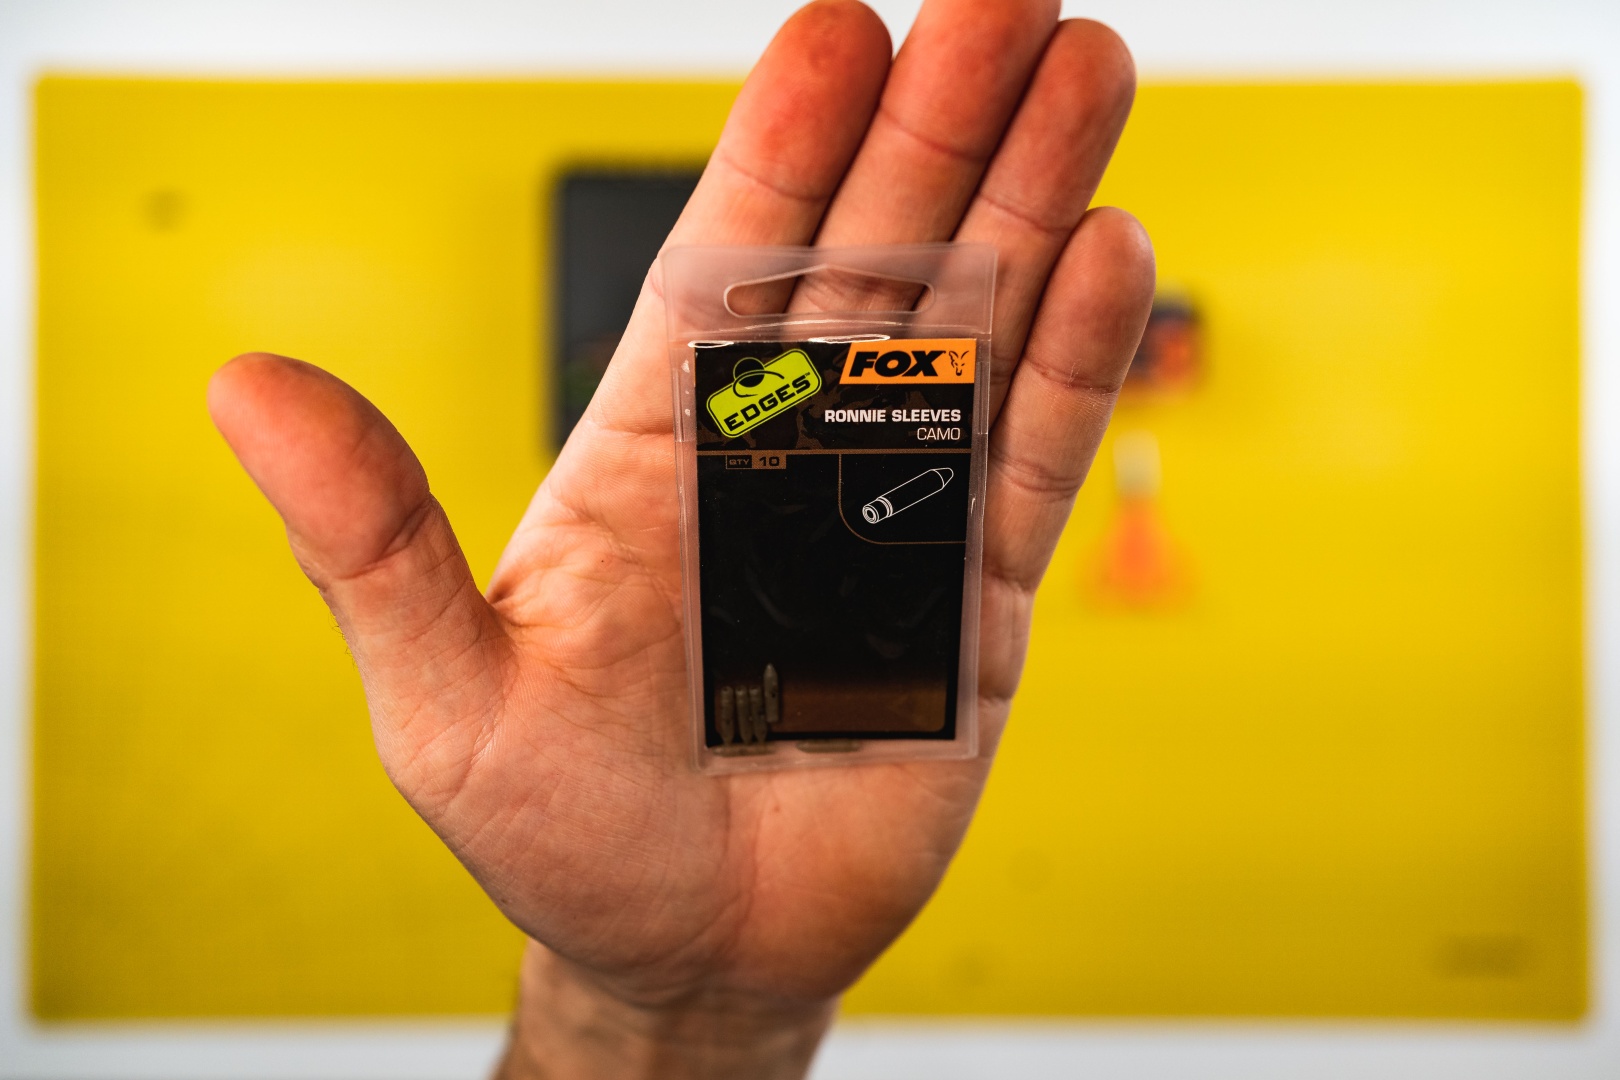
- Ronnie Rig sleeve or shrink tubing
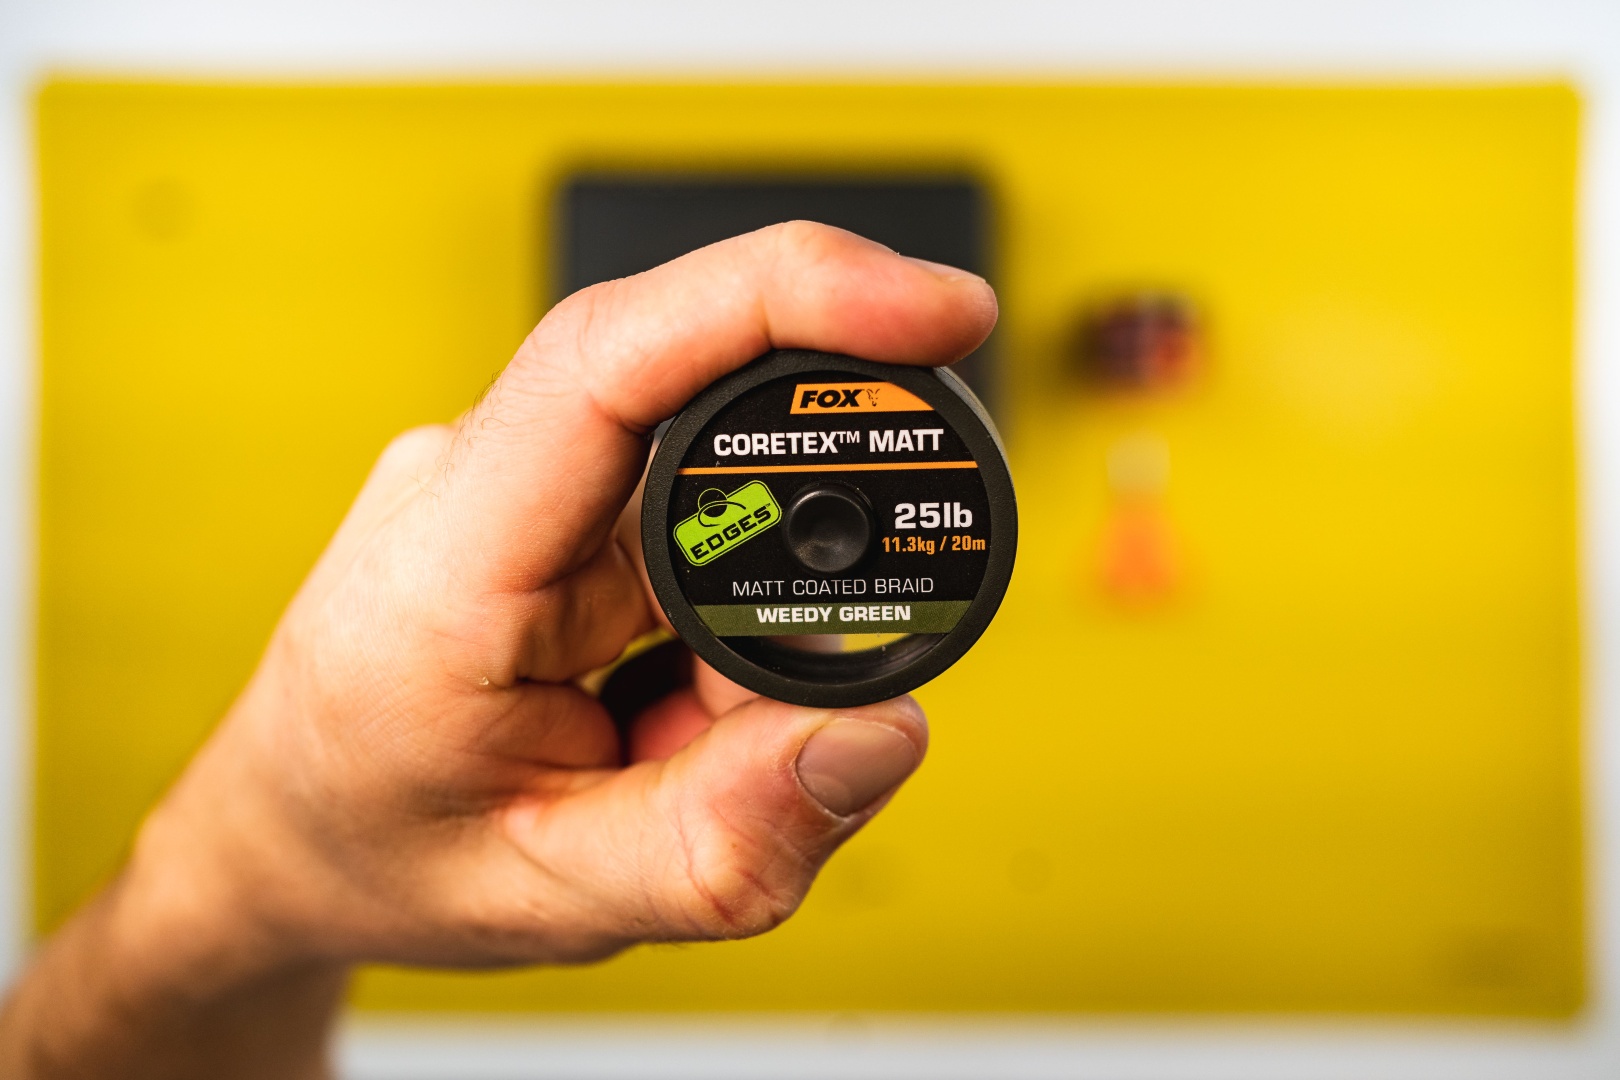
- Any kind of braided line (according to personal preference).
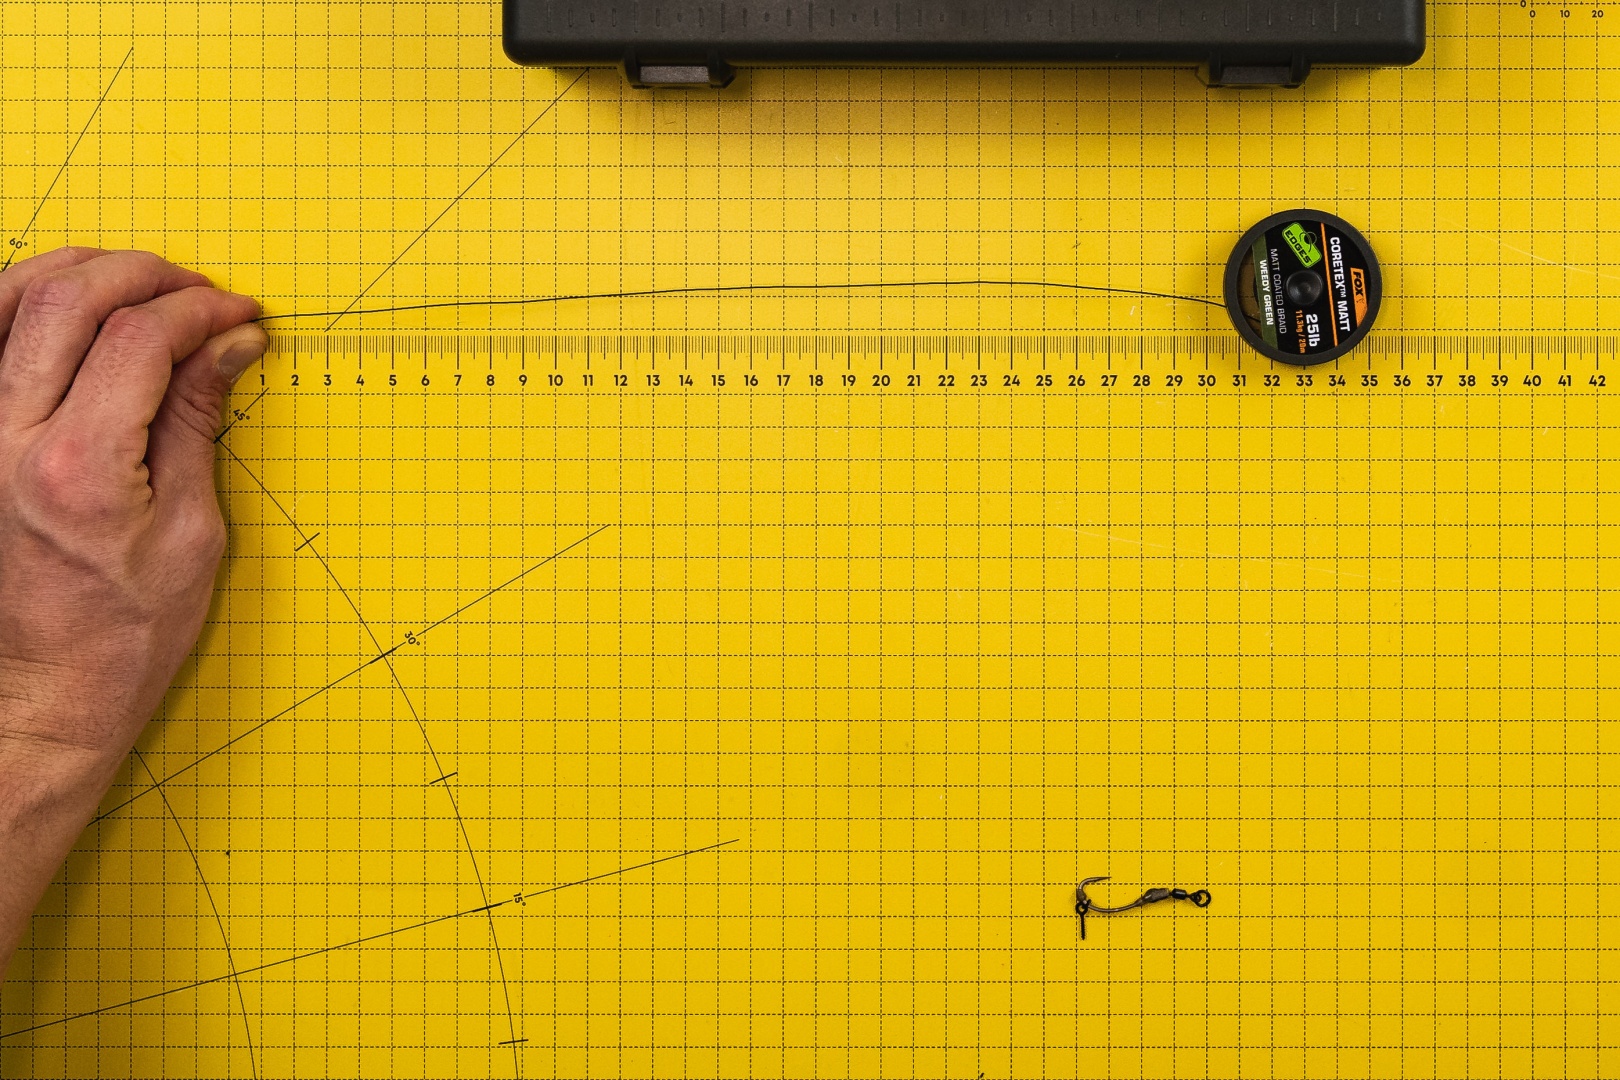
- Scissors for trimming the braid
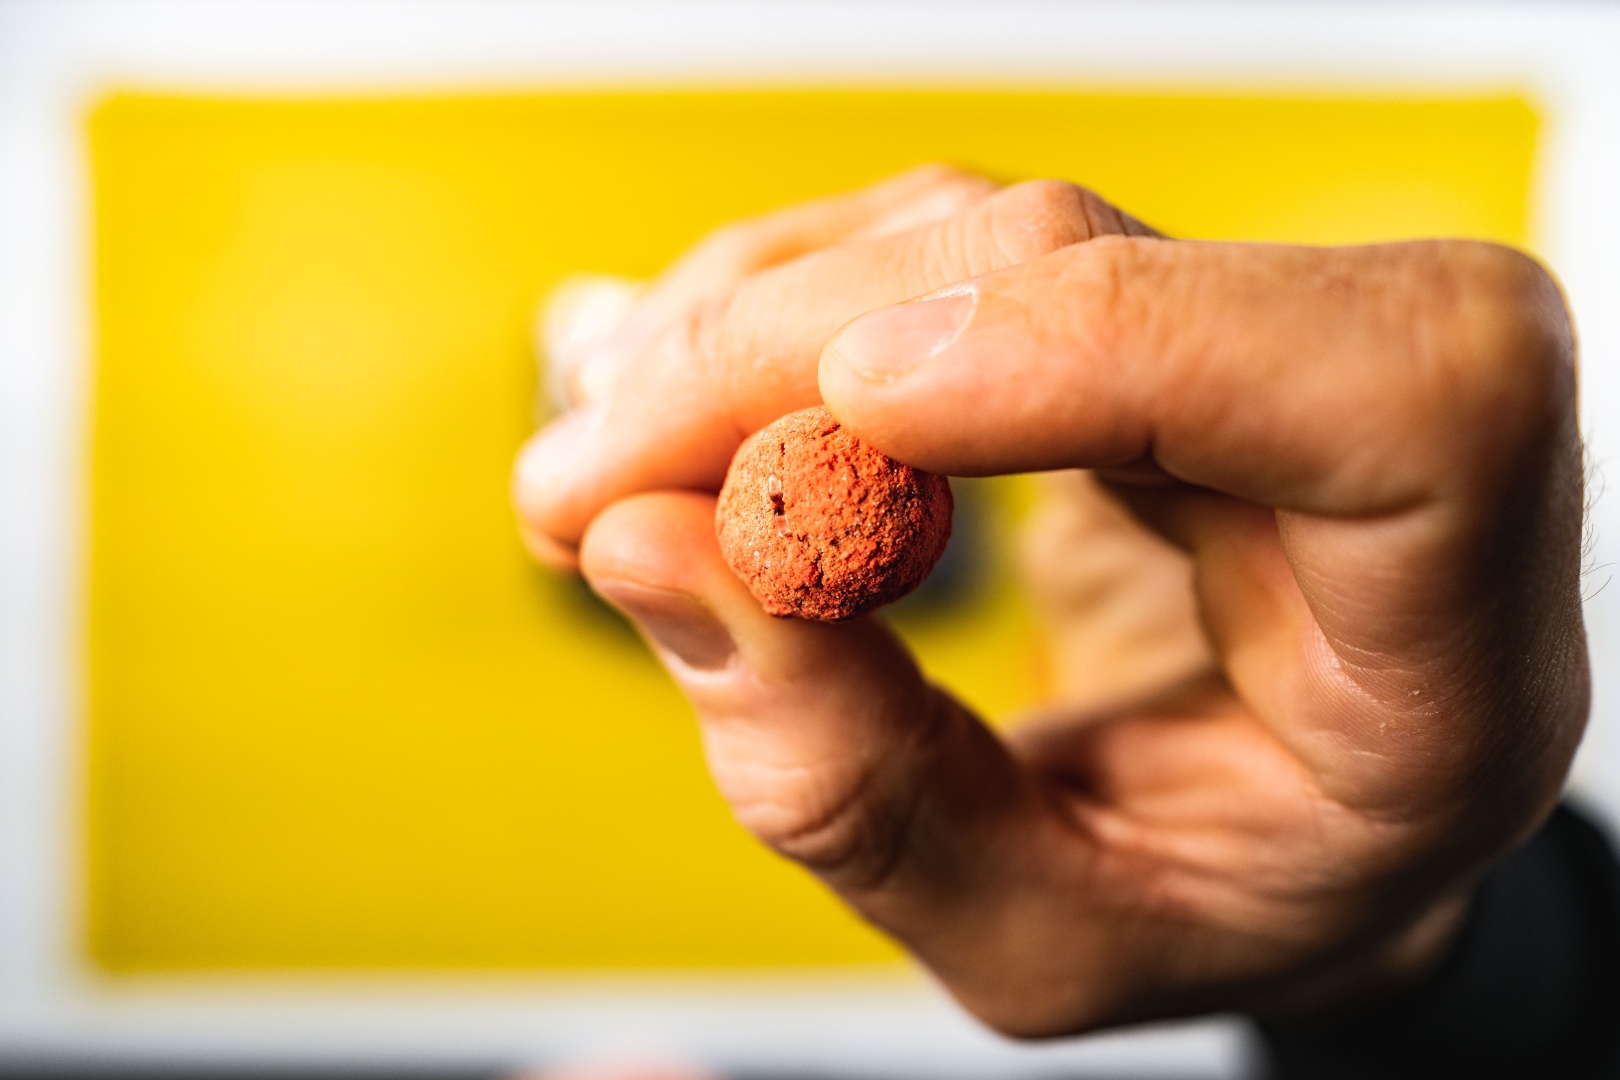
- Floating bait, in my case a Pop-Up ball
```
Steps to follow: