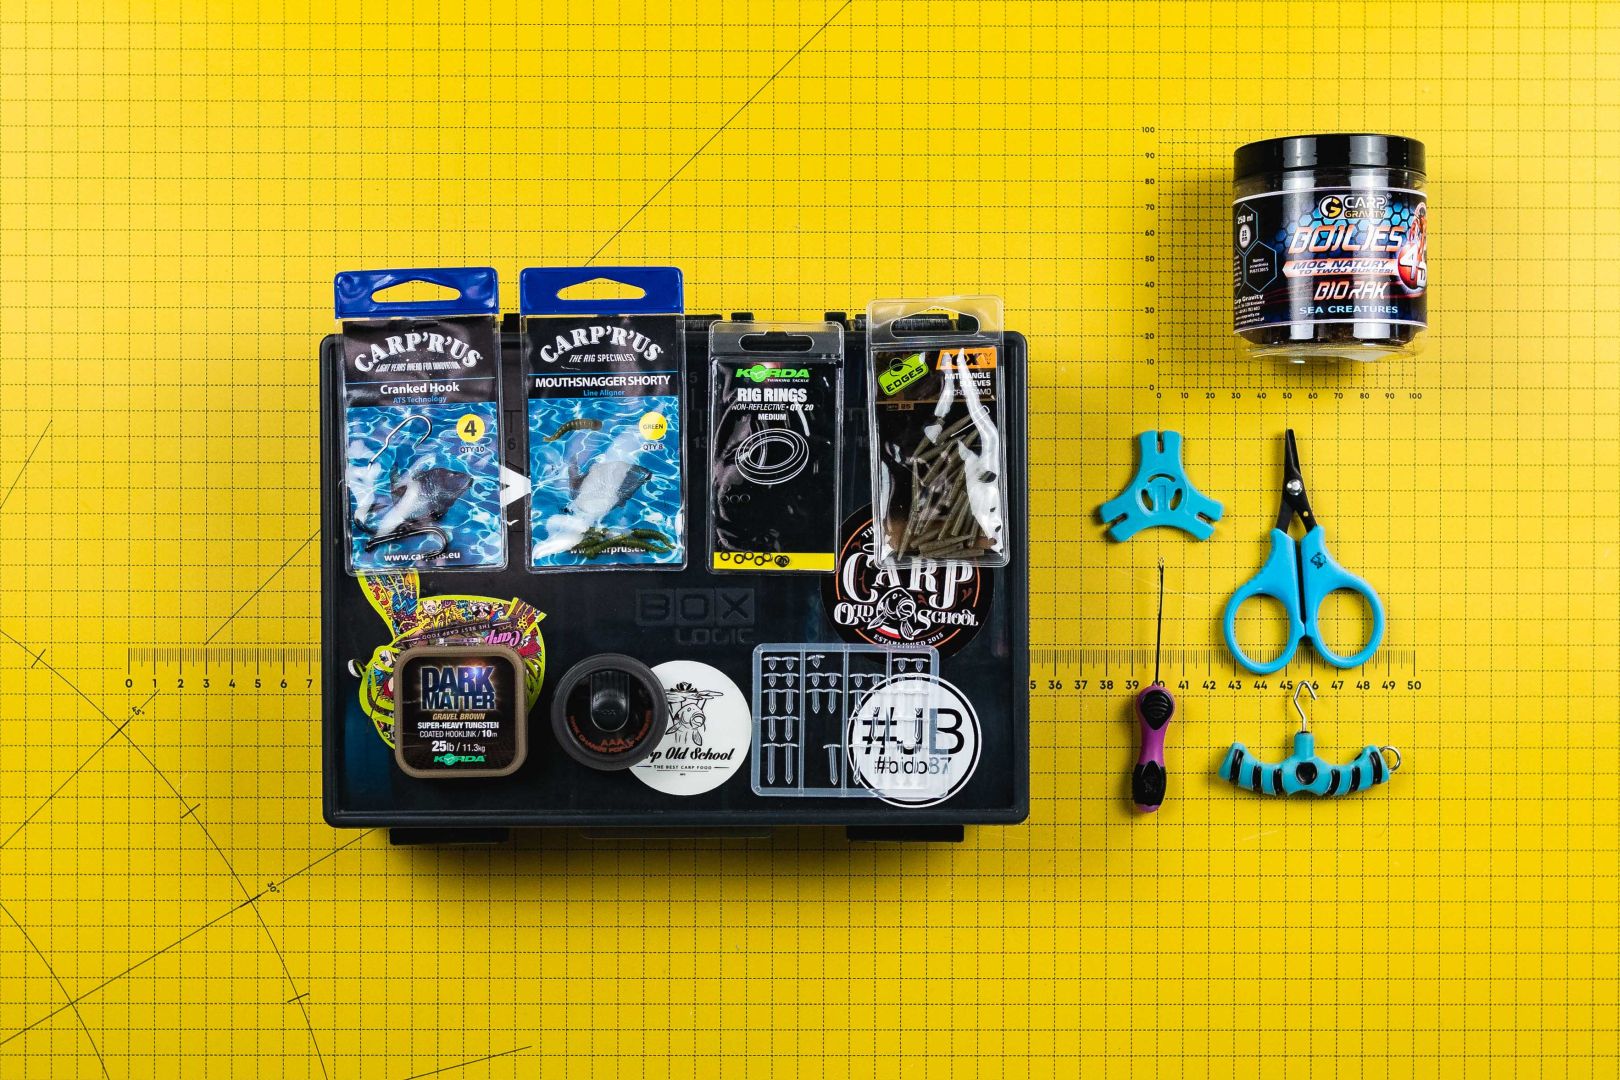
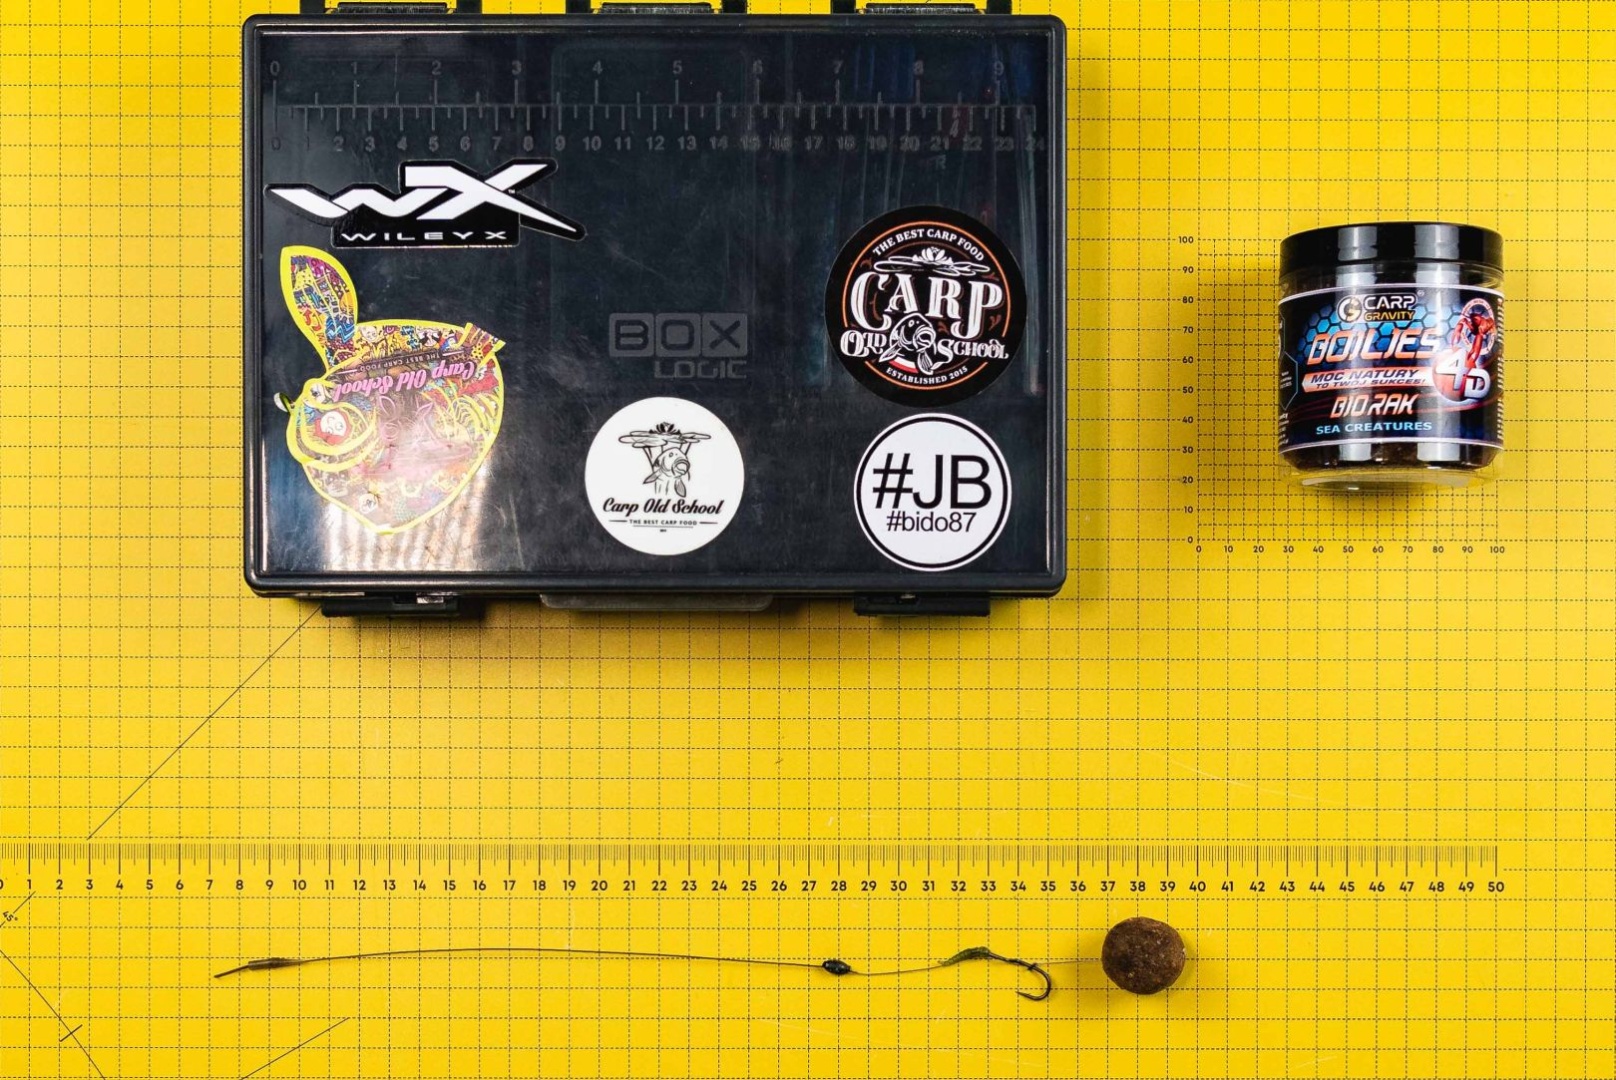
Cranked Blow Back Rig - Adrian Baron's Universal Rig
For quite some time, I have been using my own modified version of the Blow Back Rig setup. It has become my go-to rig as it is incredibly versatile.
I employ the Cranked Blow Back Rig with nearly every type of bait—from classic sinking boilies, through wafters and "snowman" setups, to corn kernels or tiger nuts. The materials used for its construction provide a very strong rig, and its performance has proven to be exceptionally effective for me over the years. I highly encourage you to try out my version of the Blow Back Rig and see its effectiveness for yourself by the water!
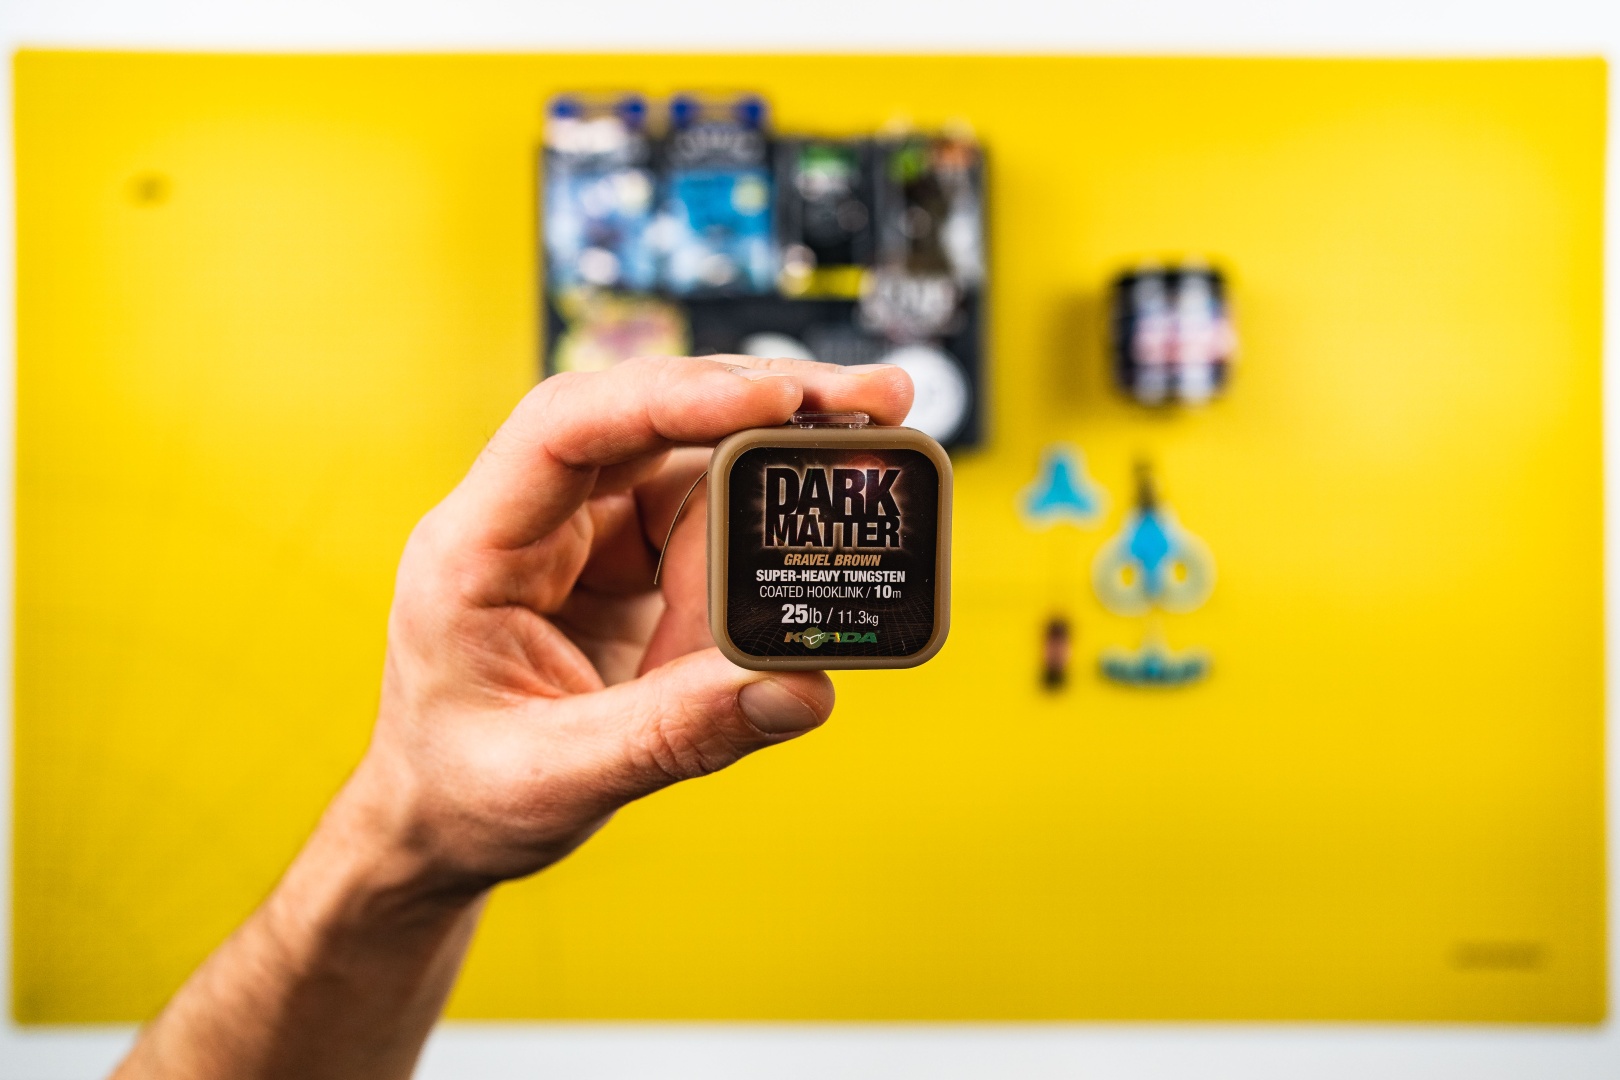
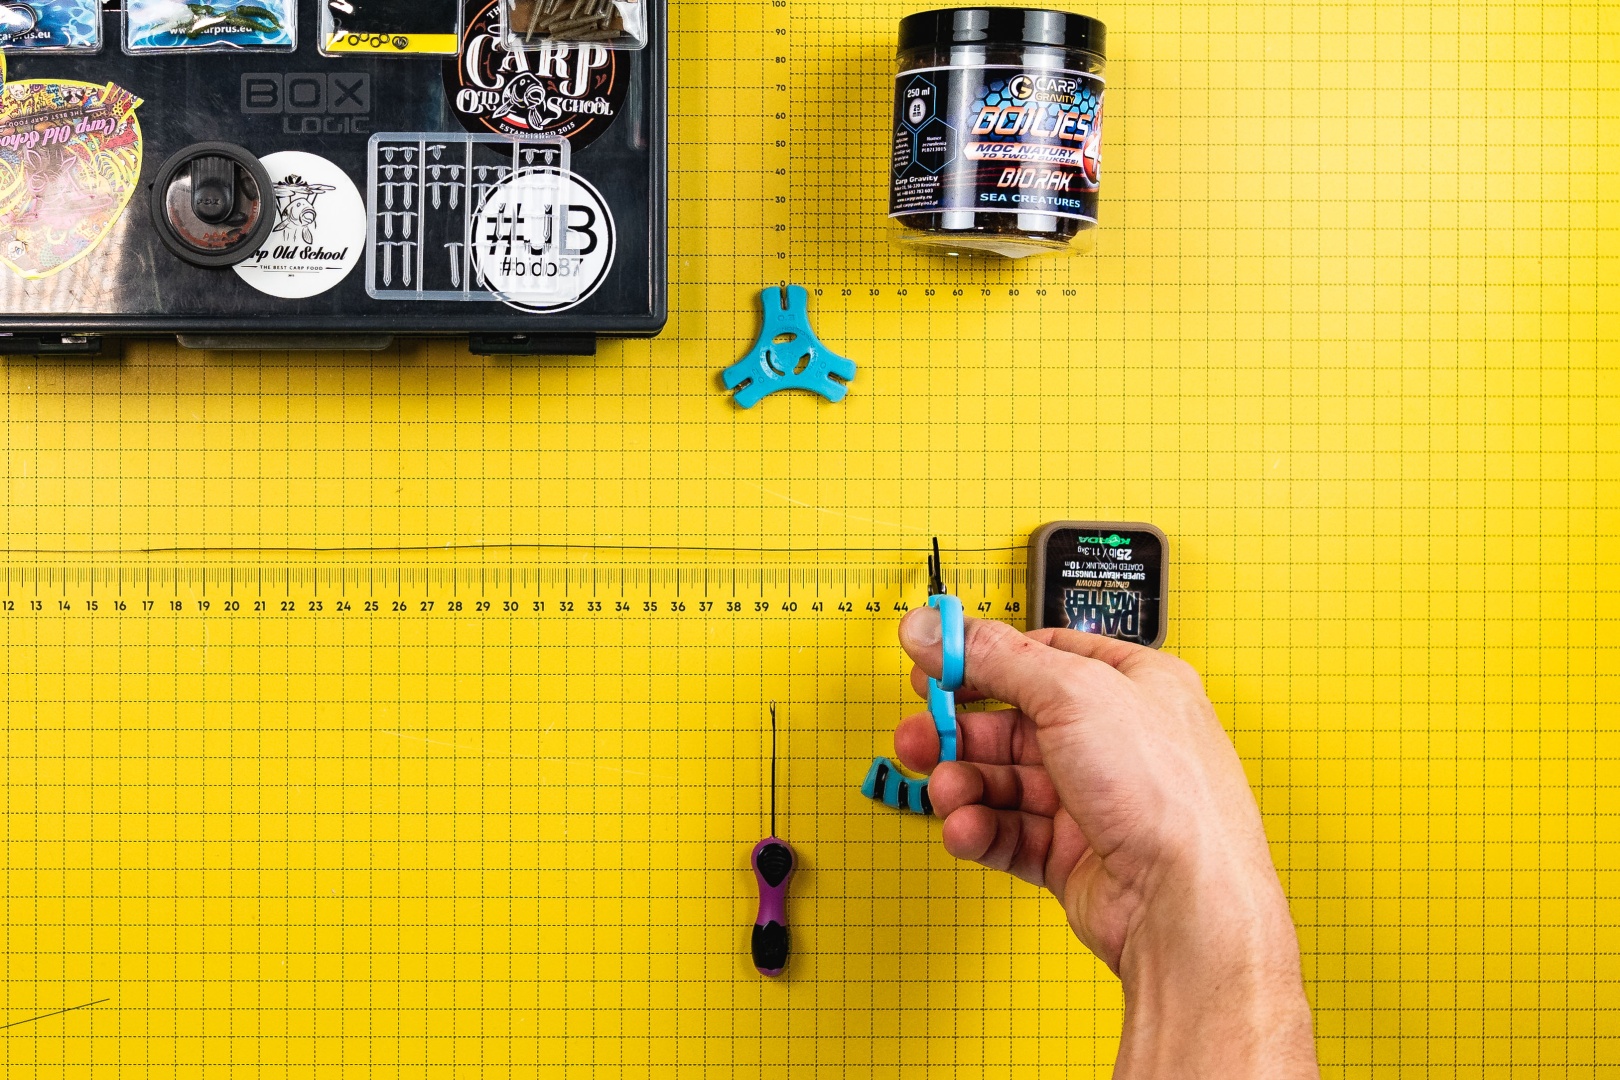
1 Prepare Your Favorite Braided Line with a Protective Sleeve.
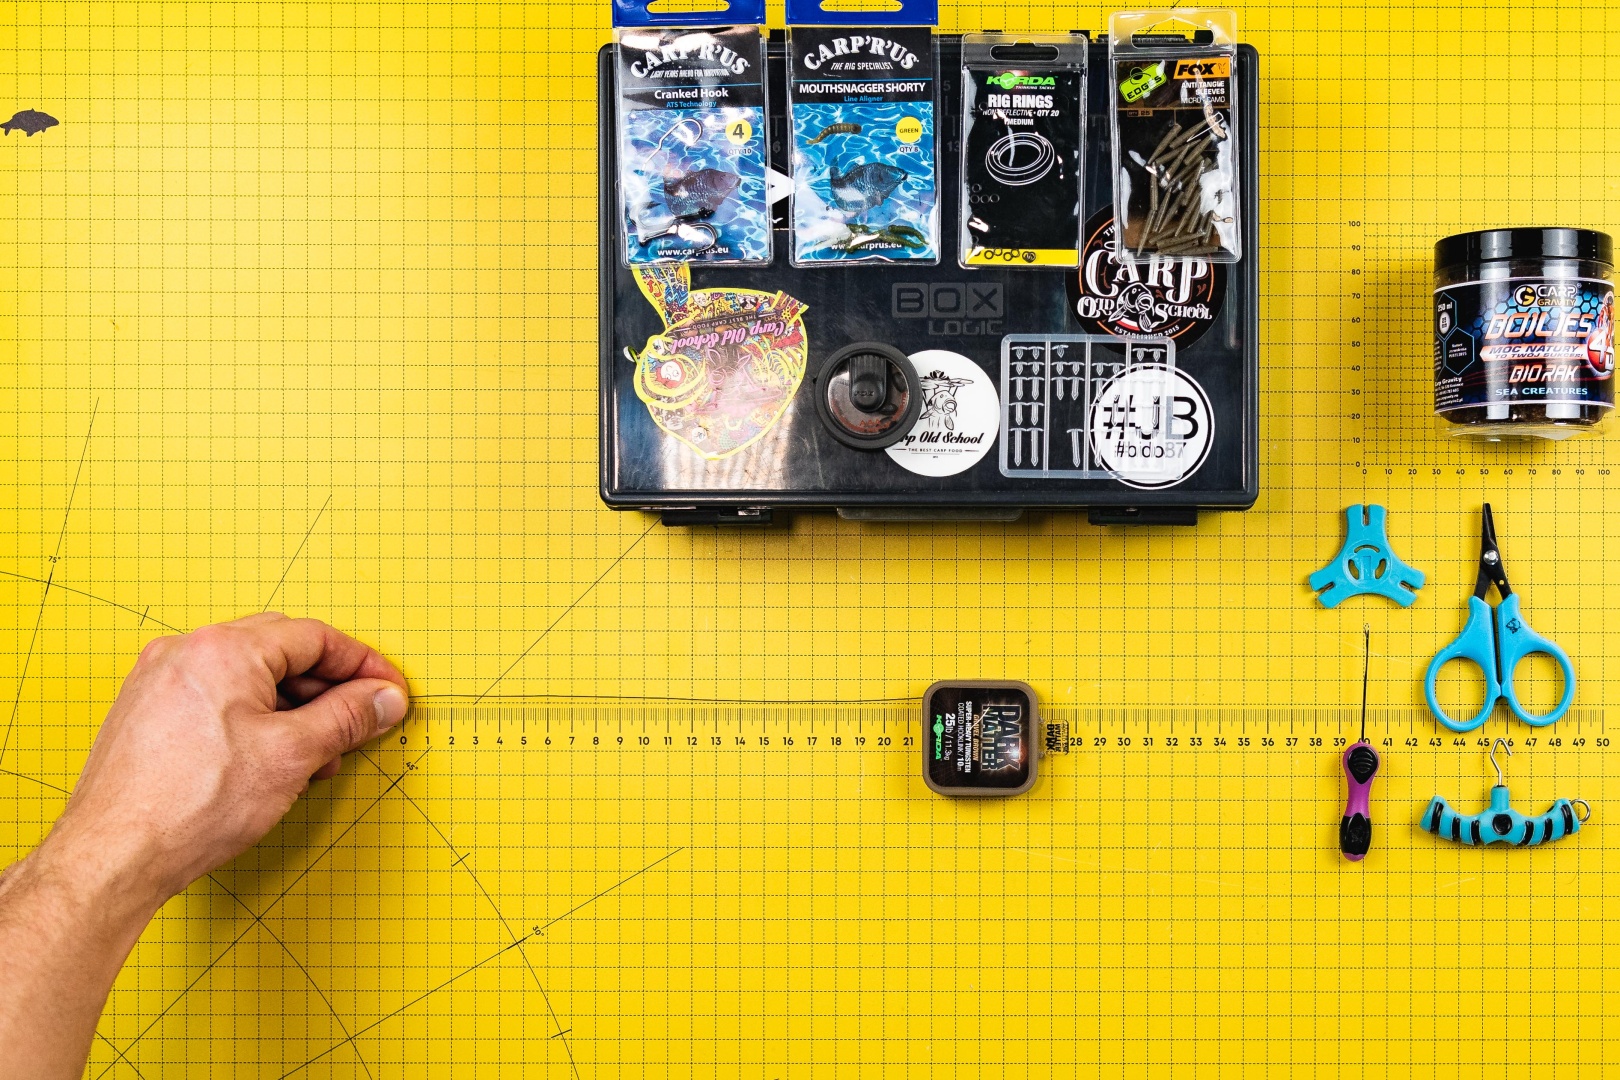
2 Measure out approximately 20cm of braided line without cutting it.
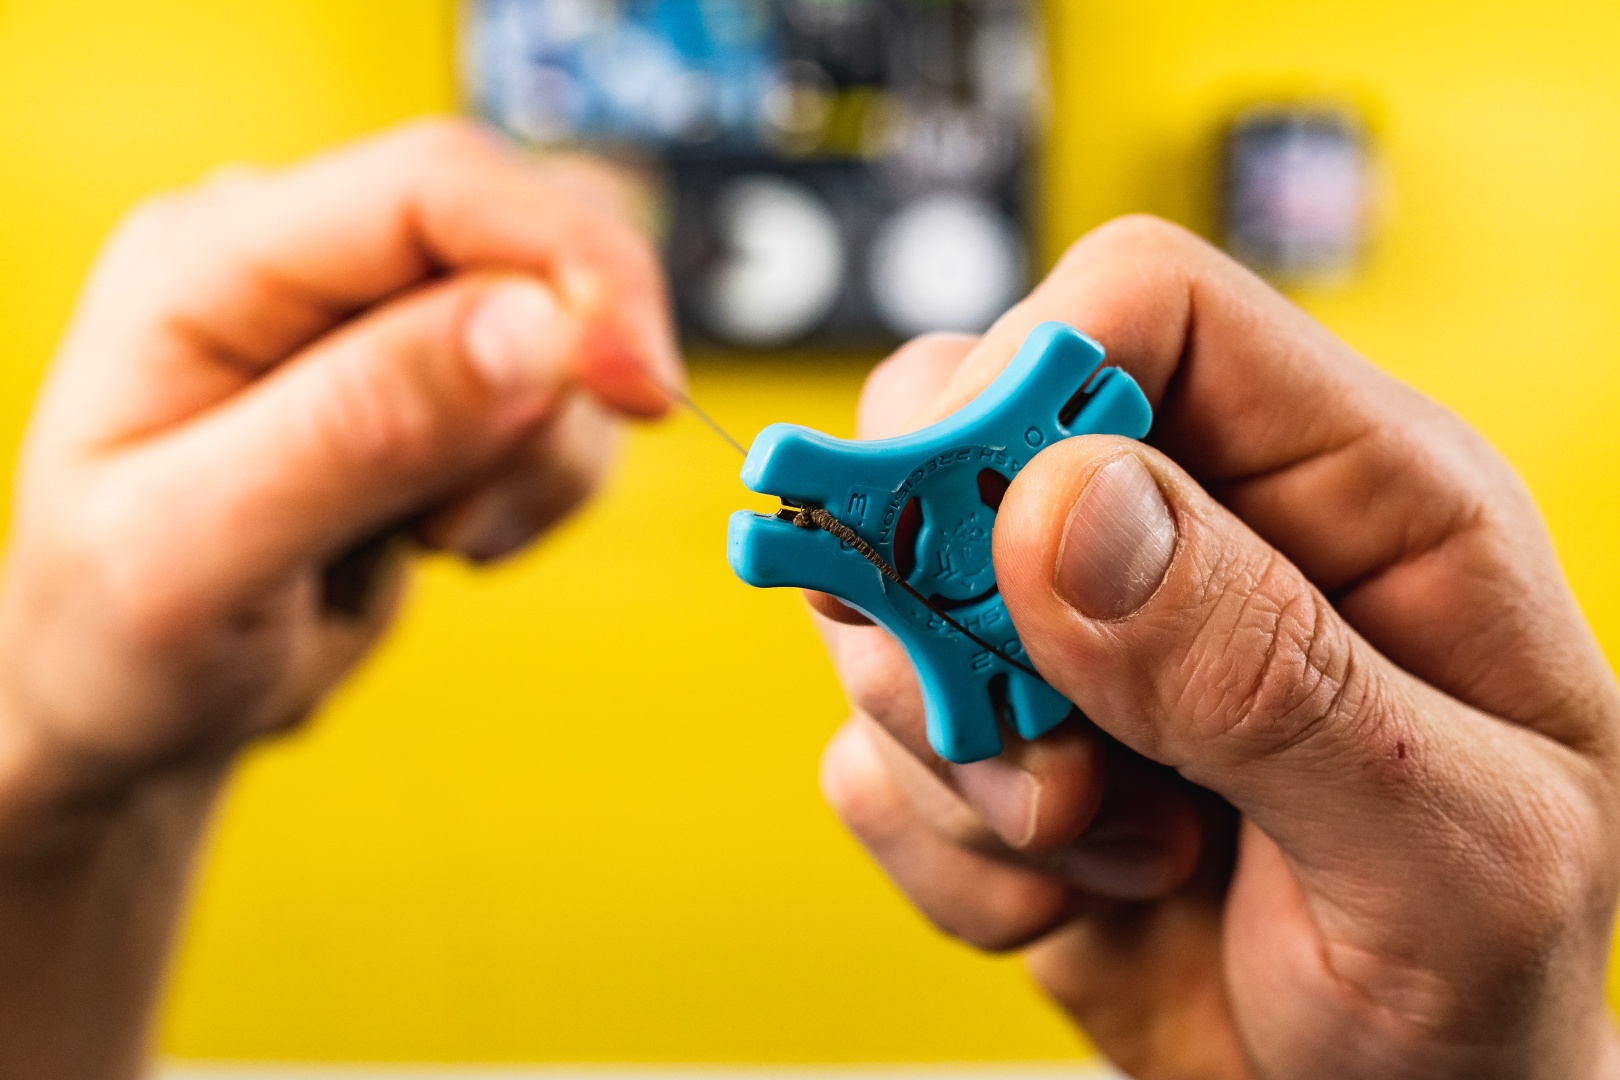
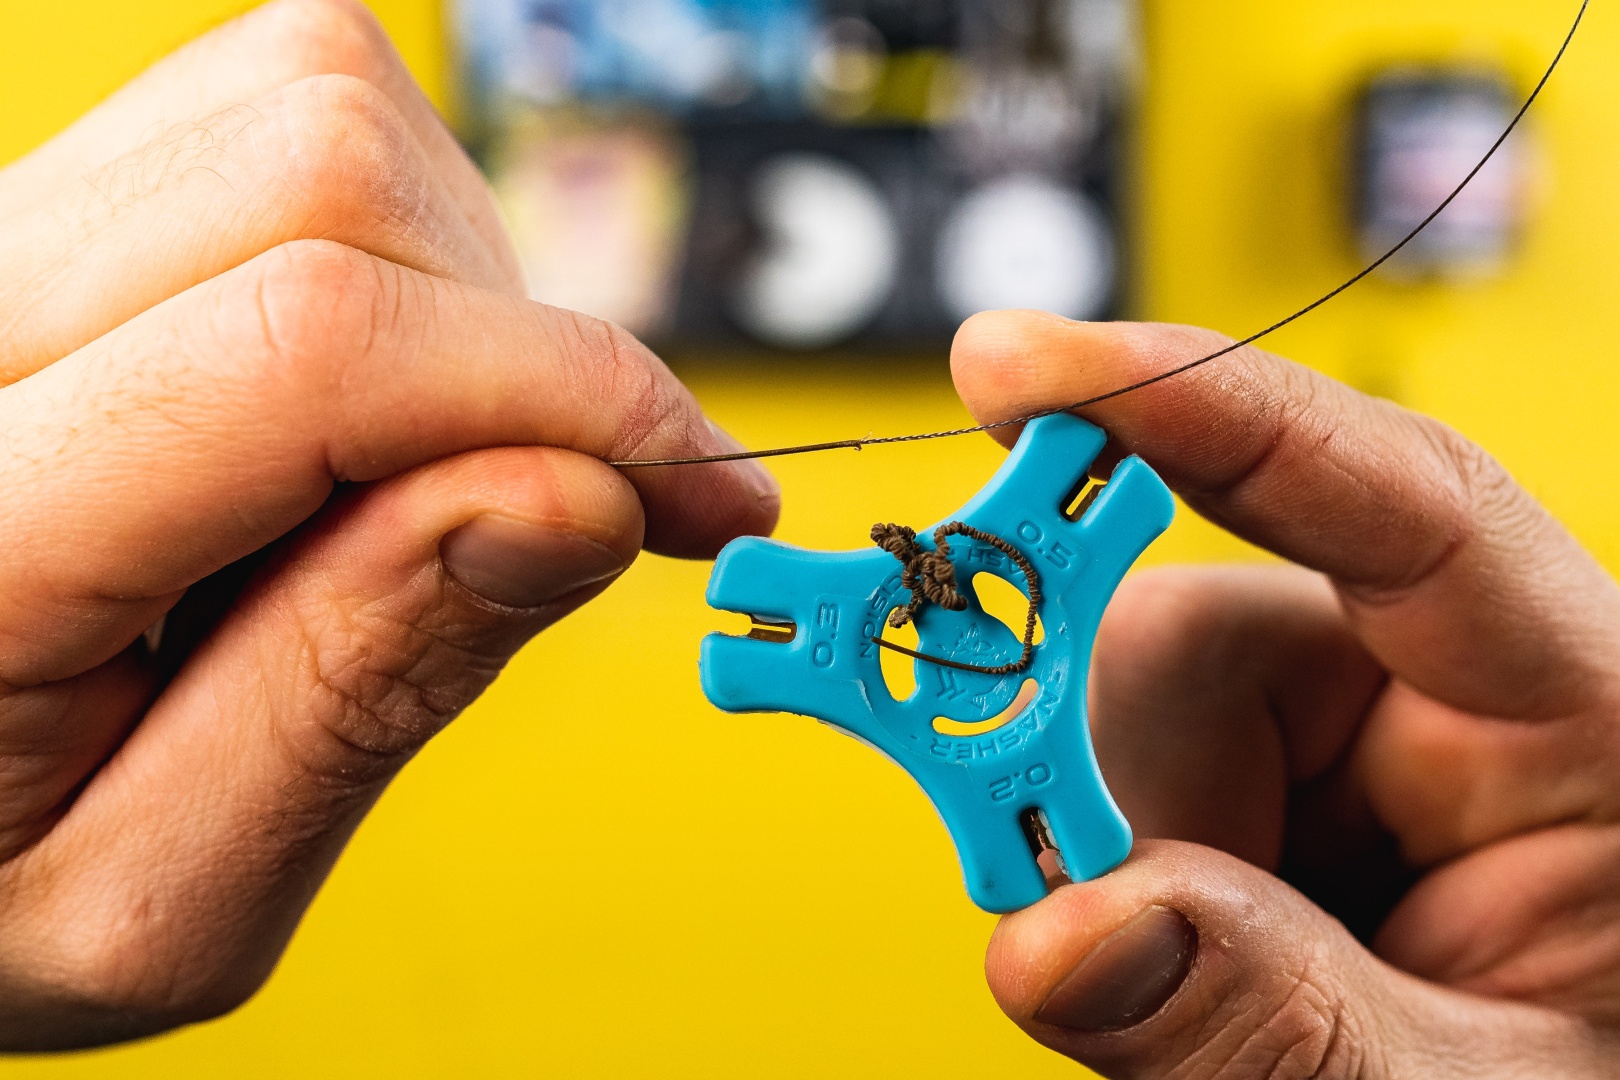
3 Using the sheath removal tool, "strip" the sheath from the 20cm section of the braid that you measured a moment ago.
4 Measure out a few extra centimeters of braided line to end up with approximately a 45-50cm section and cut it. On the end with the removed sheath, tie a classic loop, which will serve as the "hair" for bait attachment.
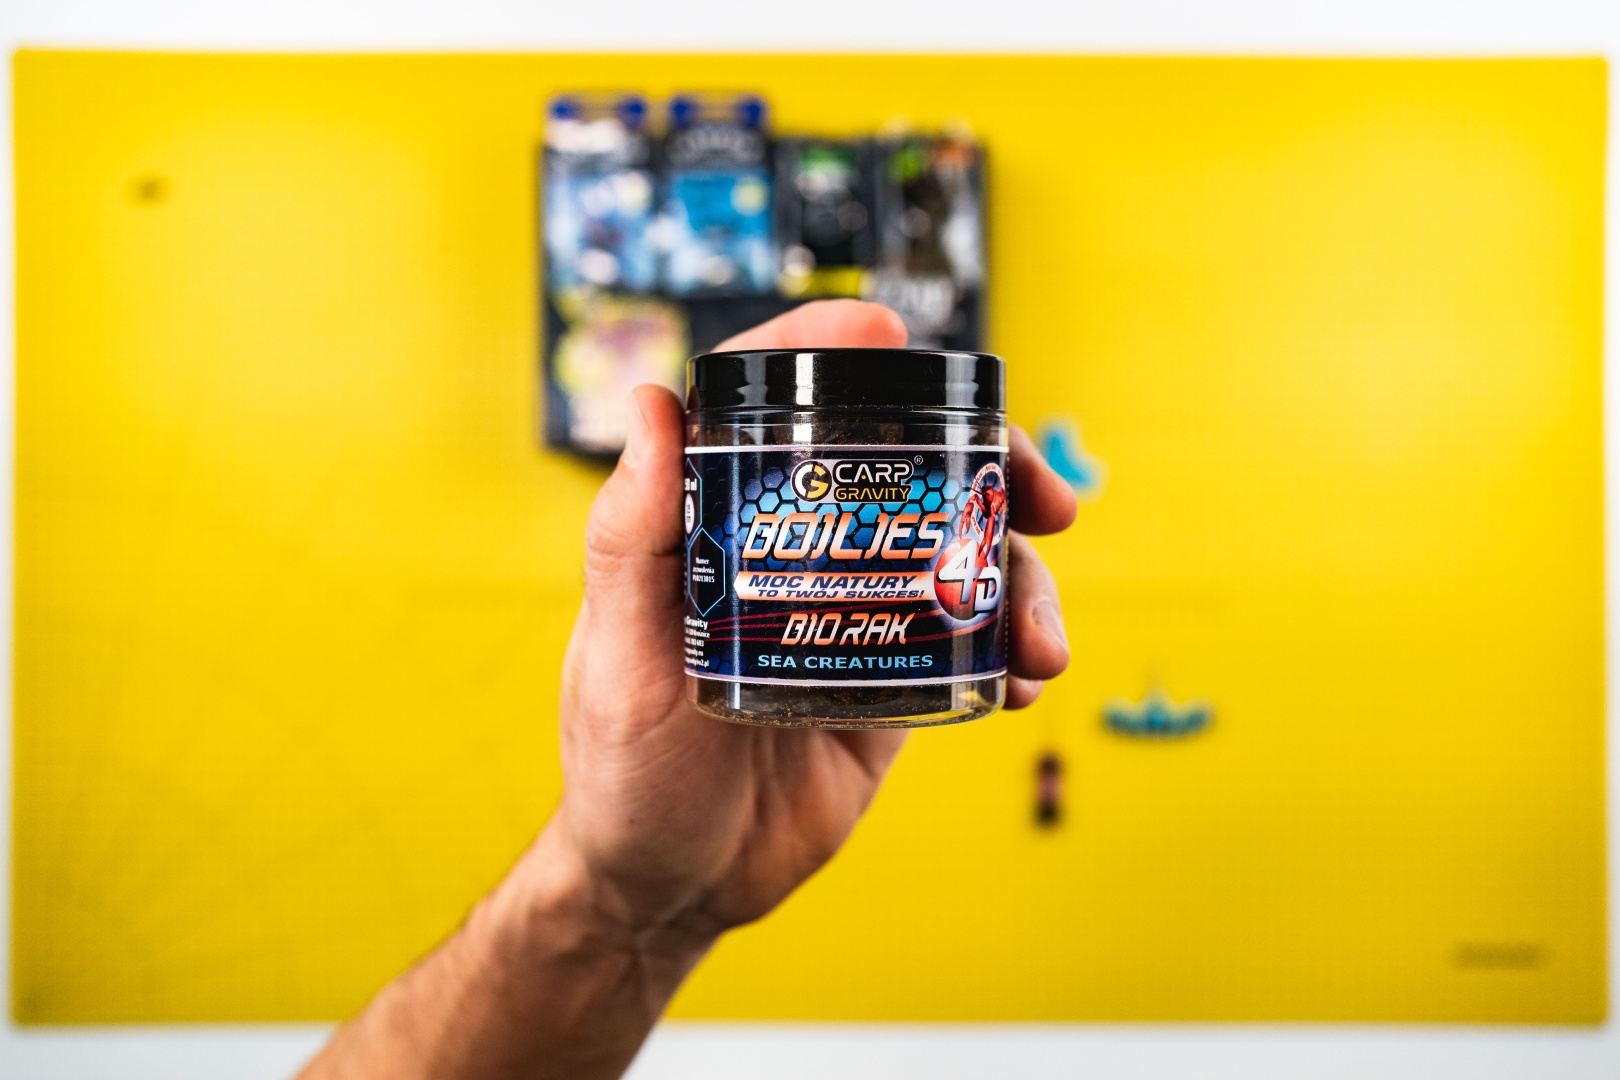
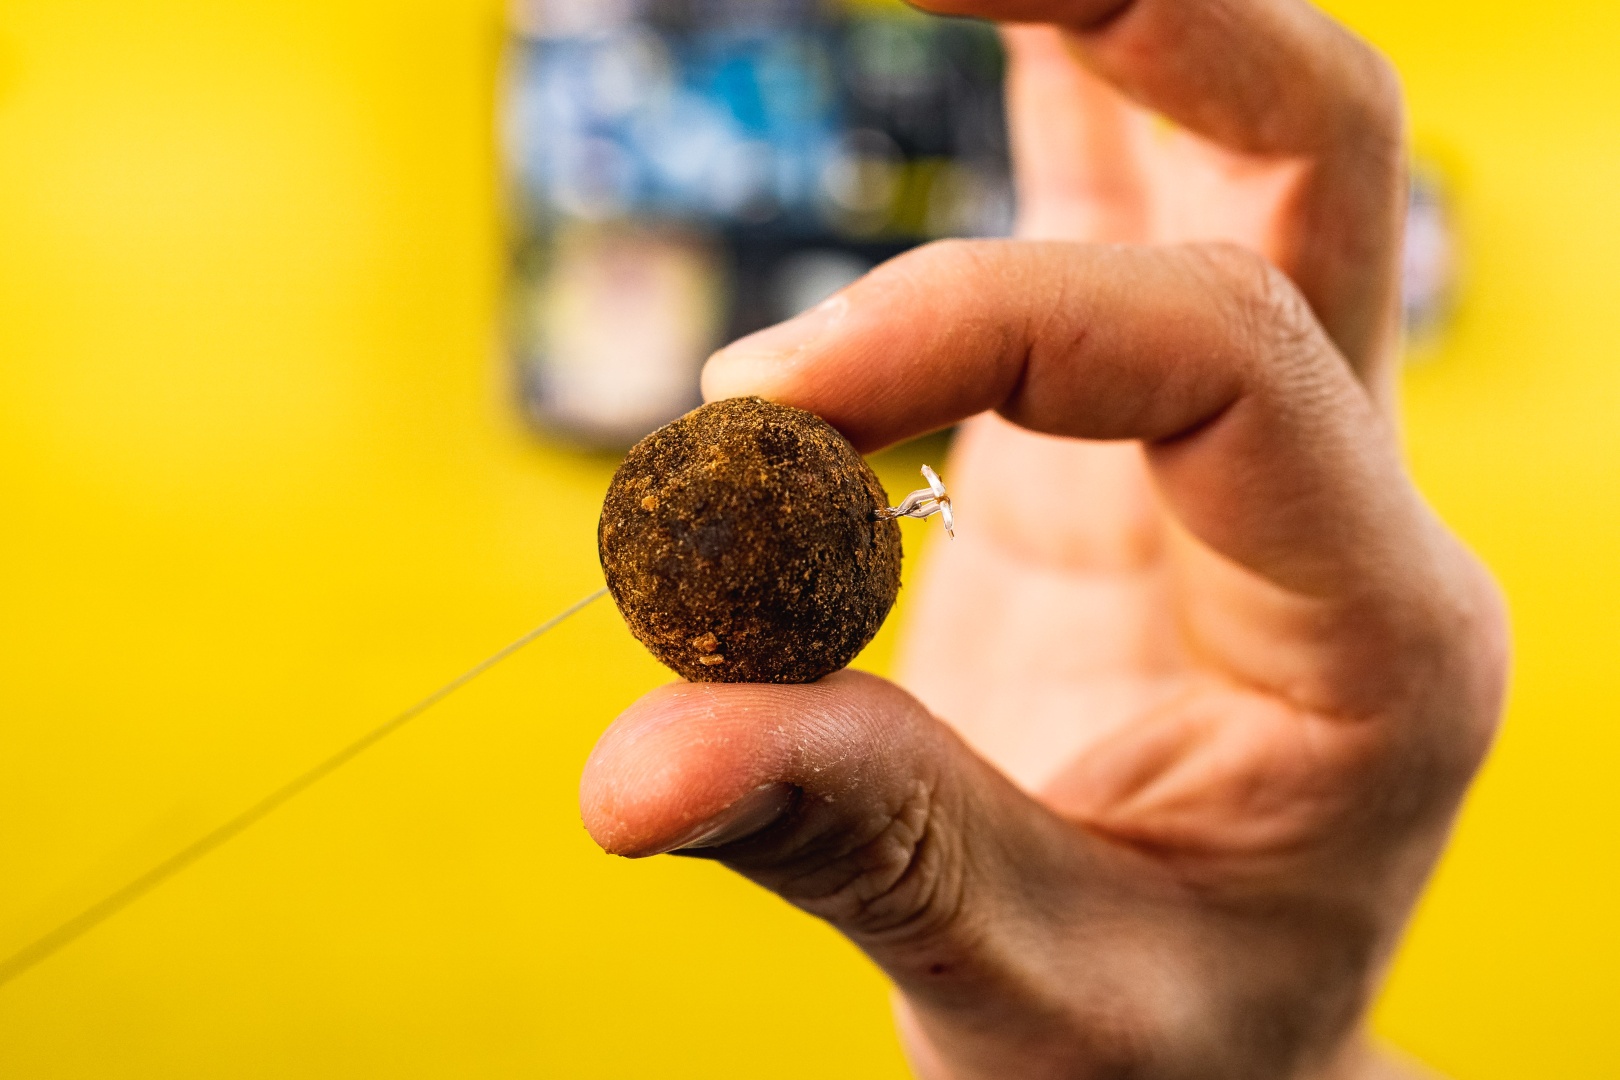
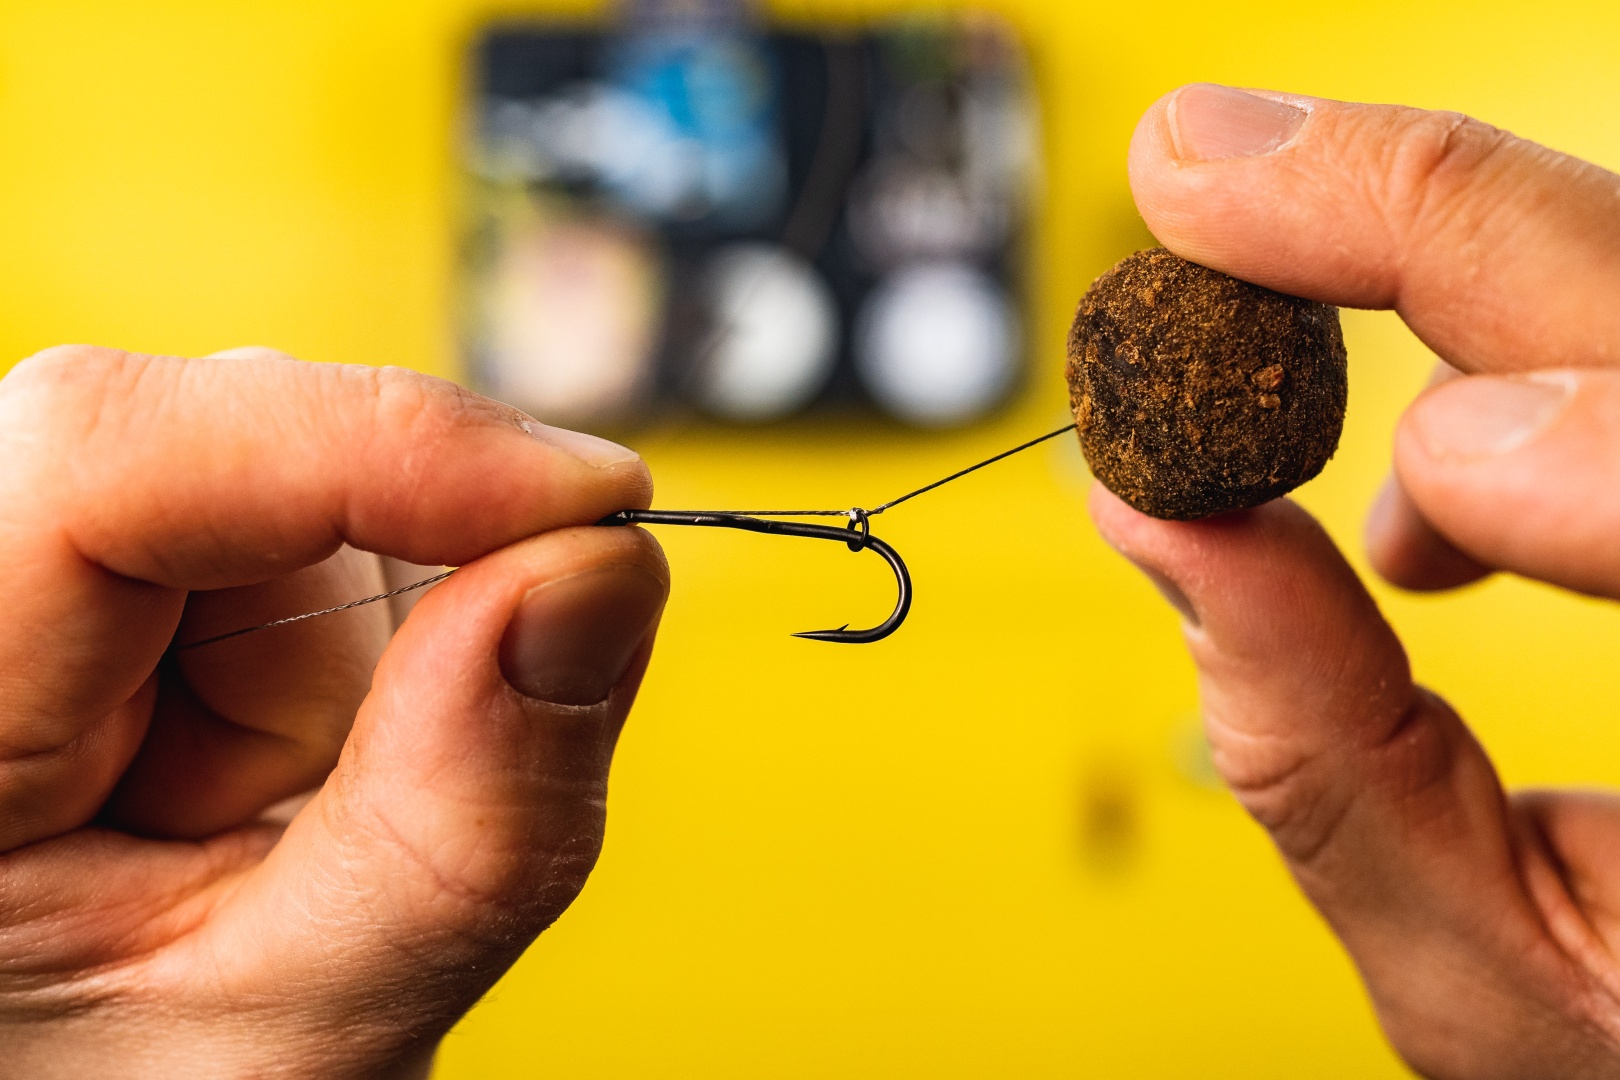
5 Prepare Your Bait - in my case, it's a boilies.
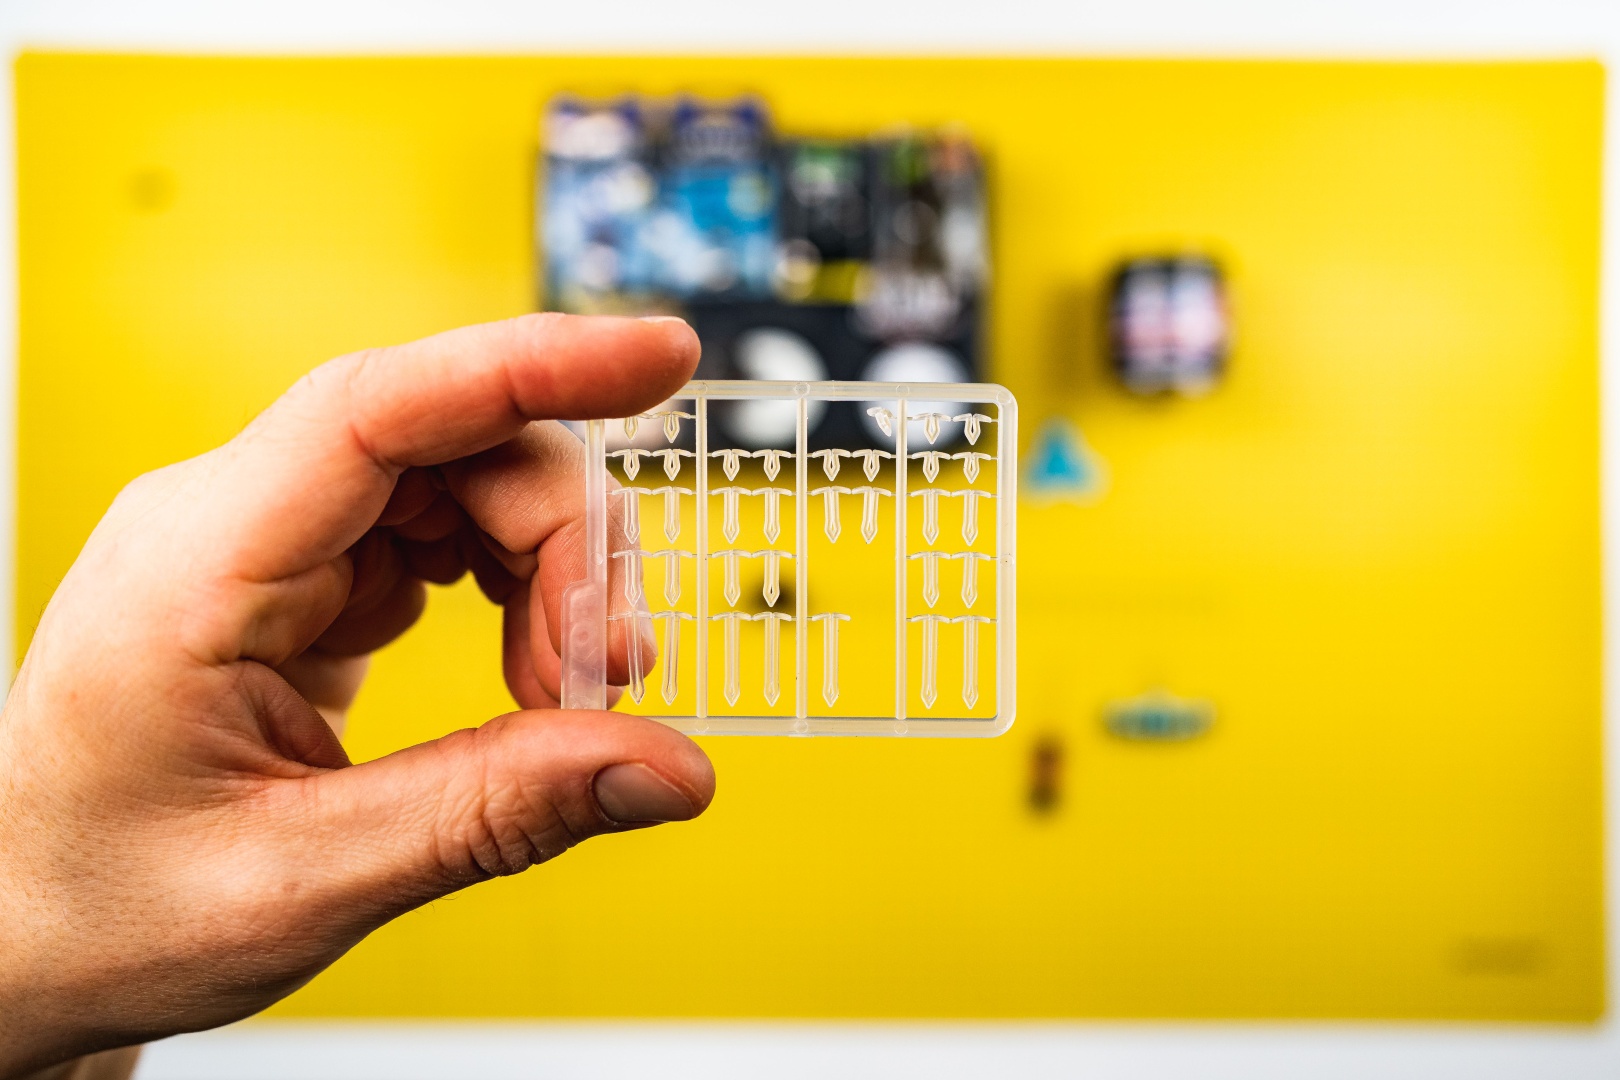
6 Prepare the bait stopper for locking in baits.
7 Thread the bait onto the loop you just tied and secure it with a stopper.
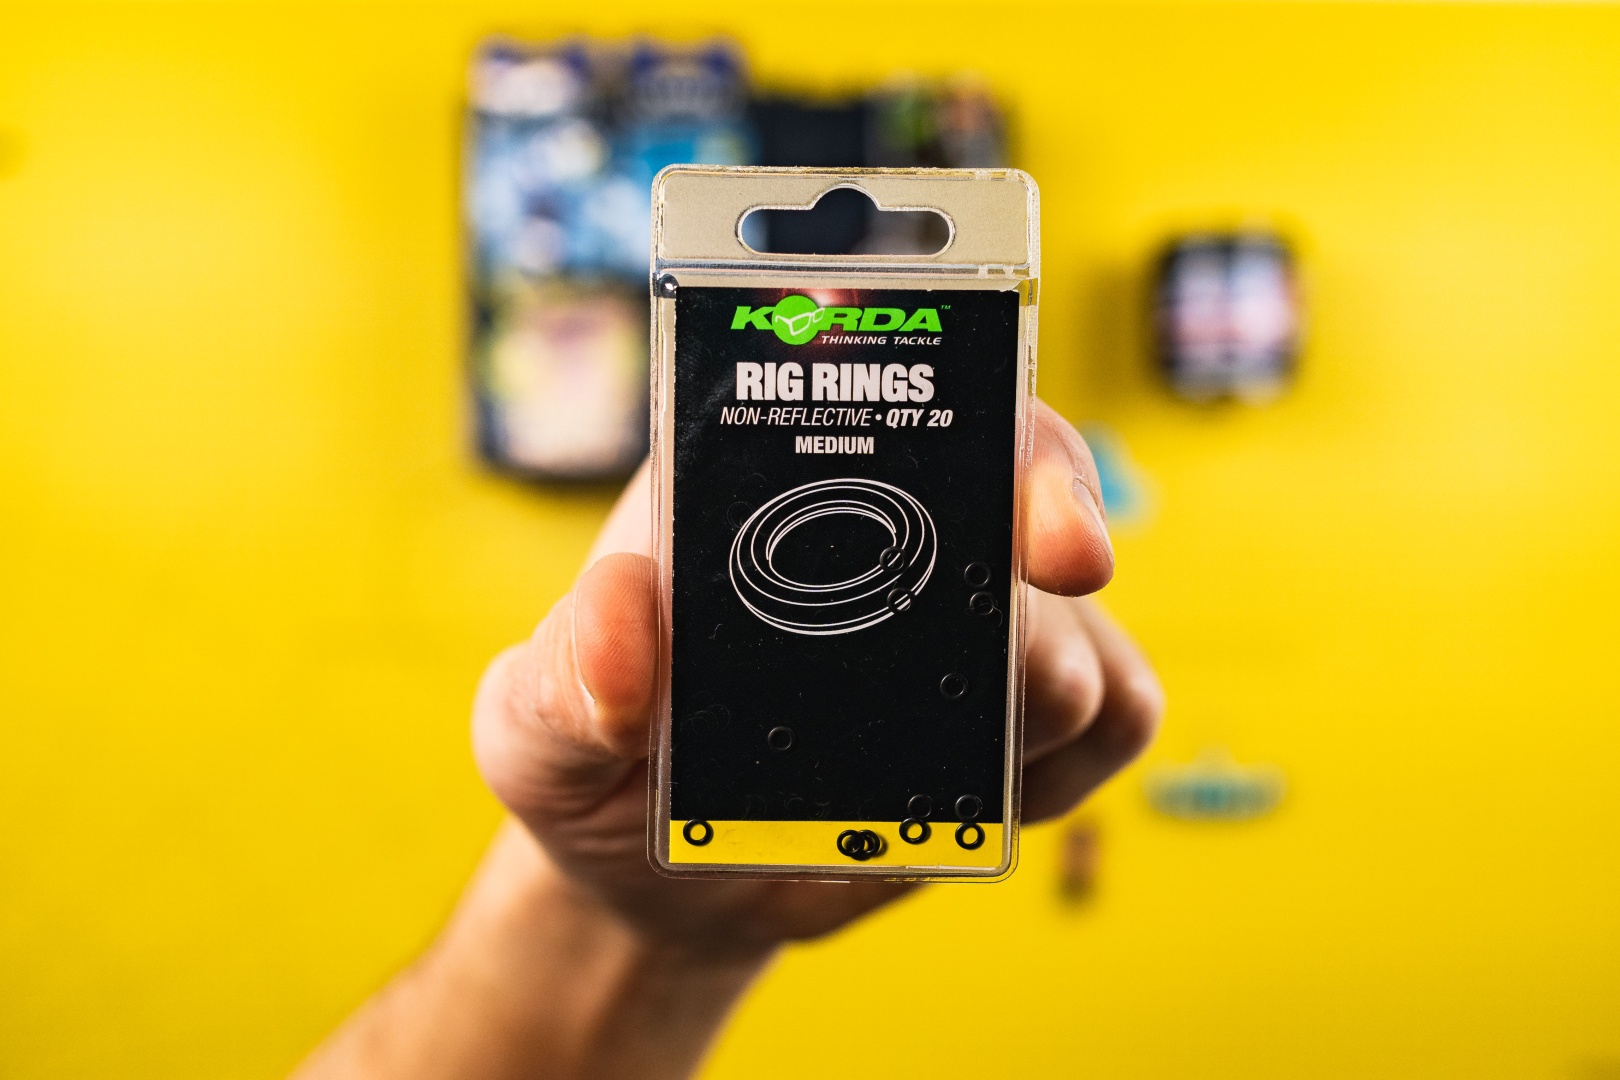
8 Prepare the metal ring.
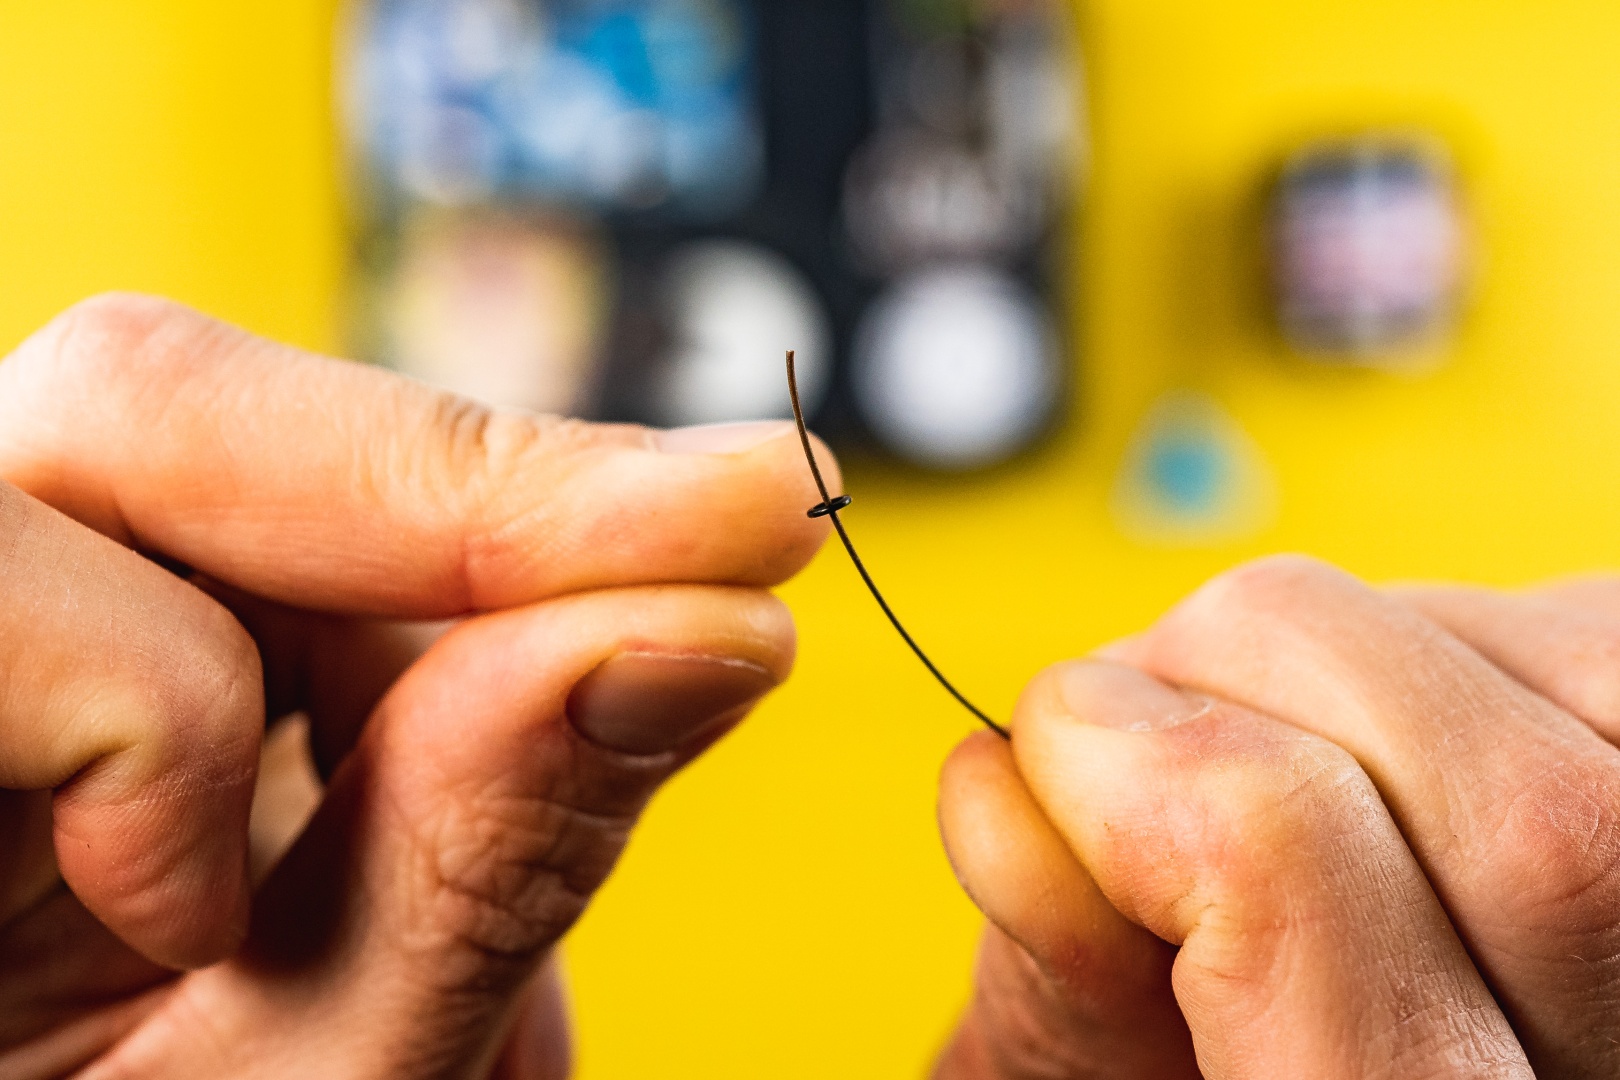
9 Thread the ring onto the free end of the leader material.
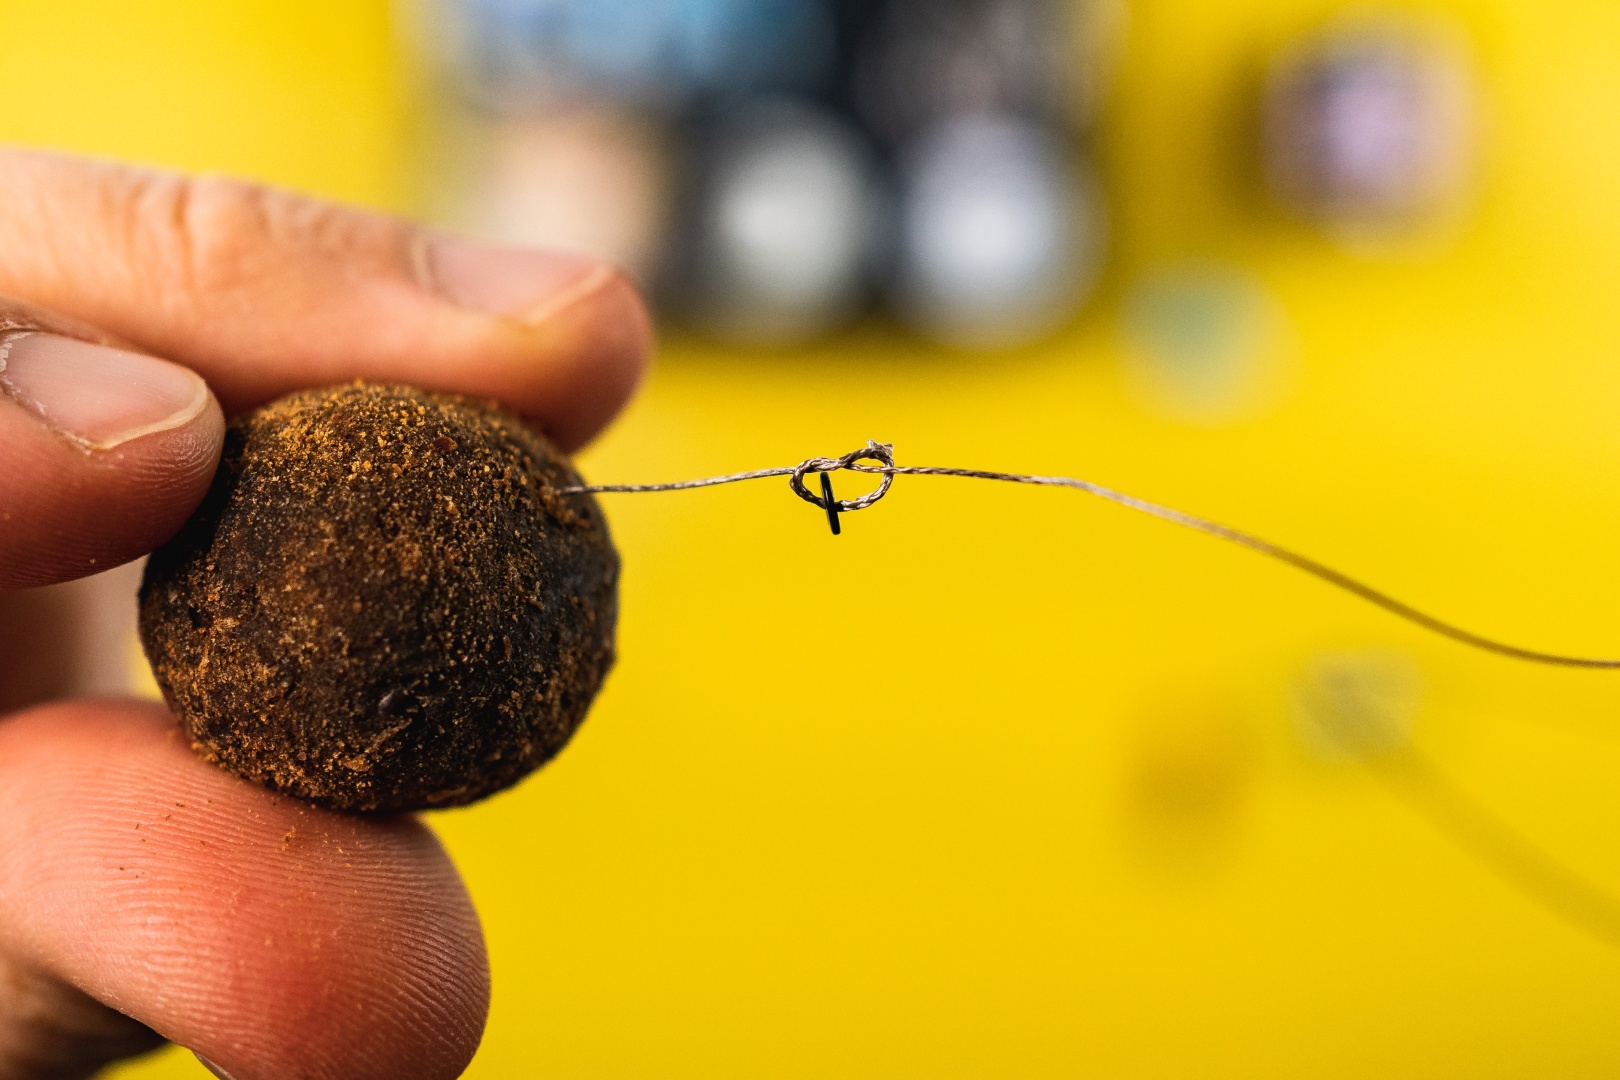
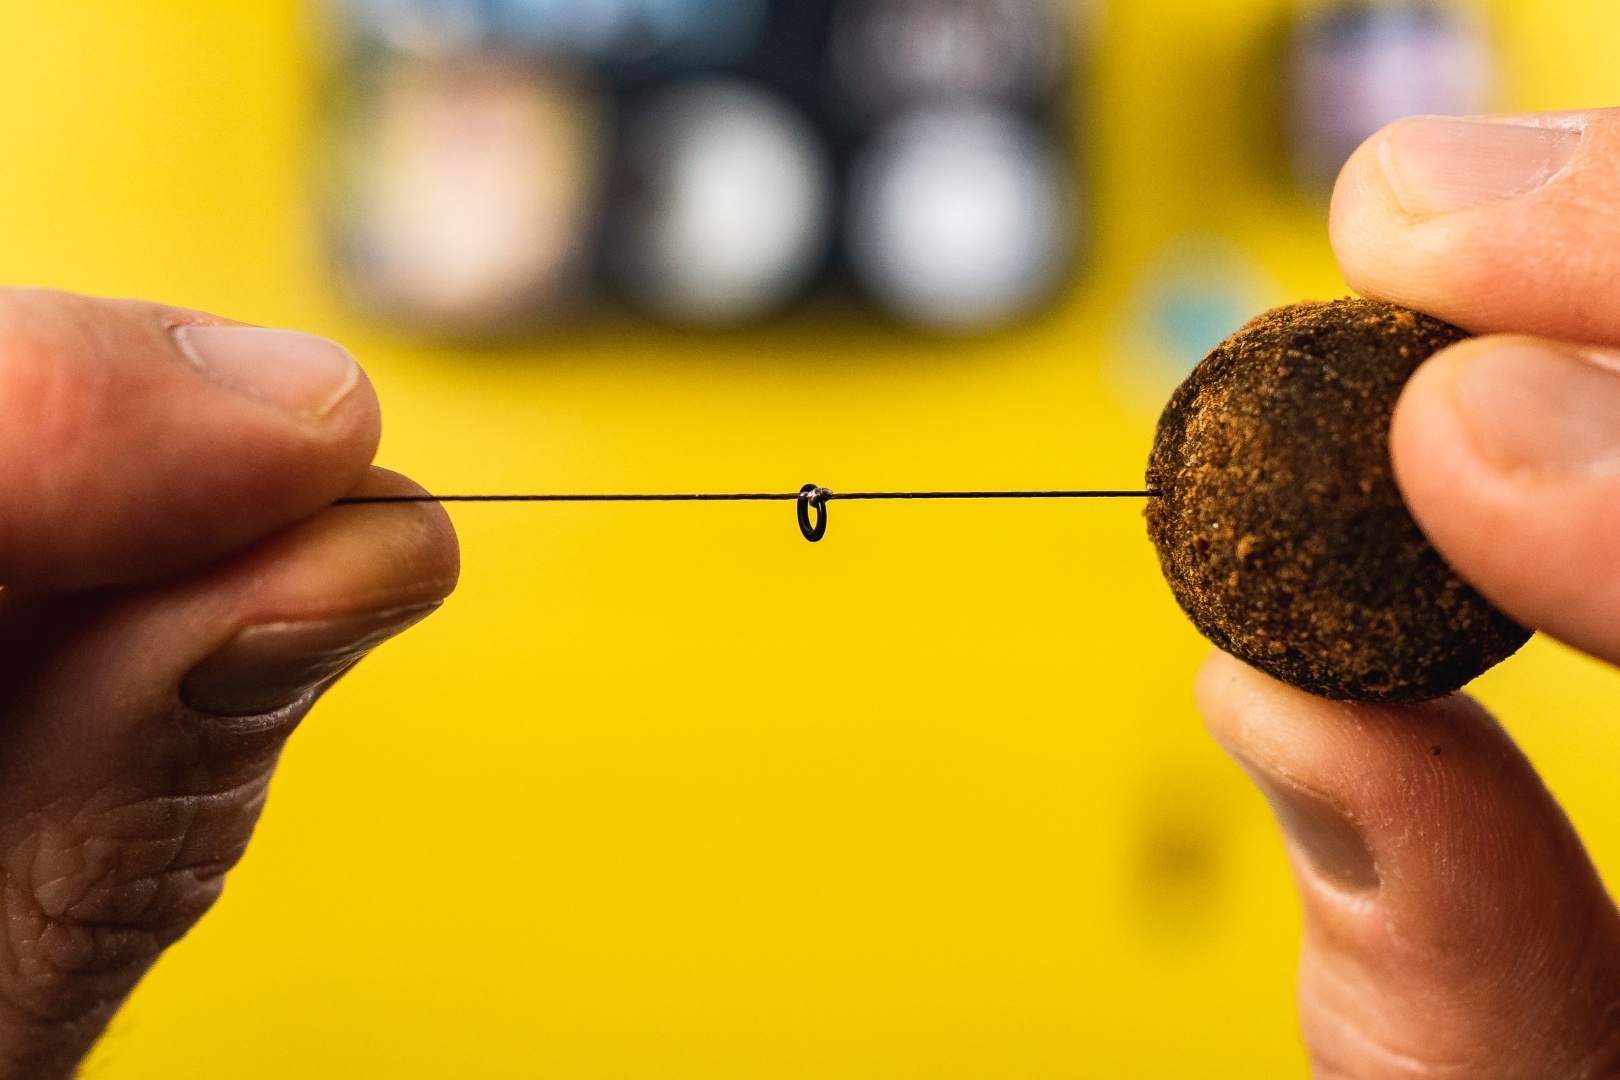
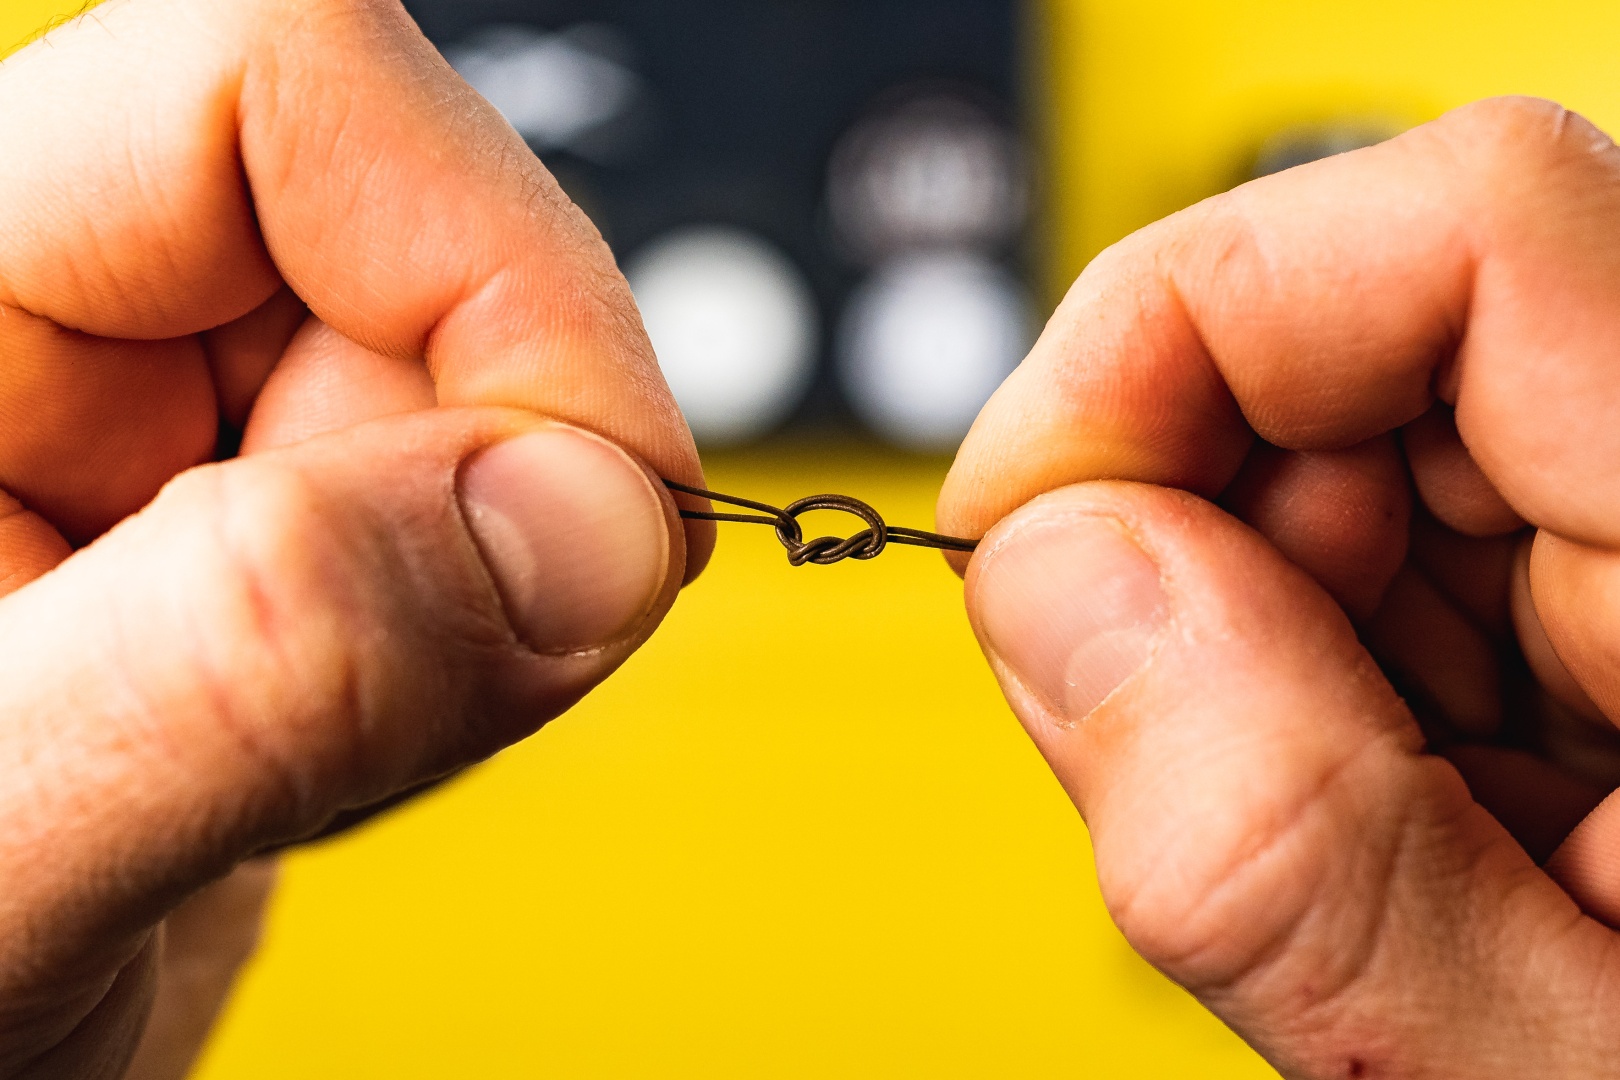
10 Set the distance between the ring and the bait, then tie it with the knot shown in the photo.
11 The distance from the bait to the small ring should be at least 2cm.
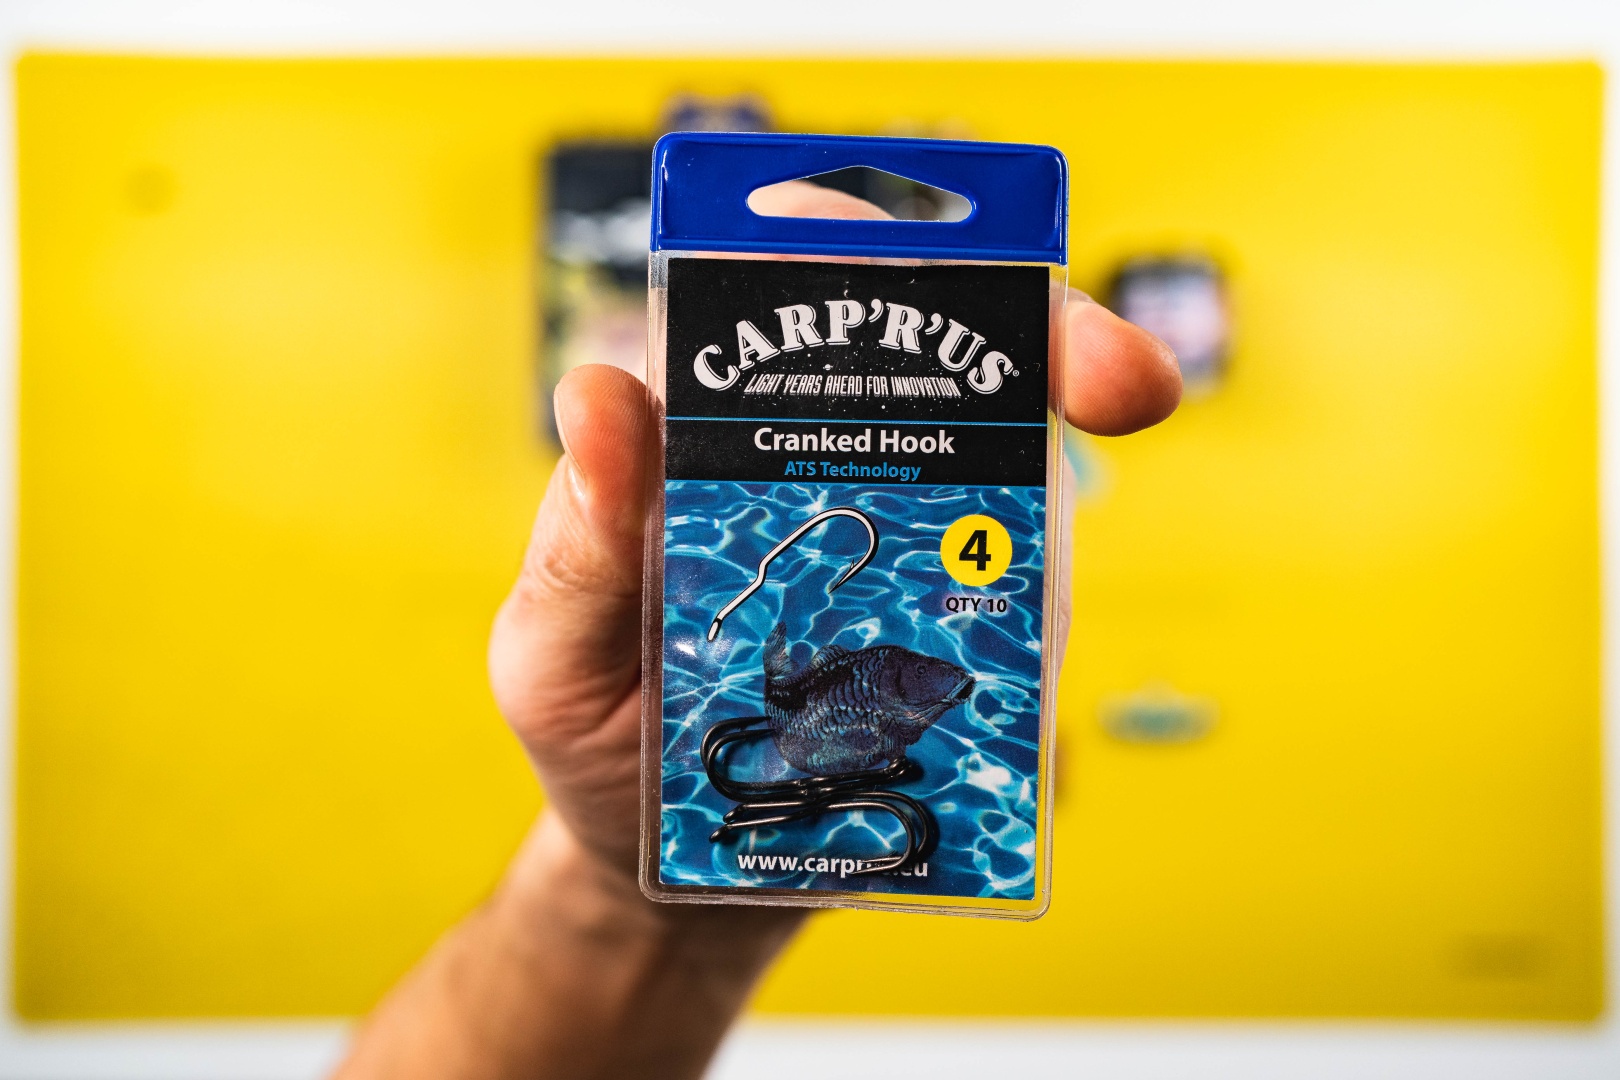
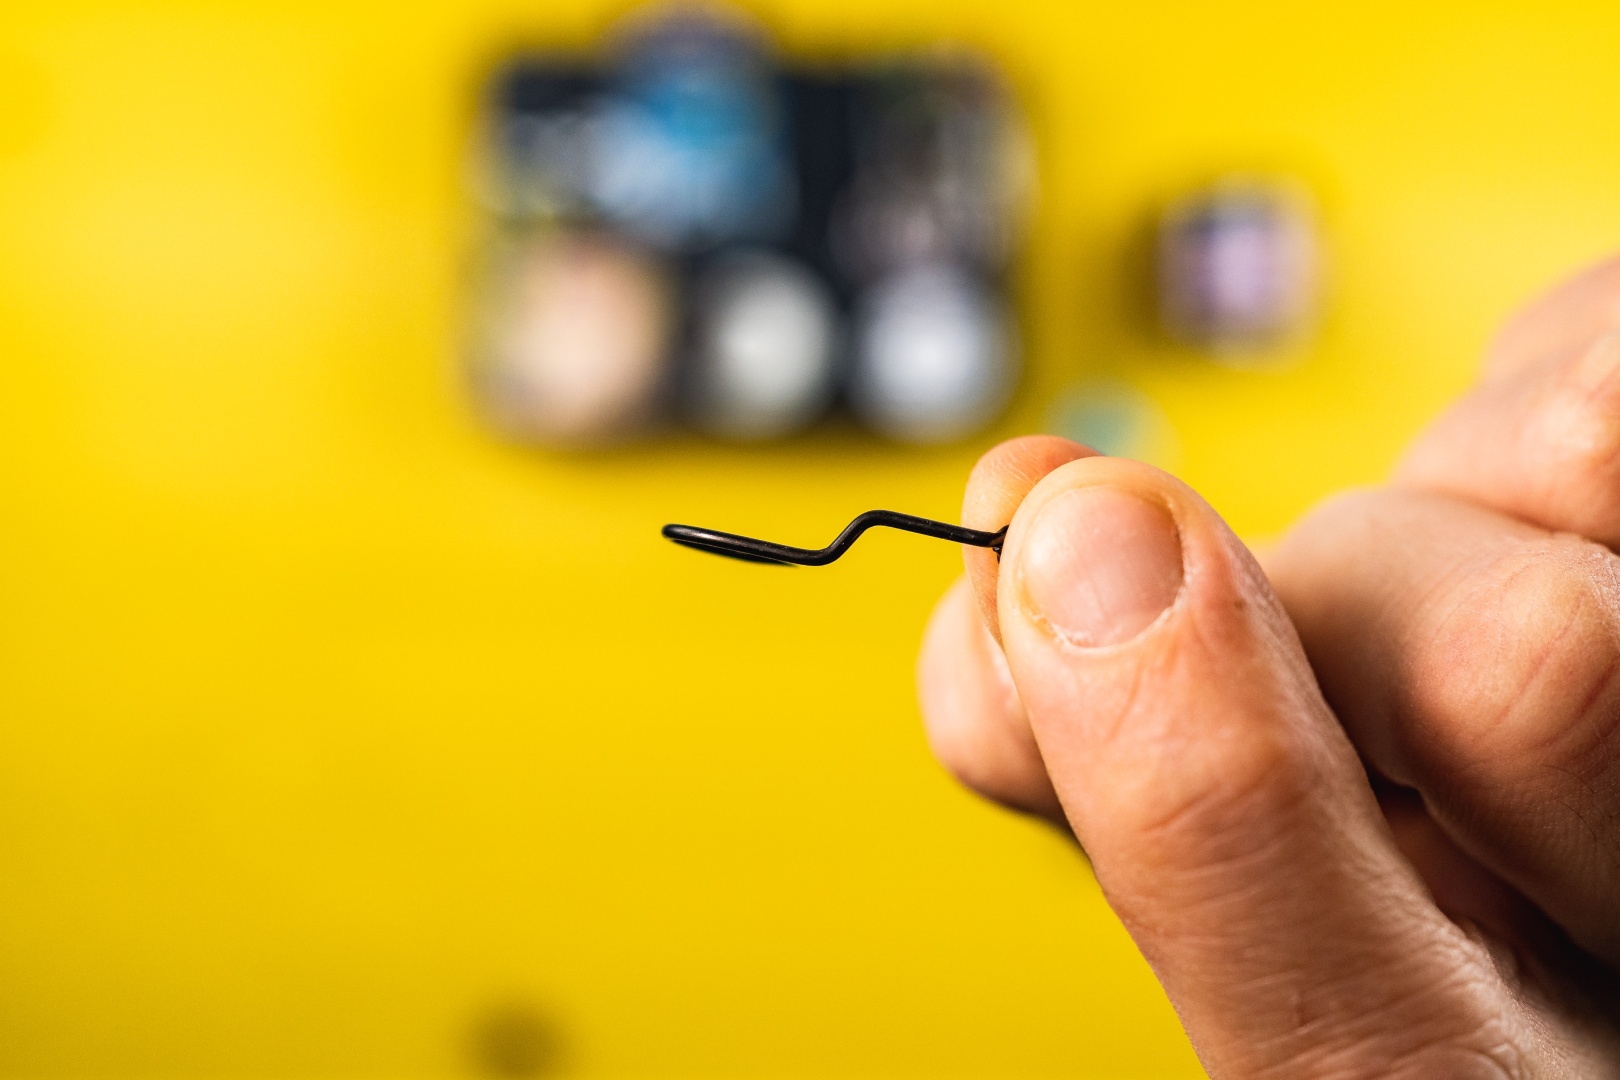
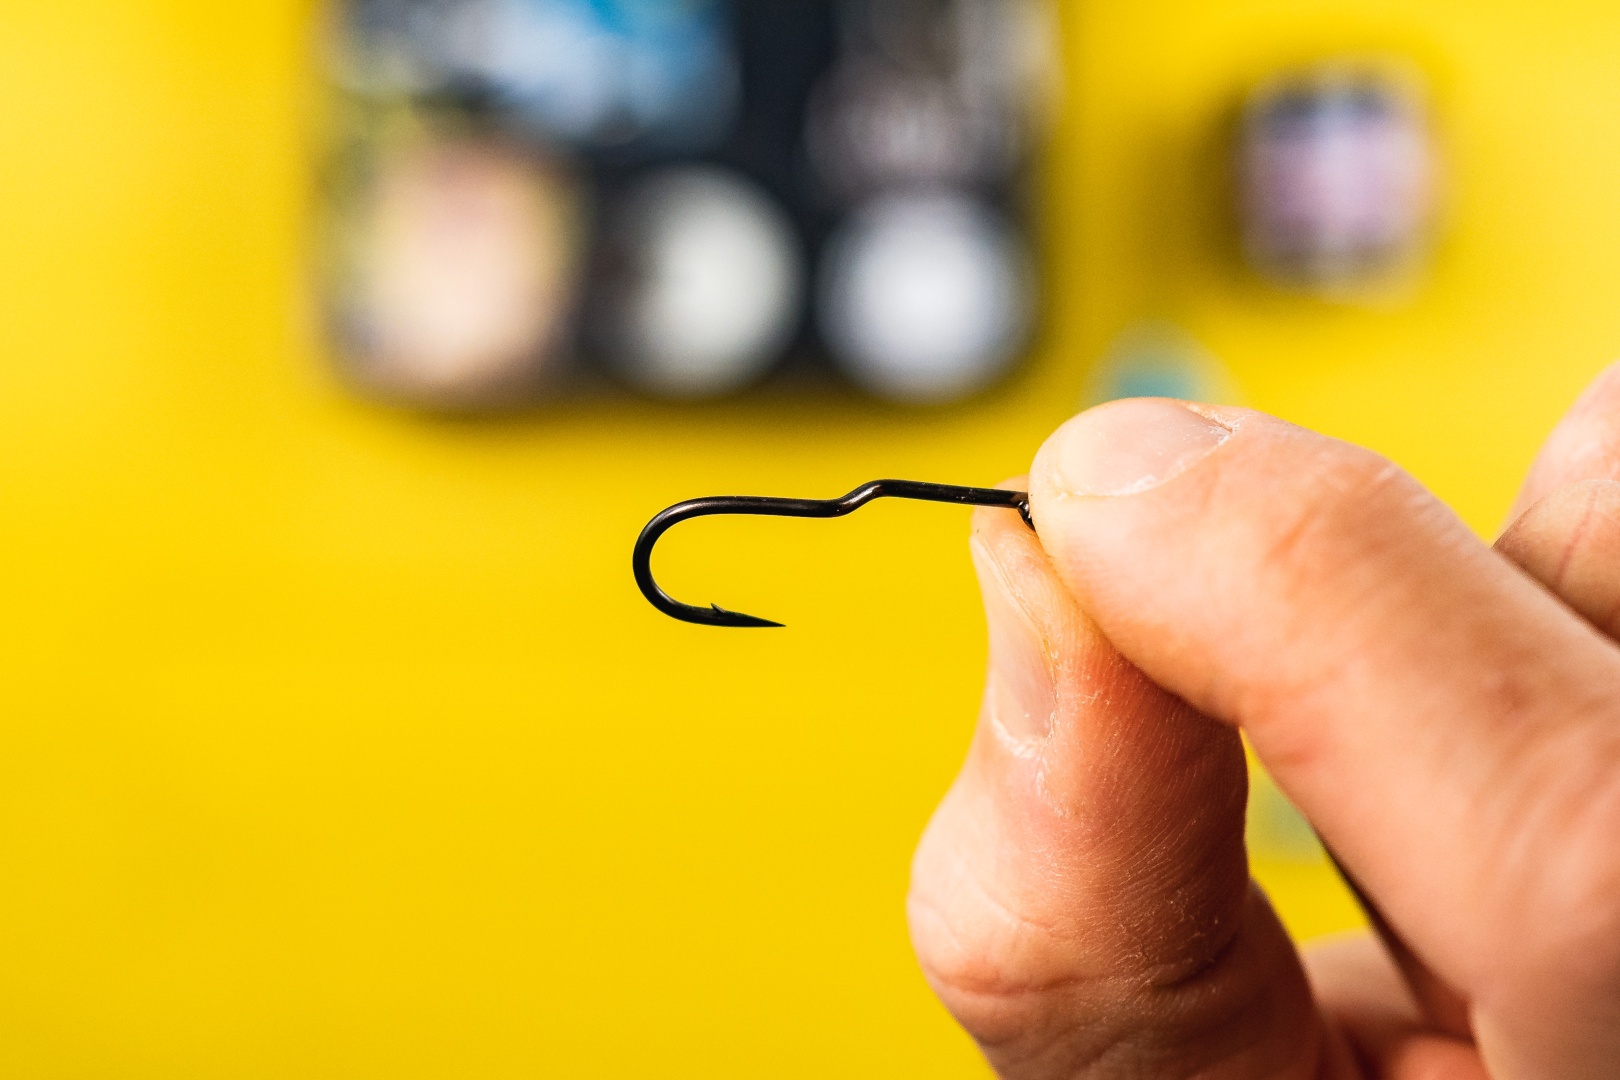
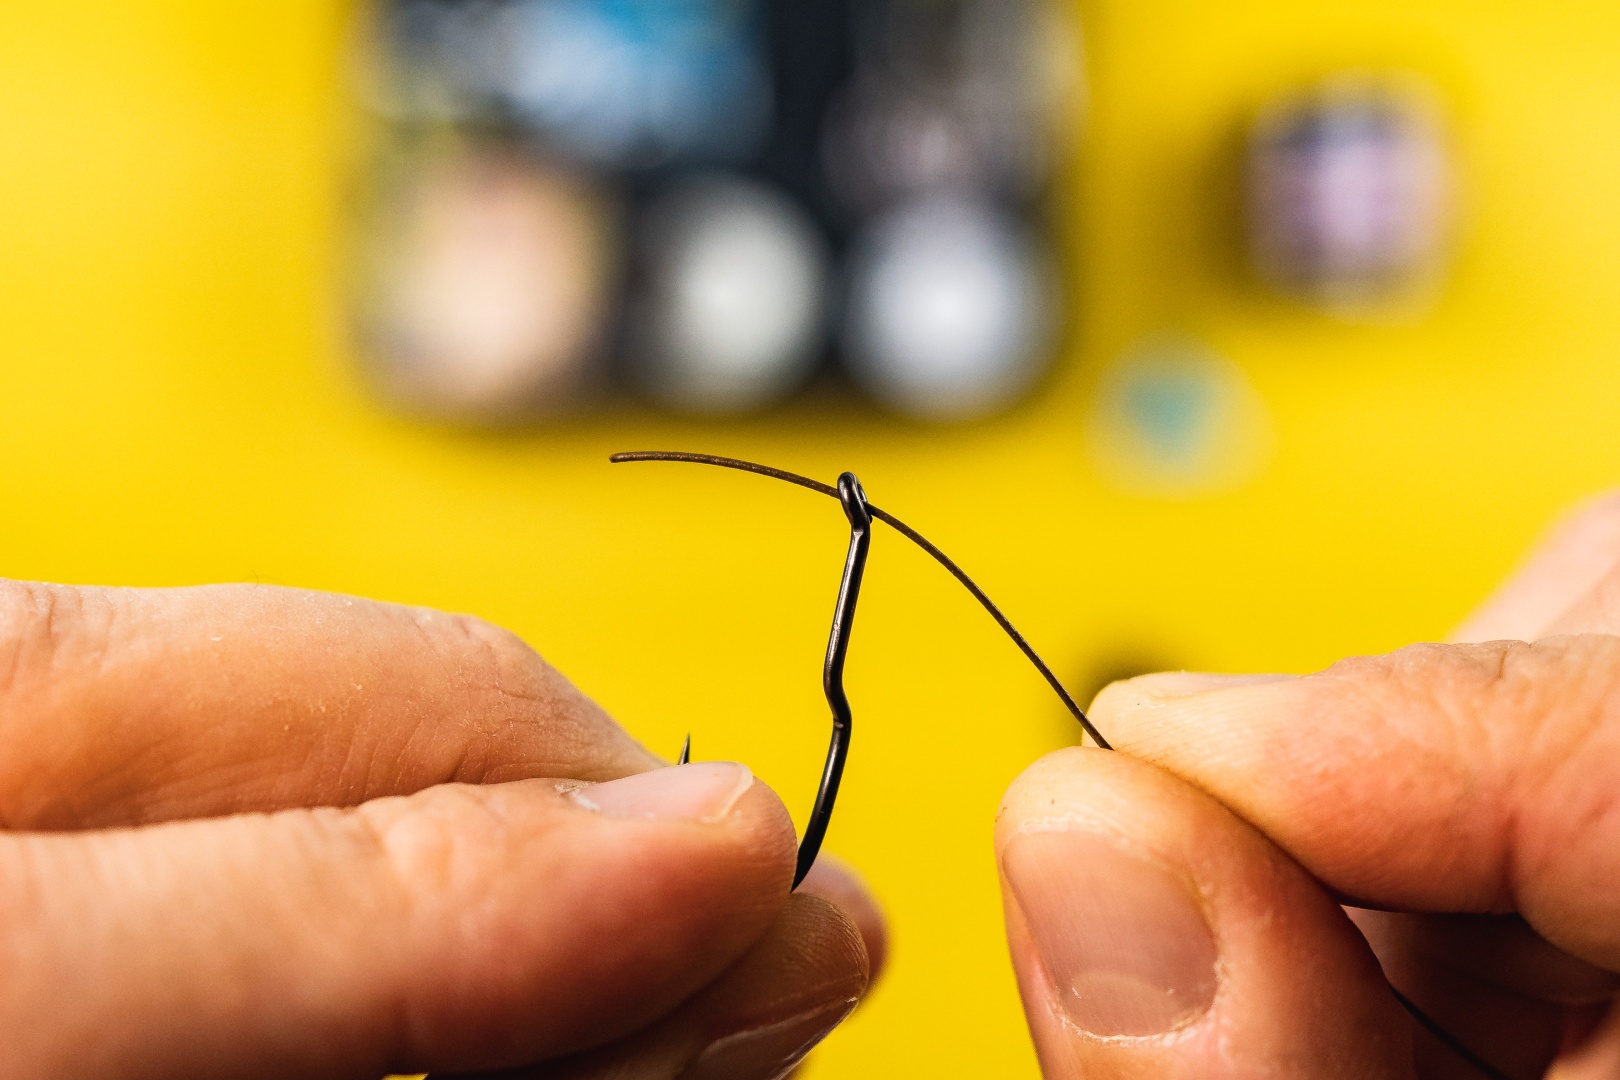
12 Prepare the Carp'R'US Cranked Hook
13 Thread the free end of the leader material through the eye of the hook - remember to do it from the outside (spine) of the hook.
14 Set the position where the ring should be located - for me, it's usually at the height of the hook barb.
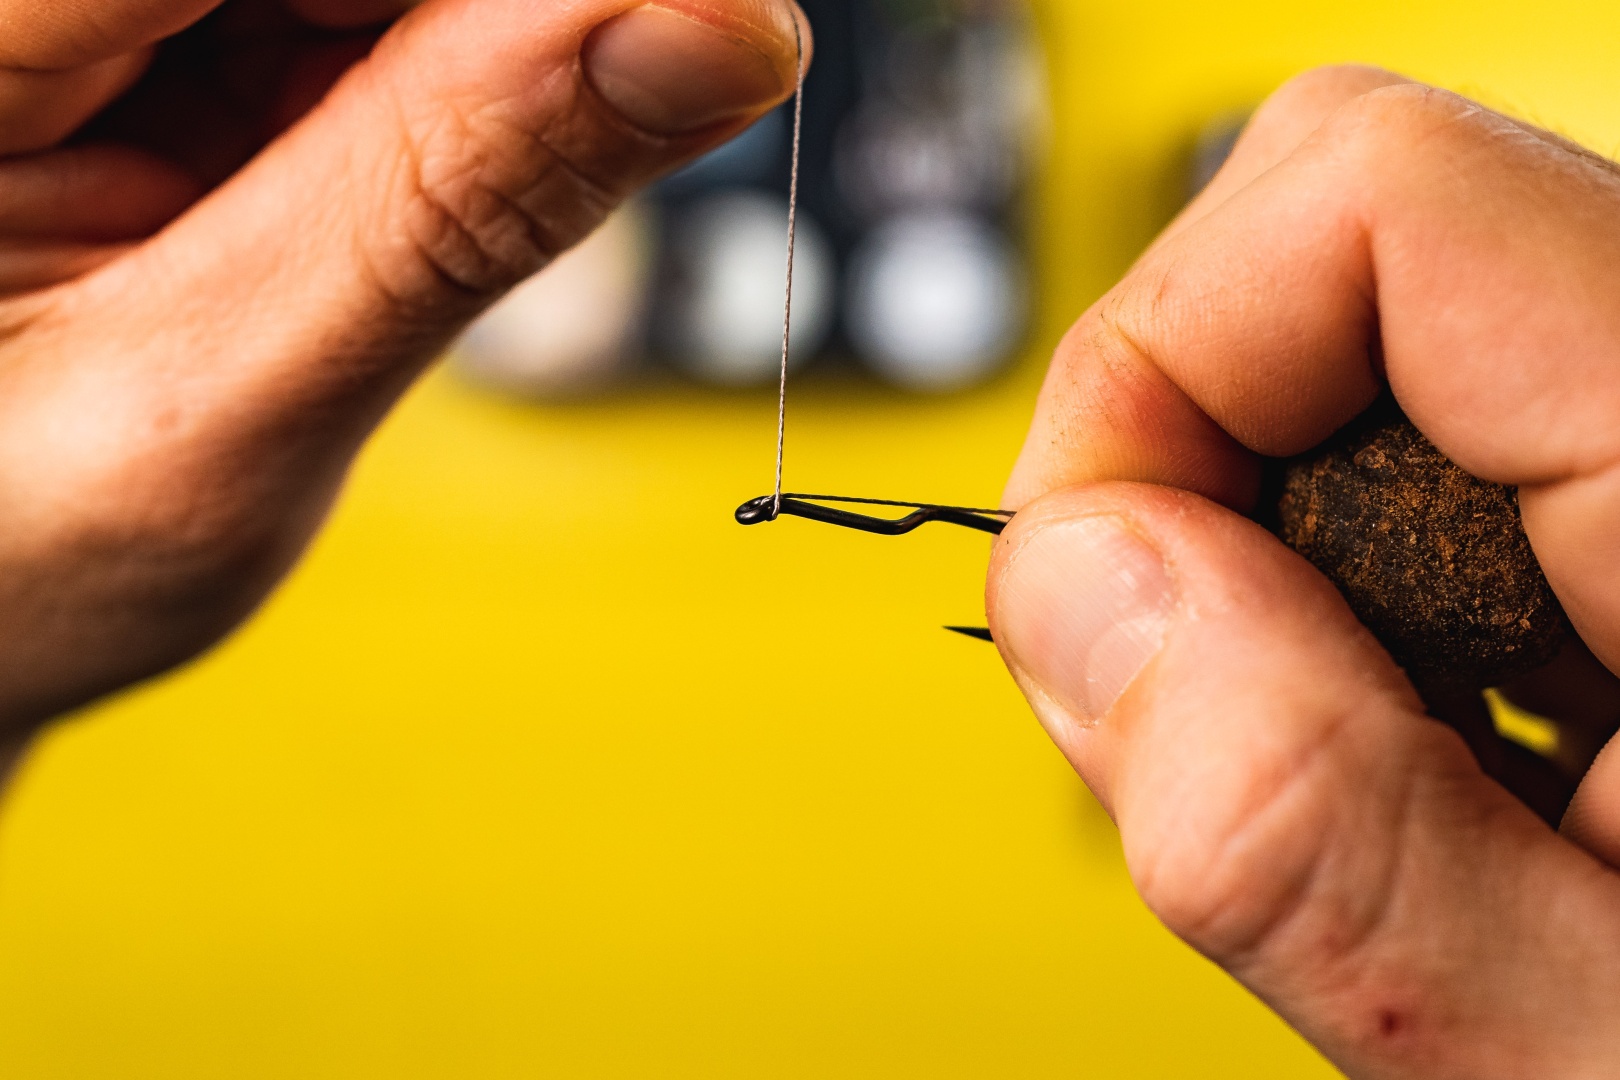
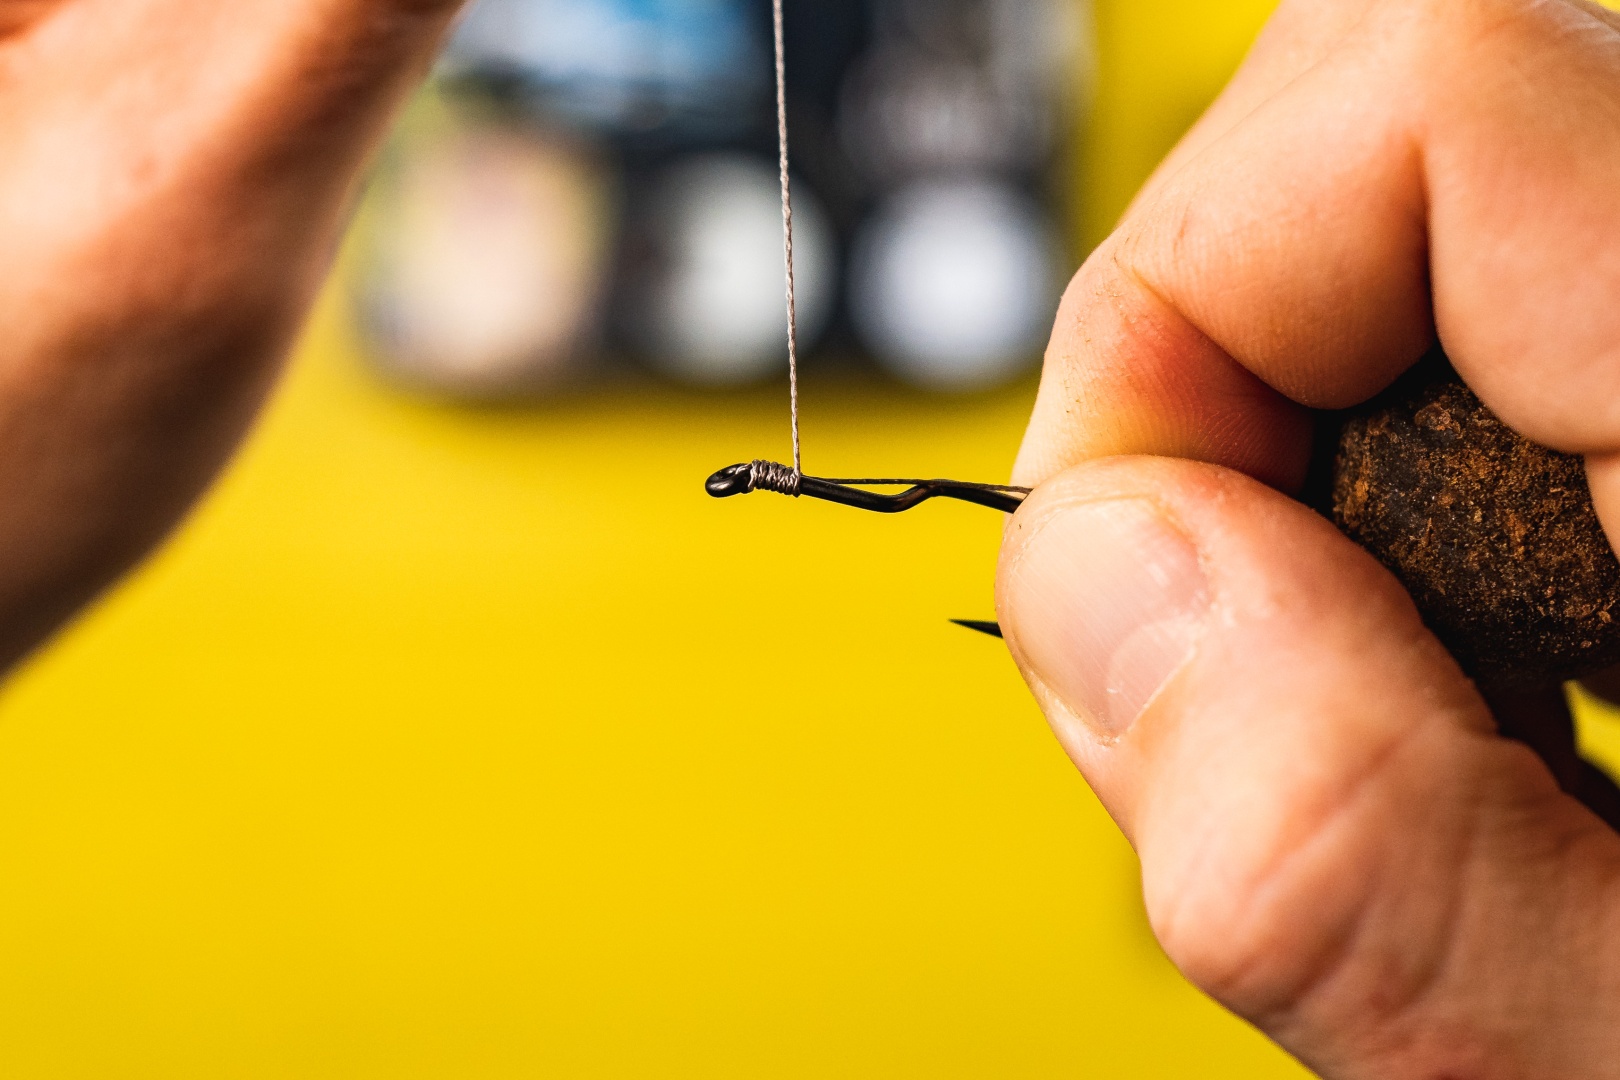
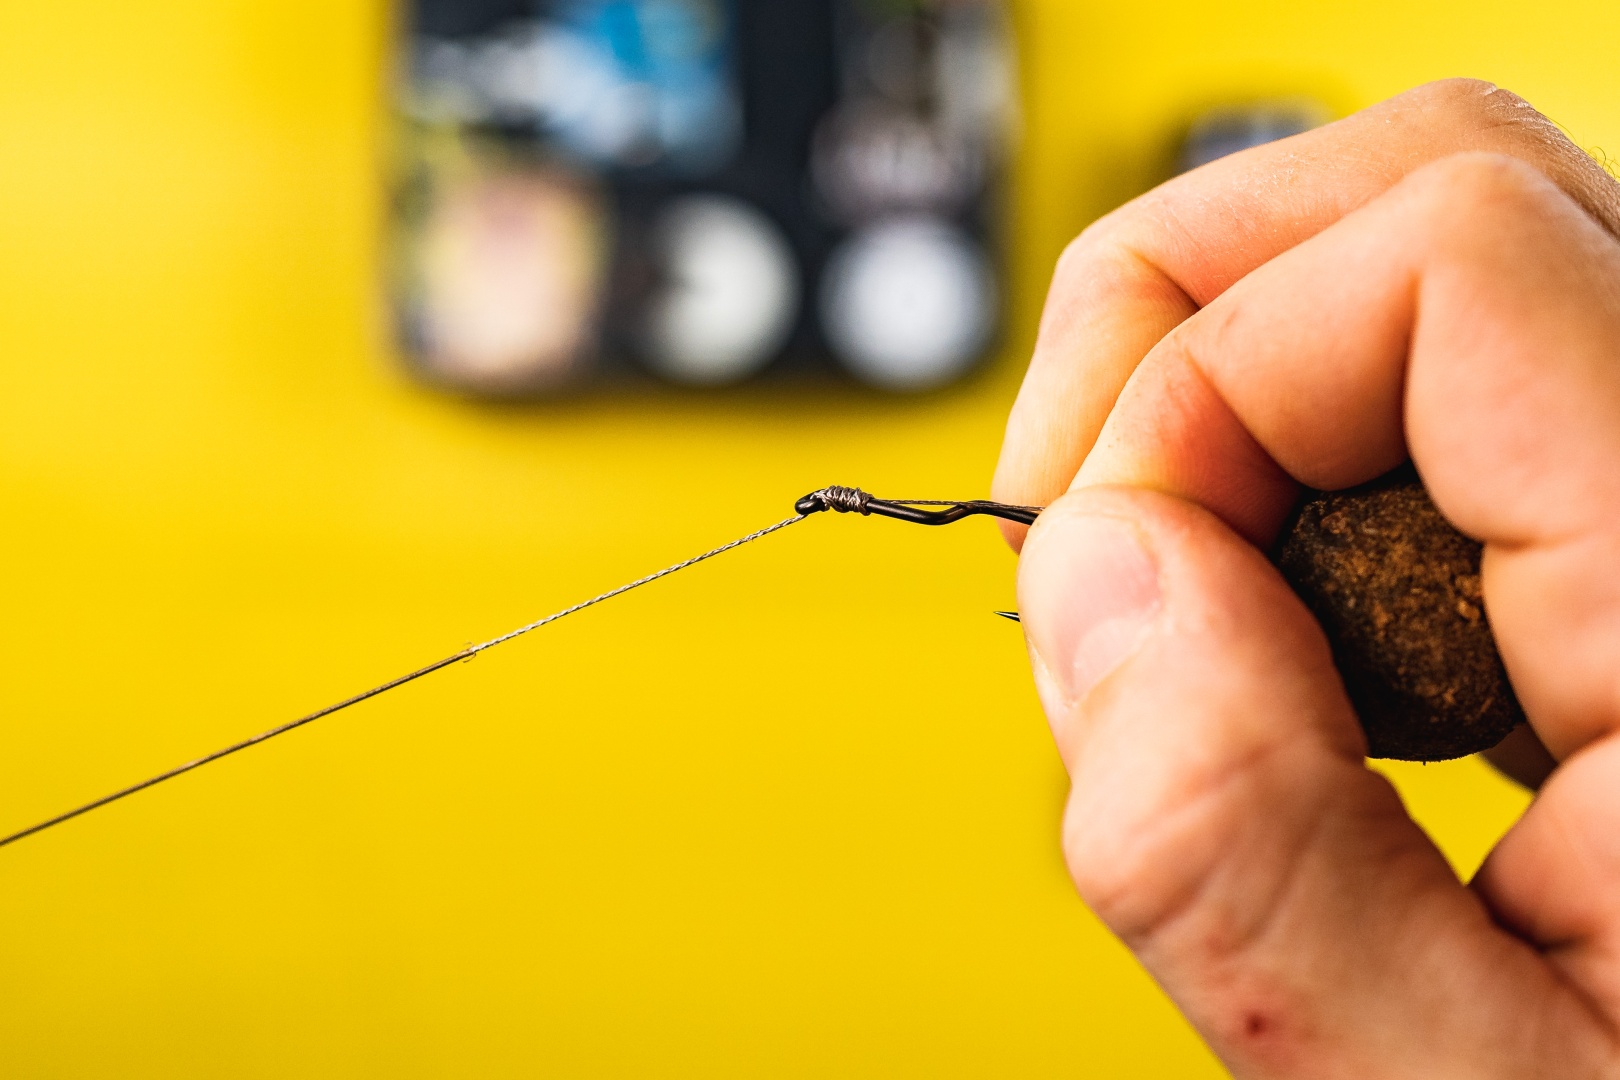
15 Tie the hook using the classic "knotless knot".
16 Hook tied, this is how this stage should look - the section stripped of coating beyond the hook's eye should be approximately 3-4cm.
17 Finish the free end of the braid with a classic "figure-eight" loop.
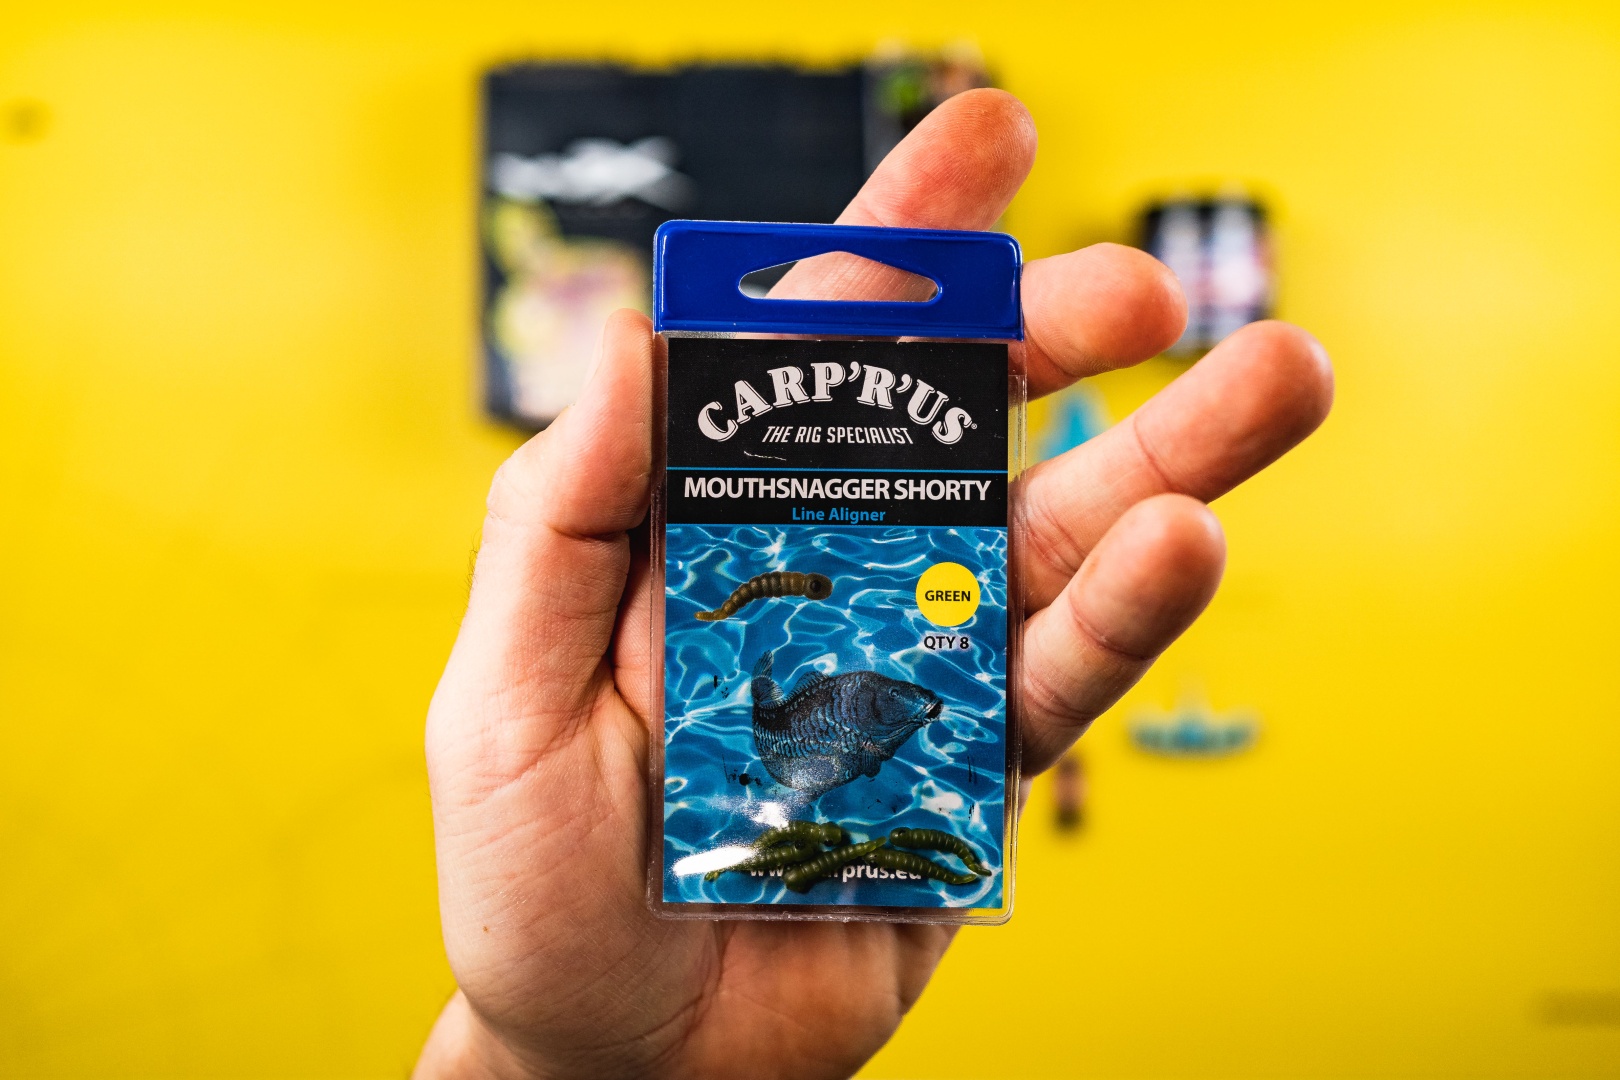
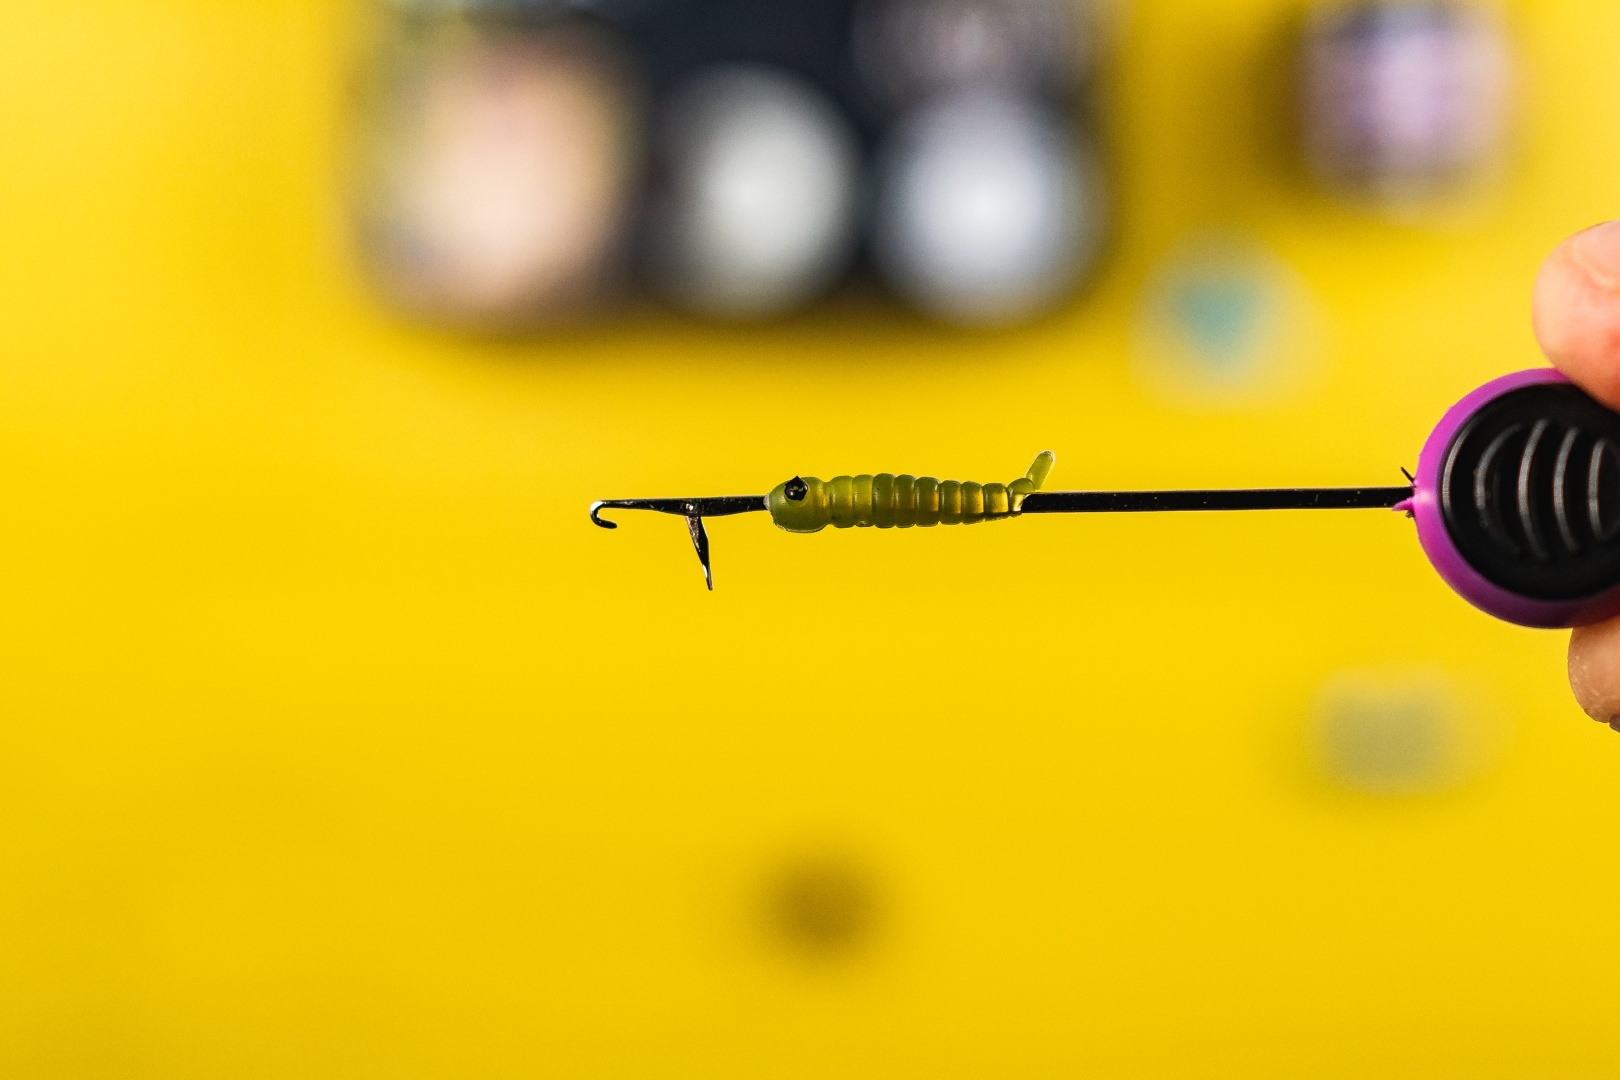
18 Prepare the Positioner.
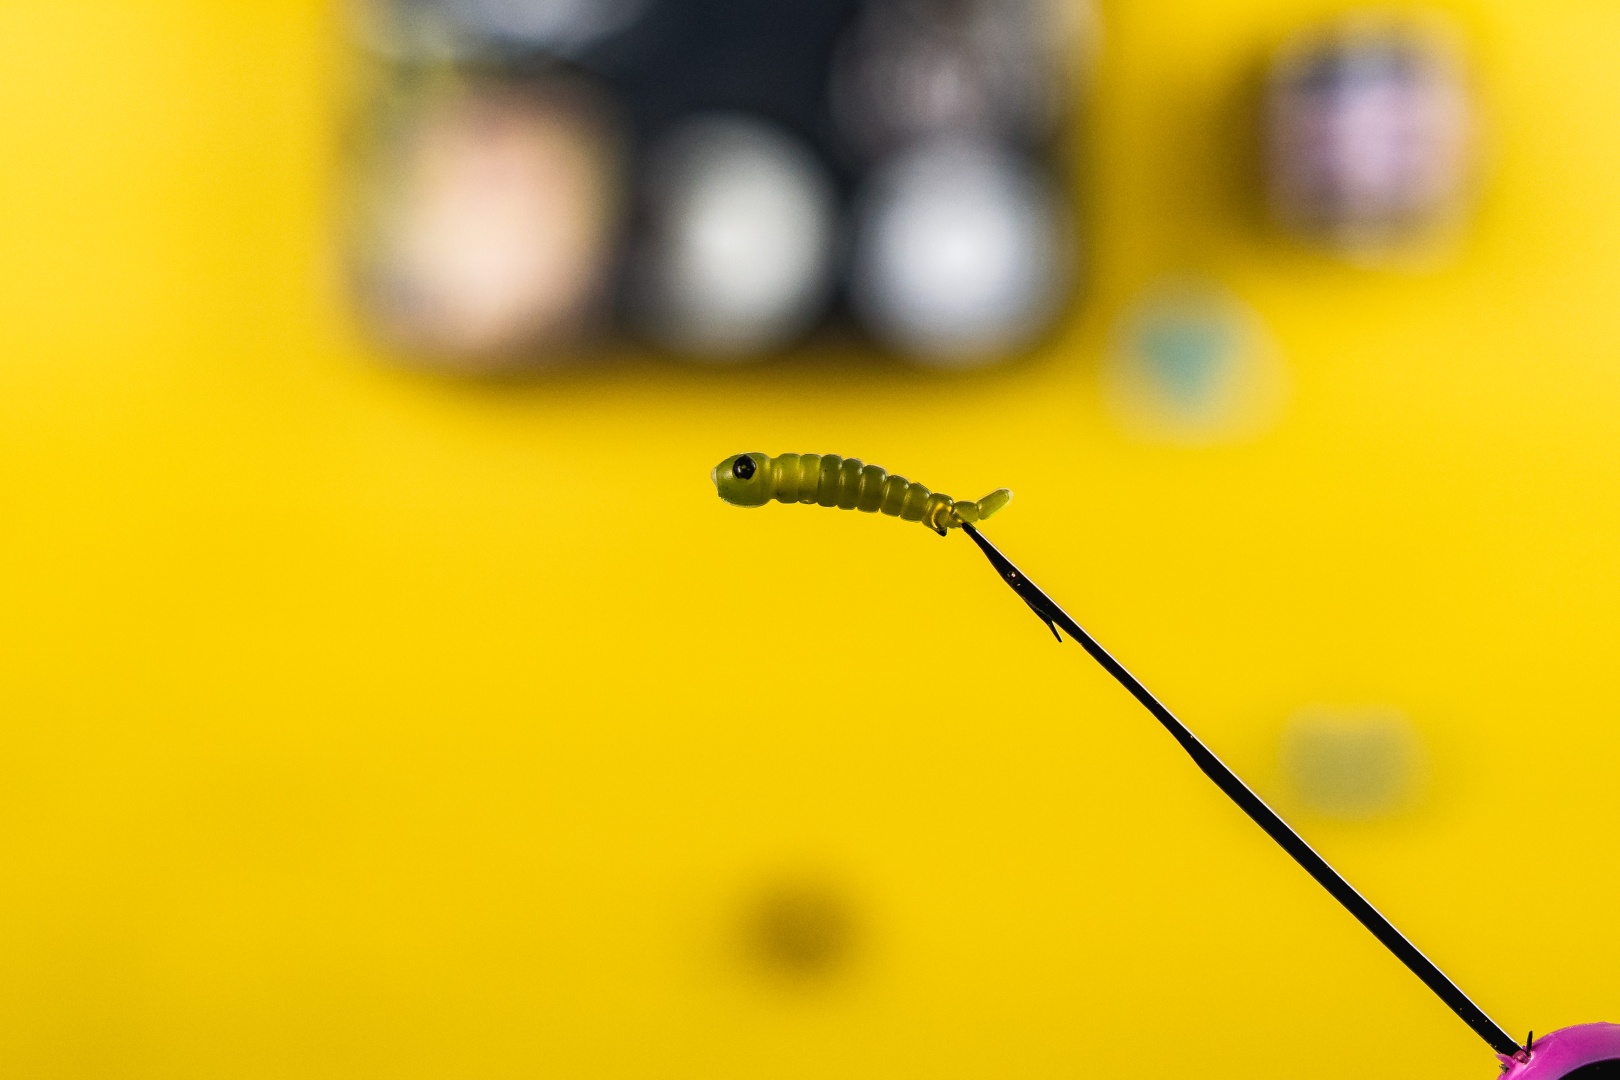
19 Thread the rig aligner onto the latch needle.
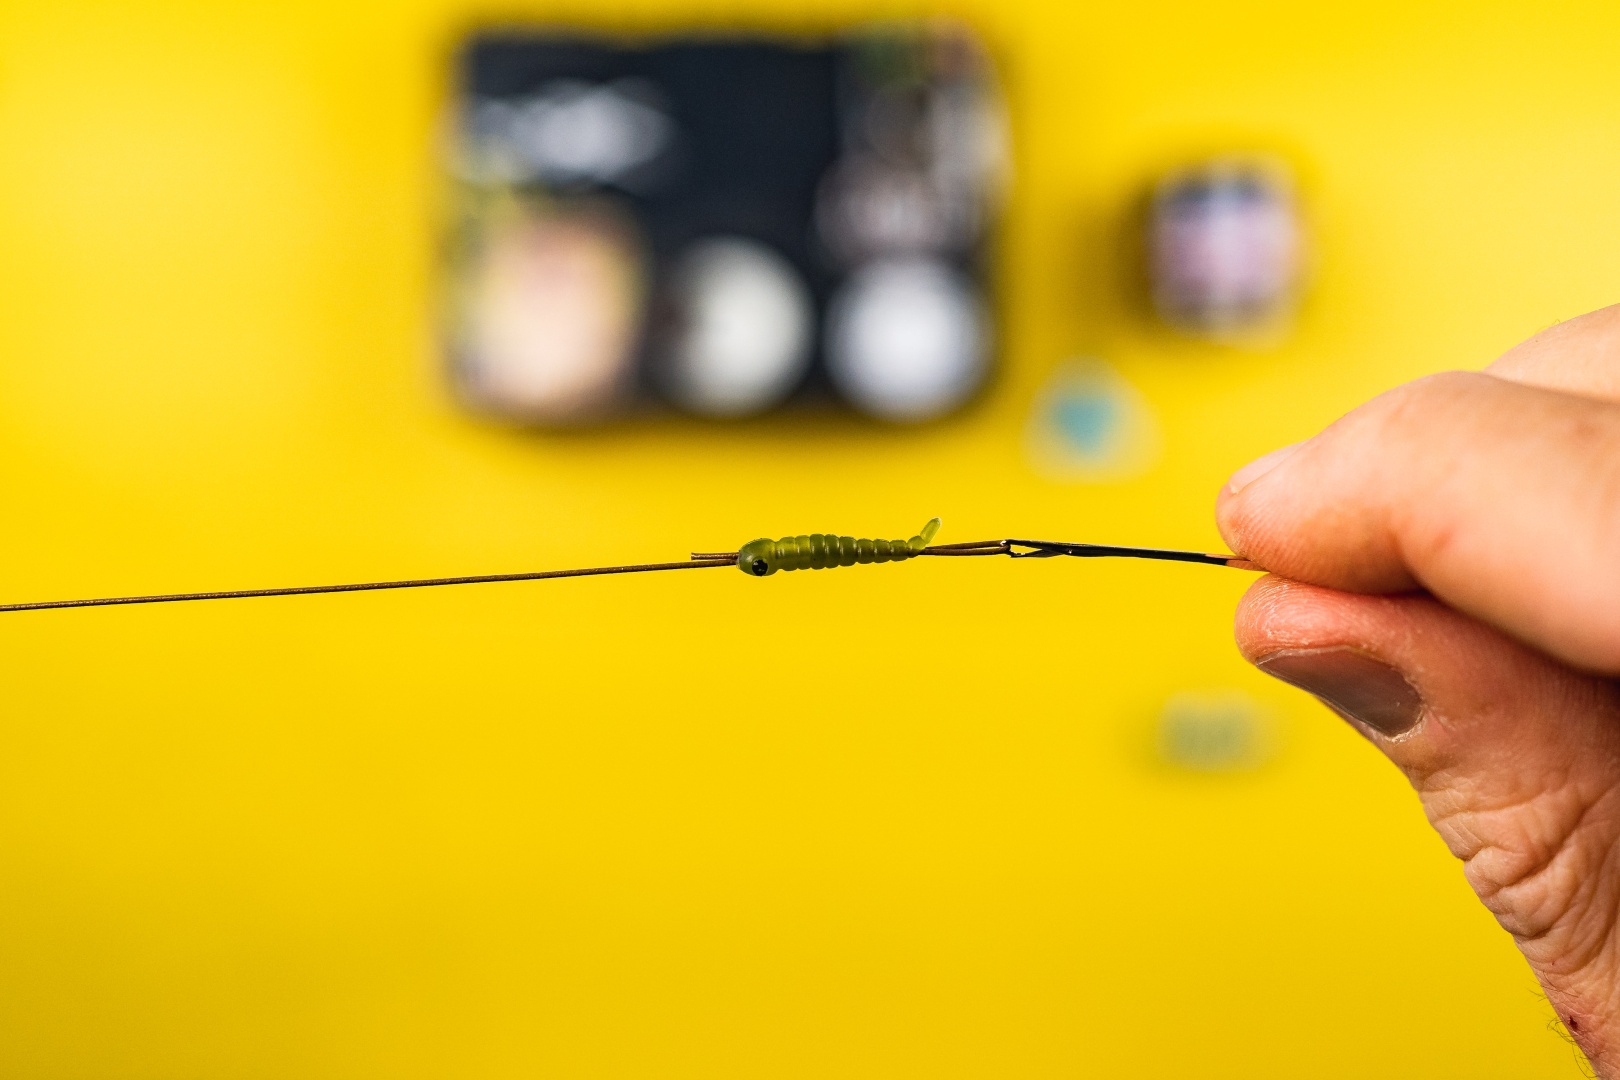
20 Thread the positioner onto the free end of the braid.
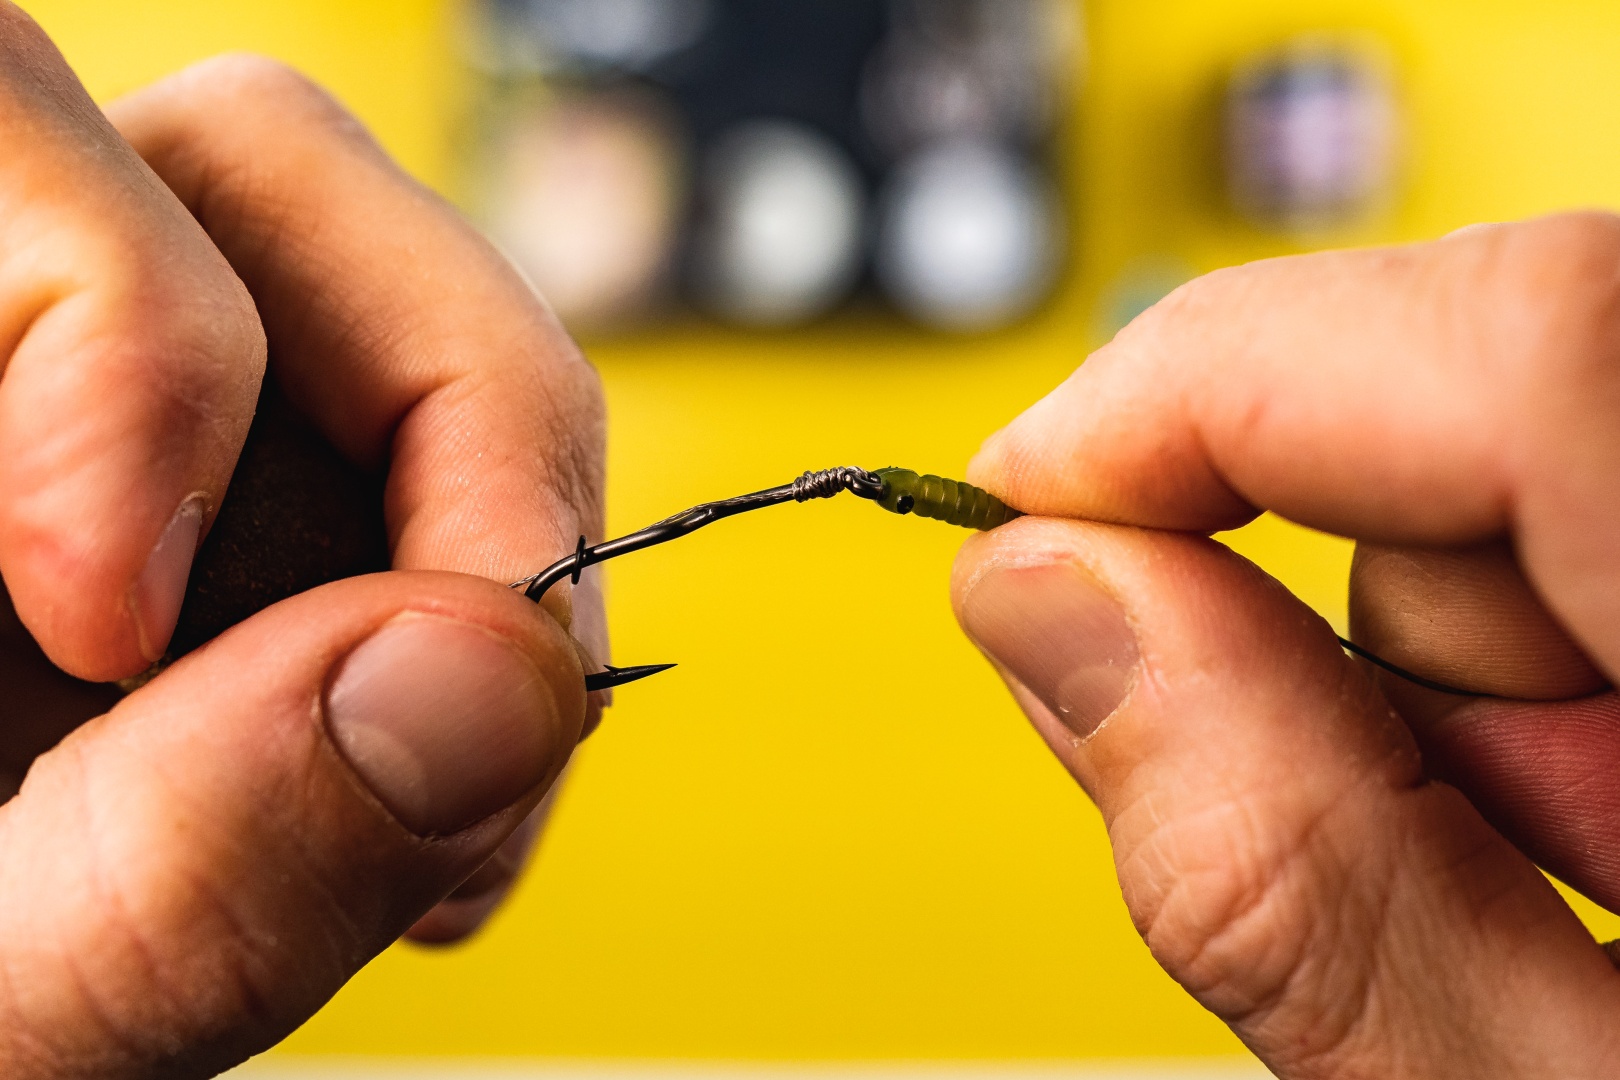
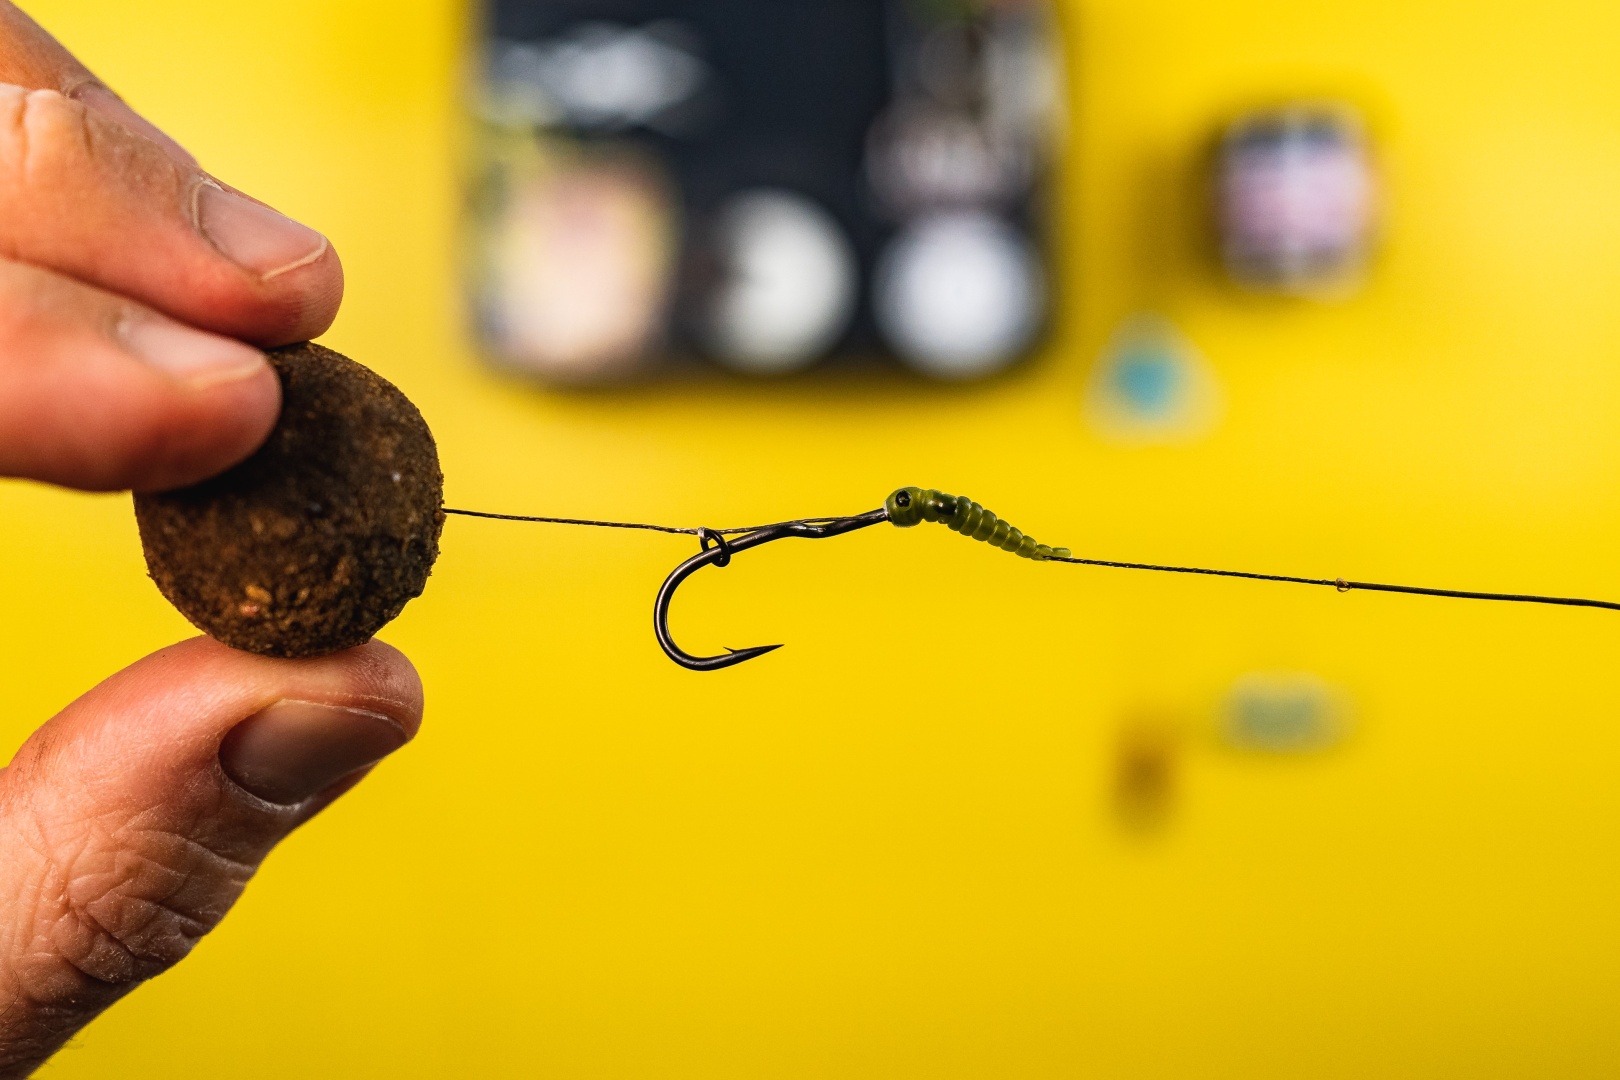
21 Slide the rig aligner onto the hook eye and the section of the shank where the "knotless knot" braid is located.
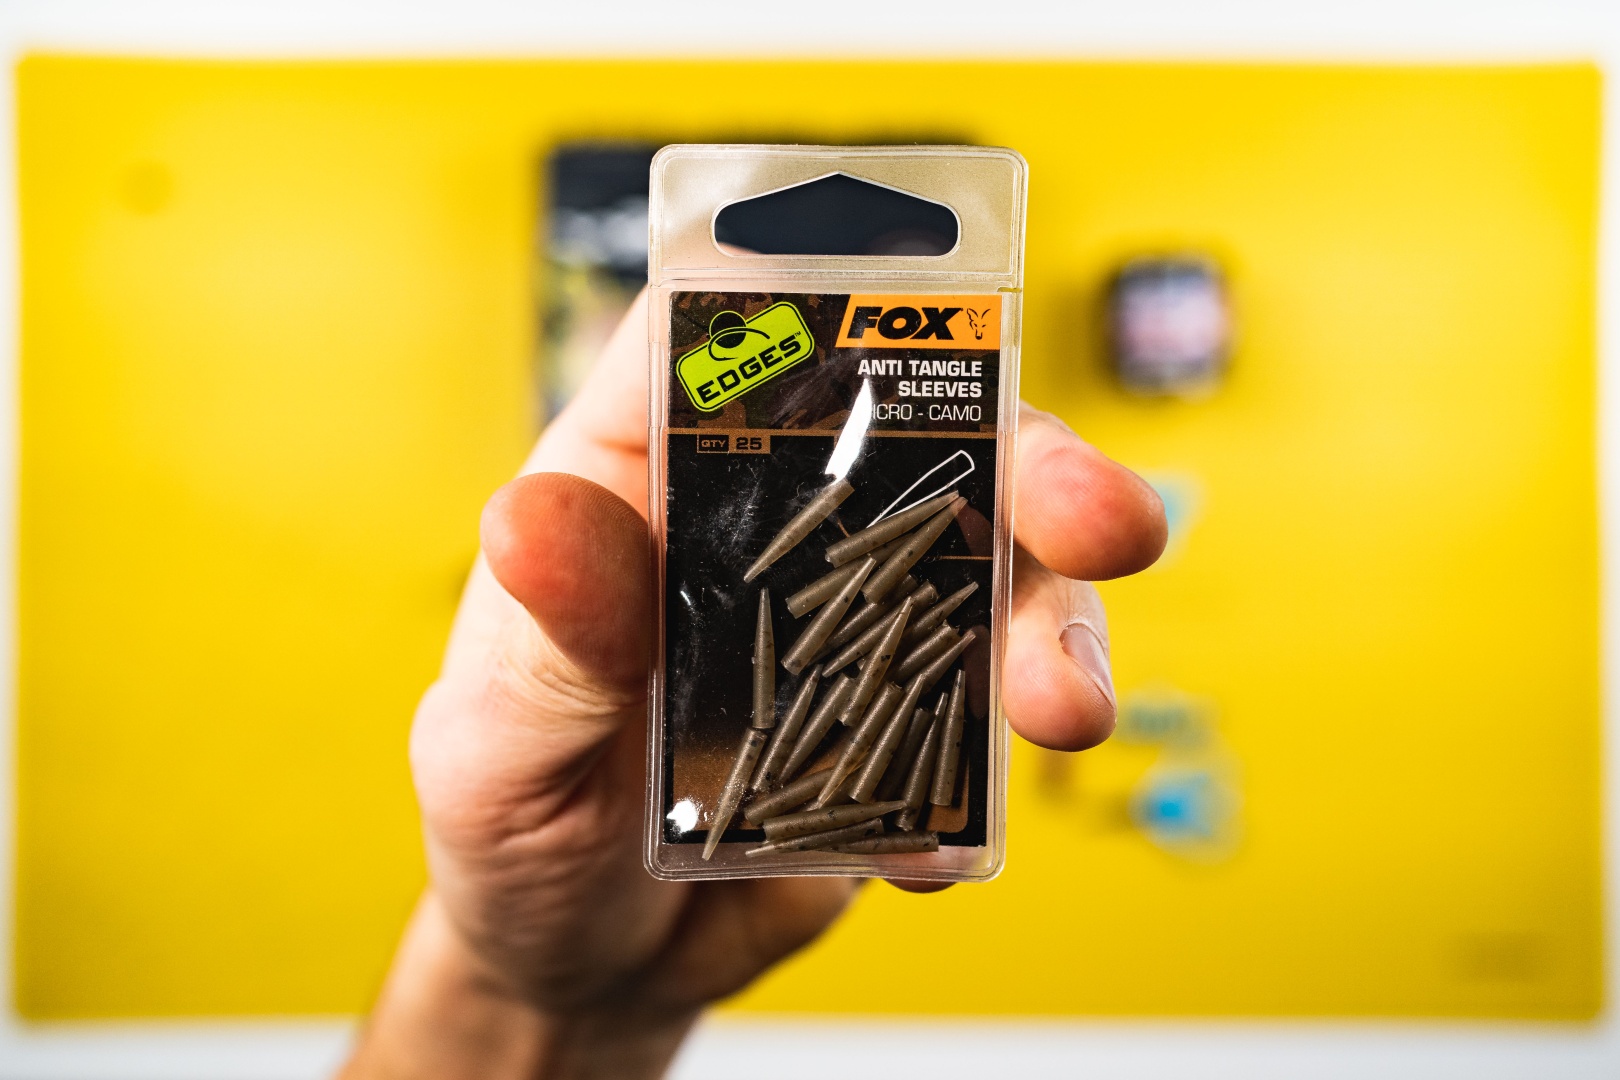
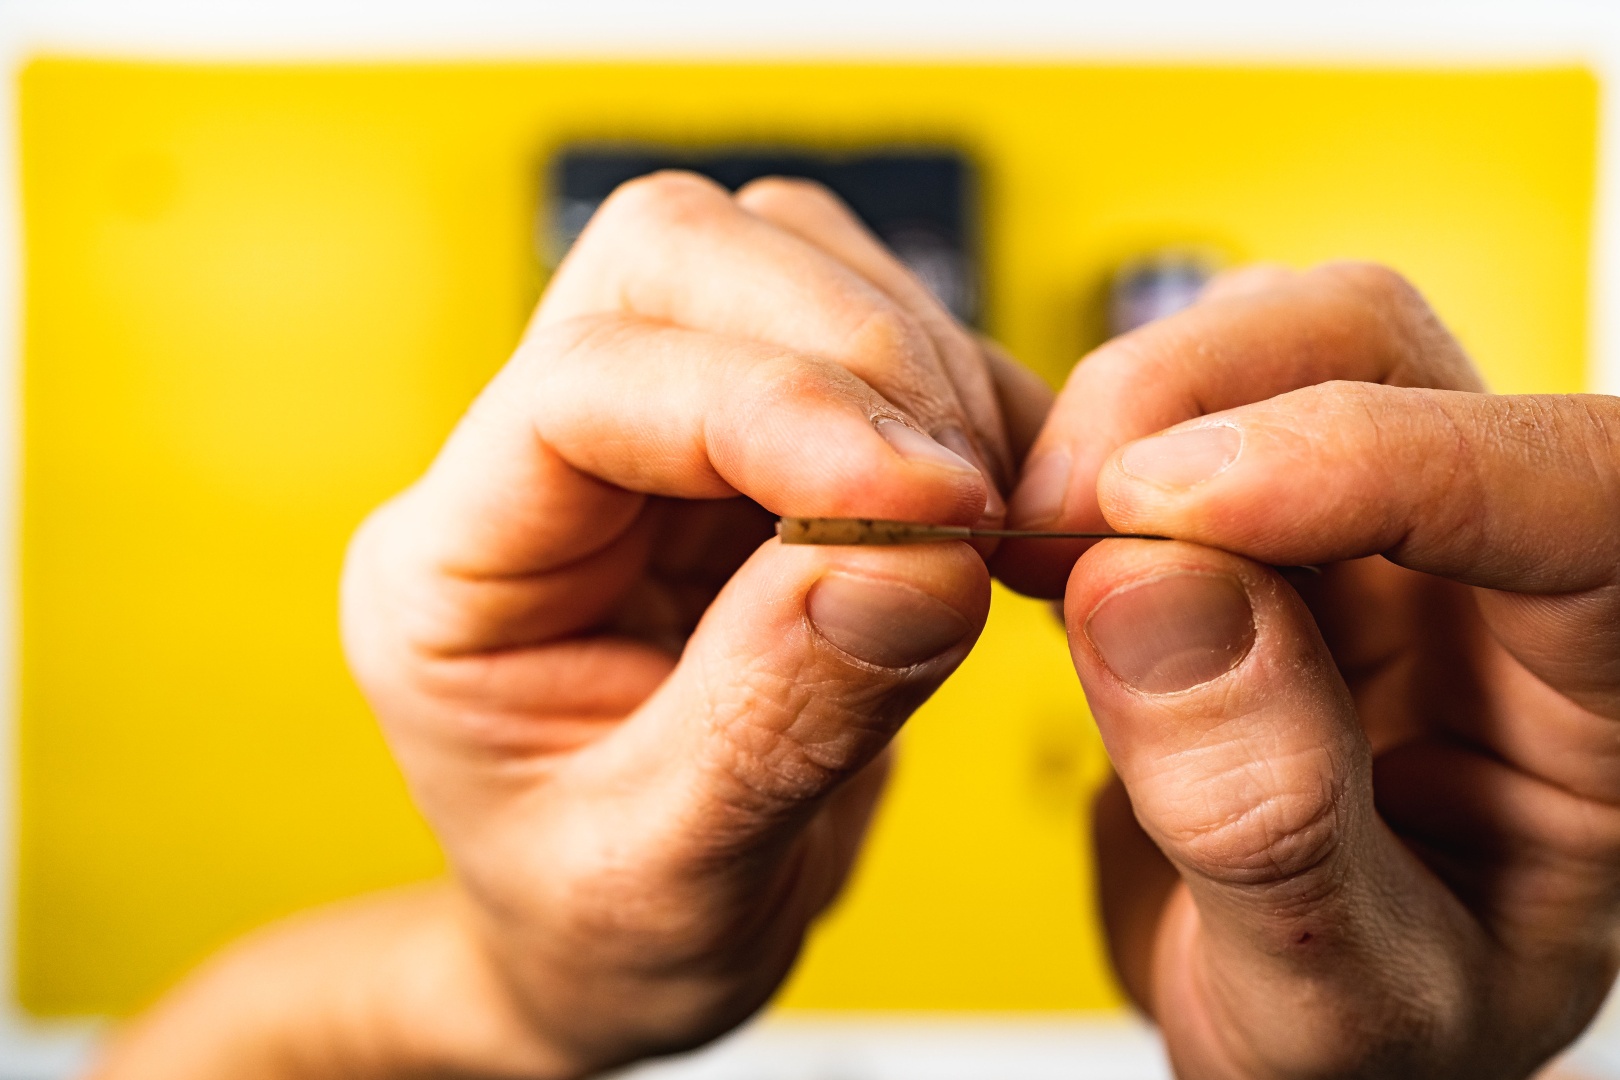
22 Prepare anti-tangle sleeves - they protect the connection between the leader and the swivel with a quick change clip placed in a safety rig clip, allowing for rapid leader exchange.
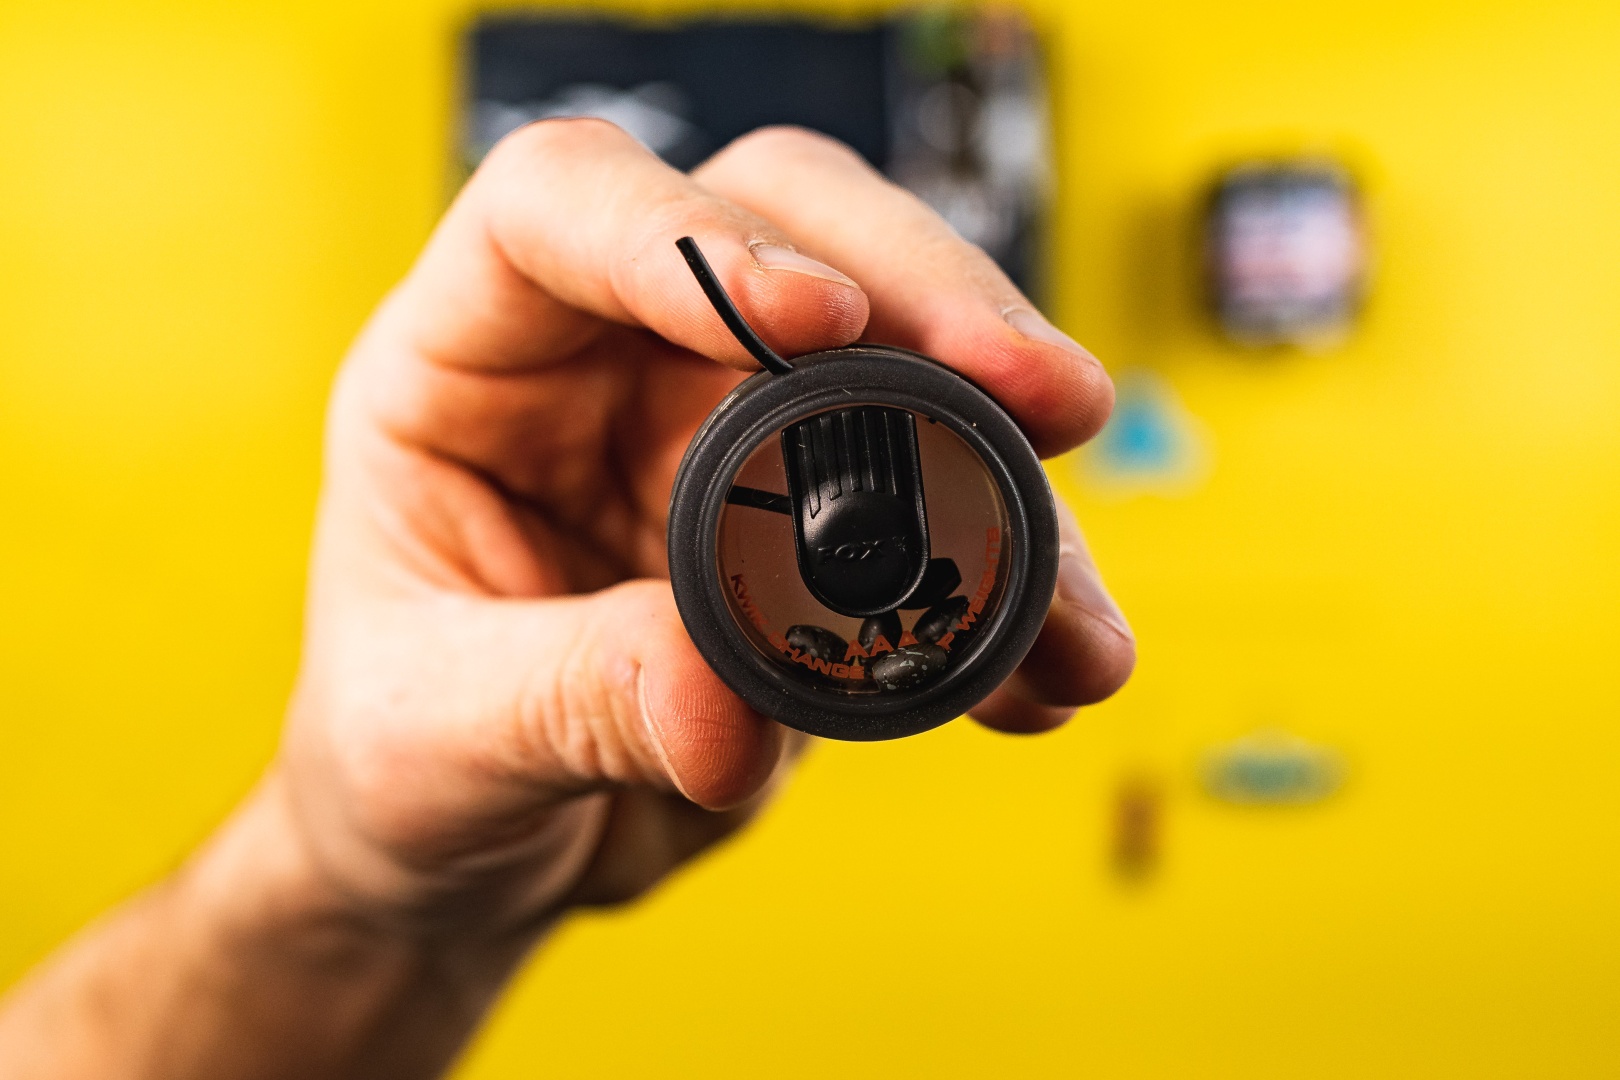
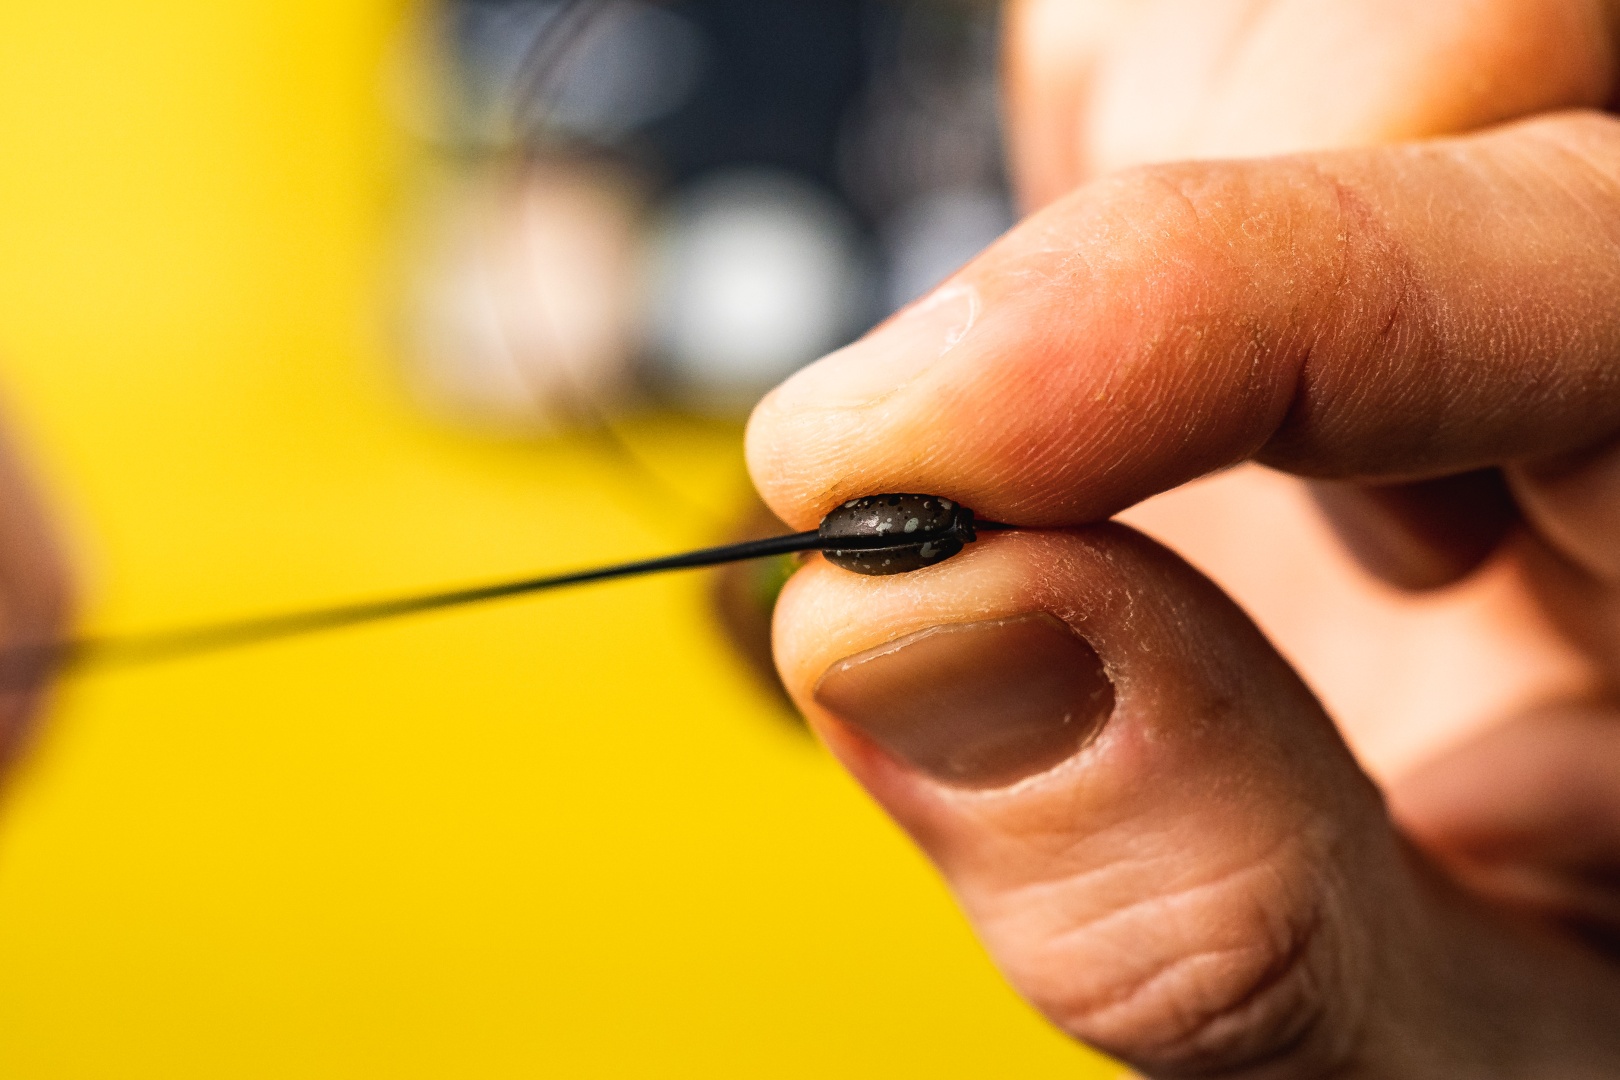
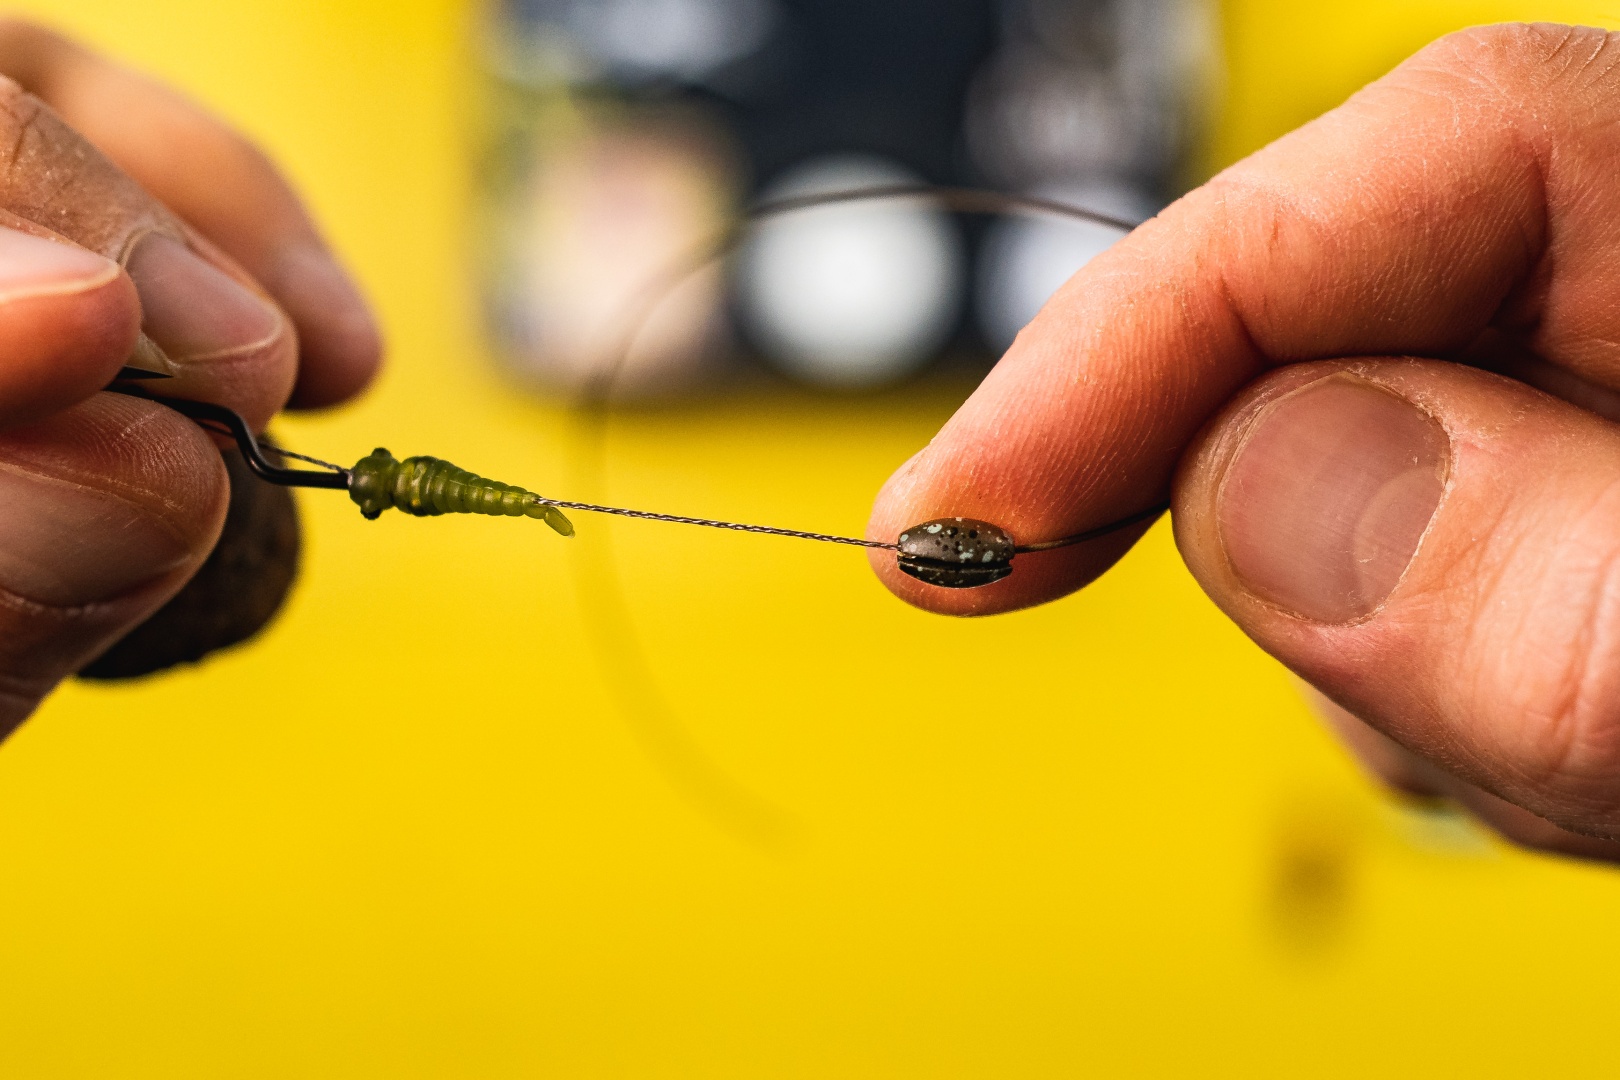
23 To improve the rig mechanics, it's advisable to use a small weight placed on the hooklink material. My favorite weight for this "task" is the Fox Kwik Change Pop-Up Weight size AAA. I attach it at the point where the stripped braid meets the coated section.
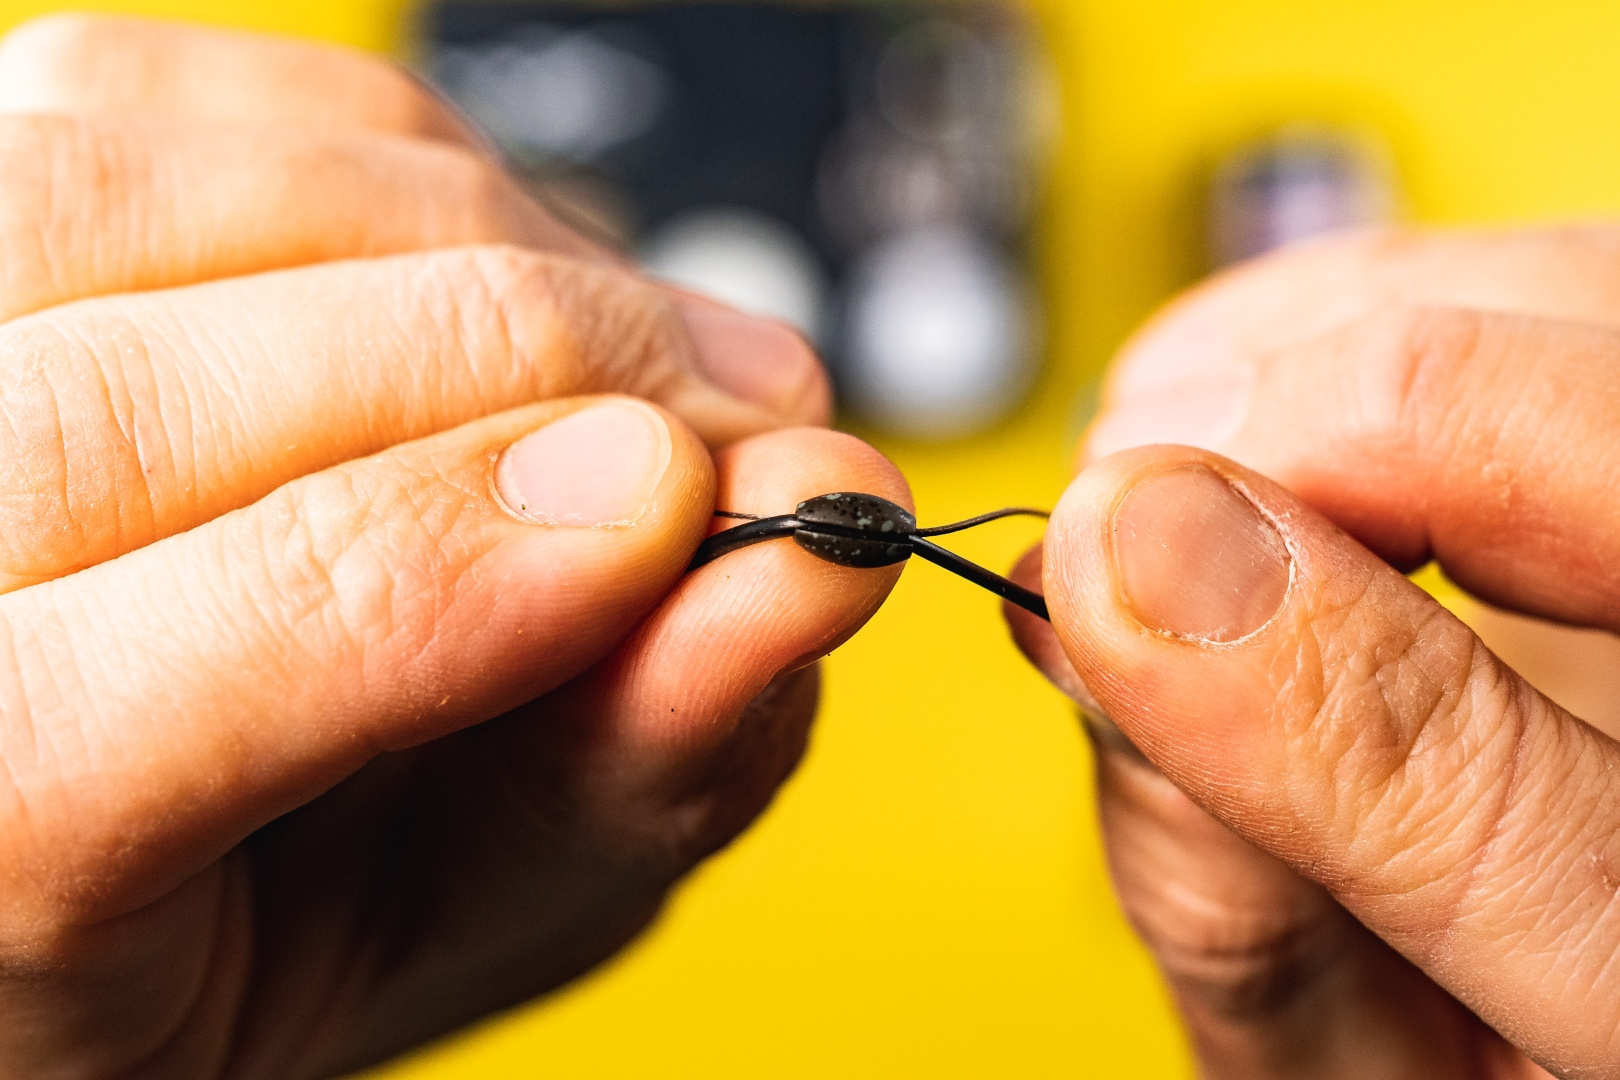
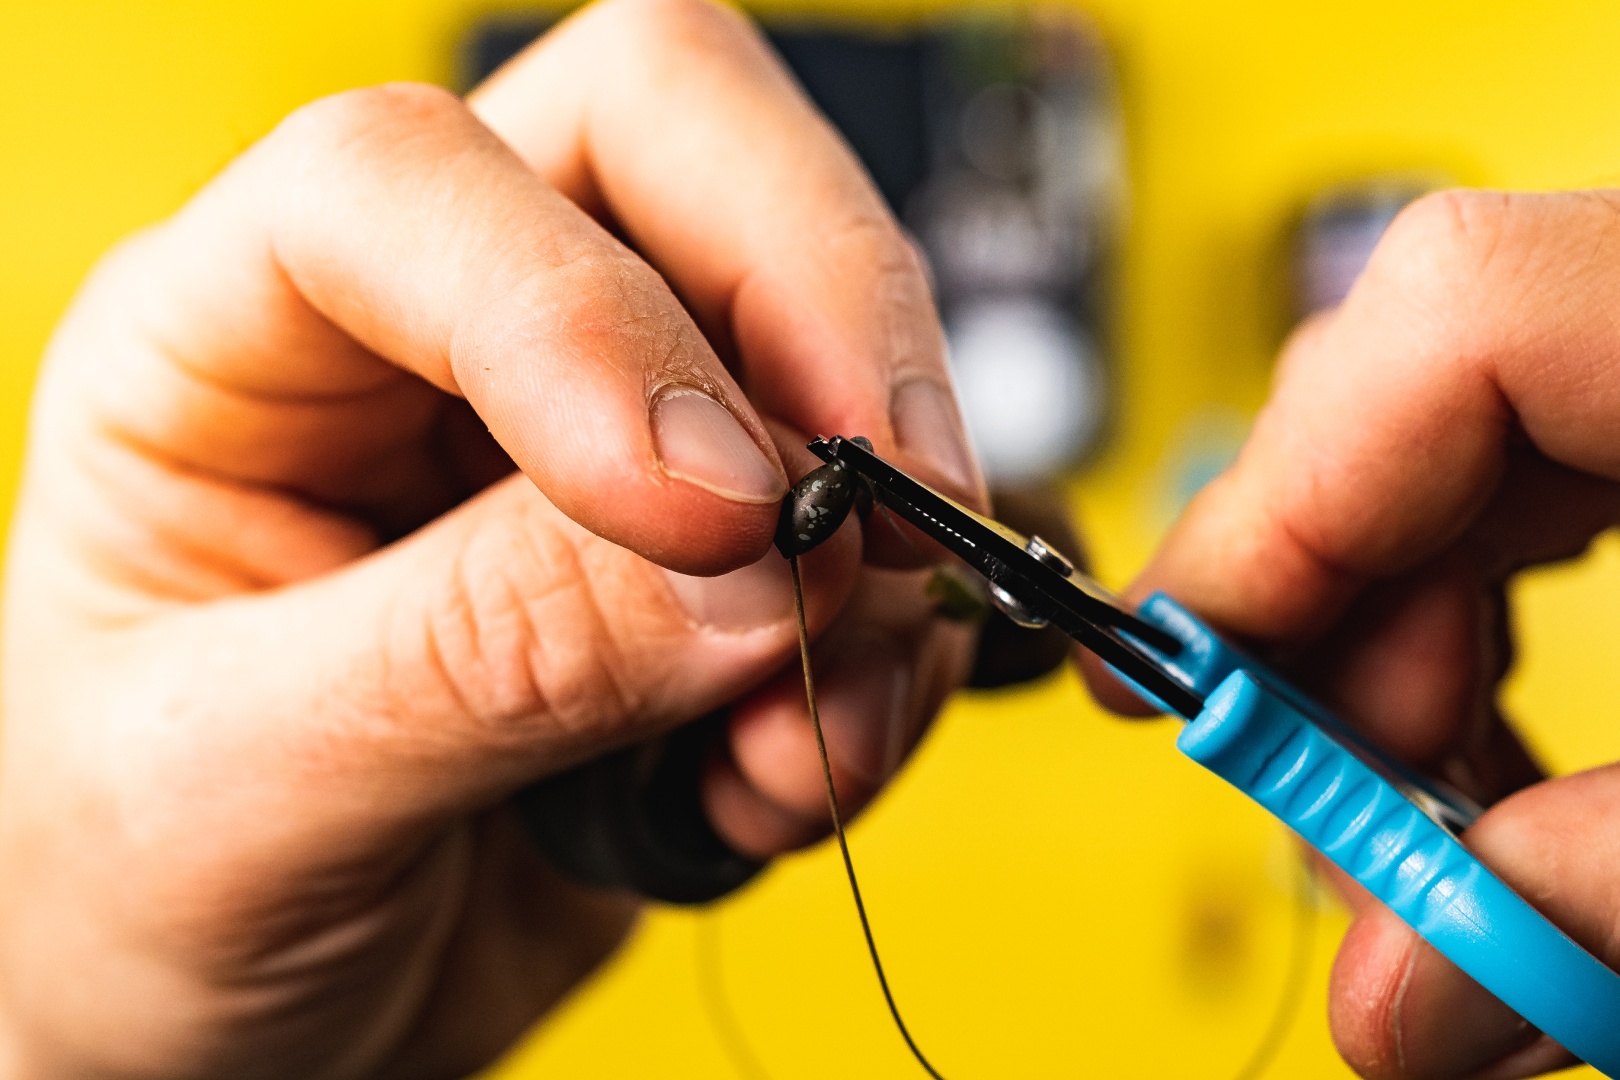
24 Slide the weight onto the braid, position it as desired, and then apply a special elastic weight stopper.
25 Trim any excess flexible weight lock with scissors.
26 This is how a properly mounted Kwik Change Pop-Up weight should look.
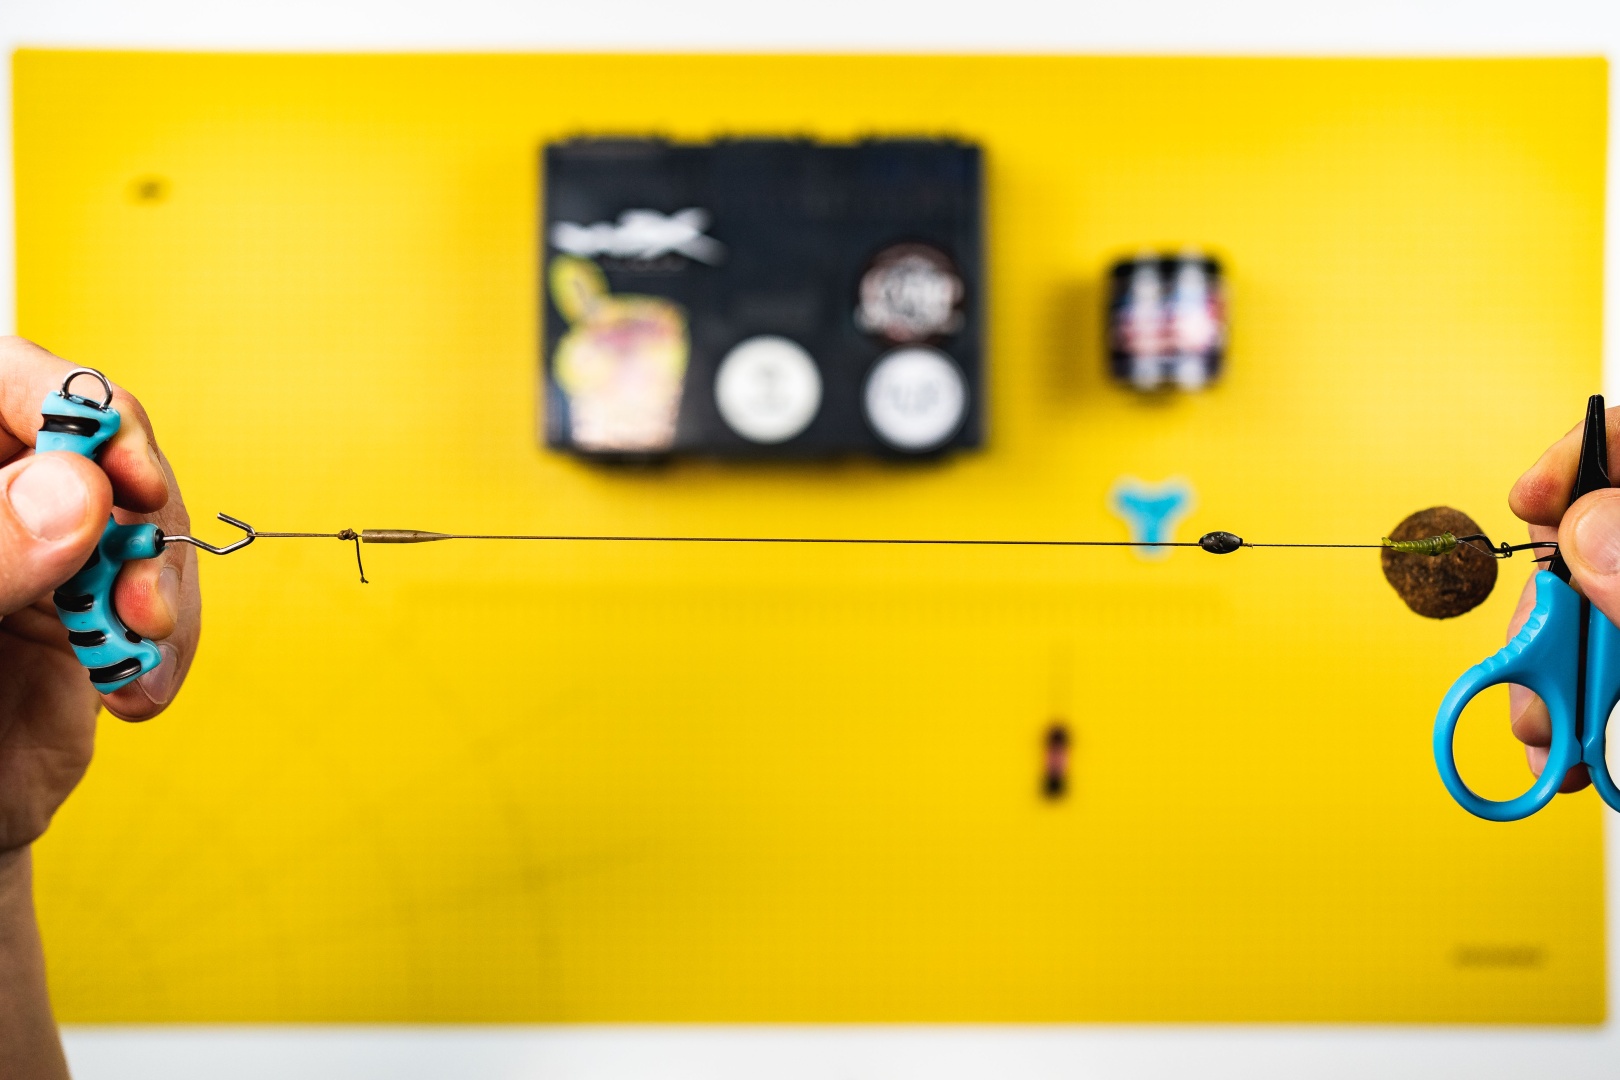
27 Use the rig-tensioning tools to ensure all knots are properly tightened.
28 Rig ready! Now I can deliver the setup to the predetermined "spot" and crack open a bre... I mean, brew a delicious coffee! :)
Contact Information
Brick and Mortar Store: ul. Mikołaja 9A, 47-400 Racibórz tel. +48 883 474 729